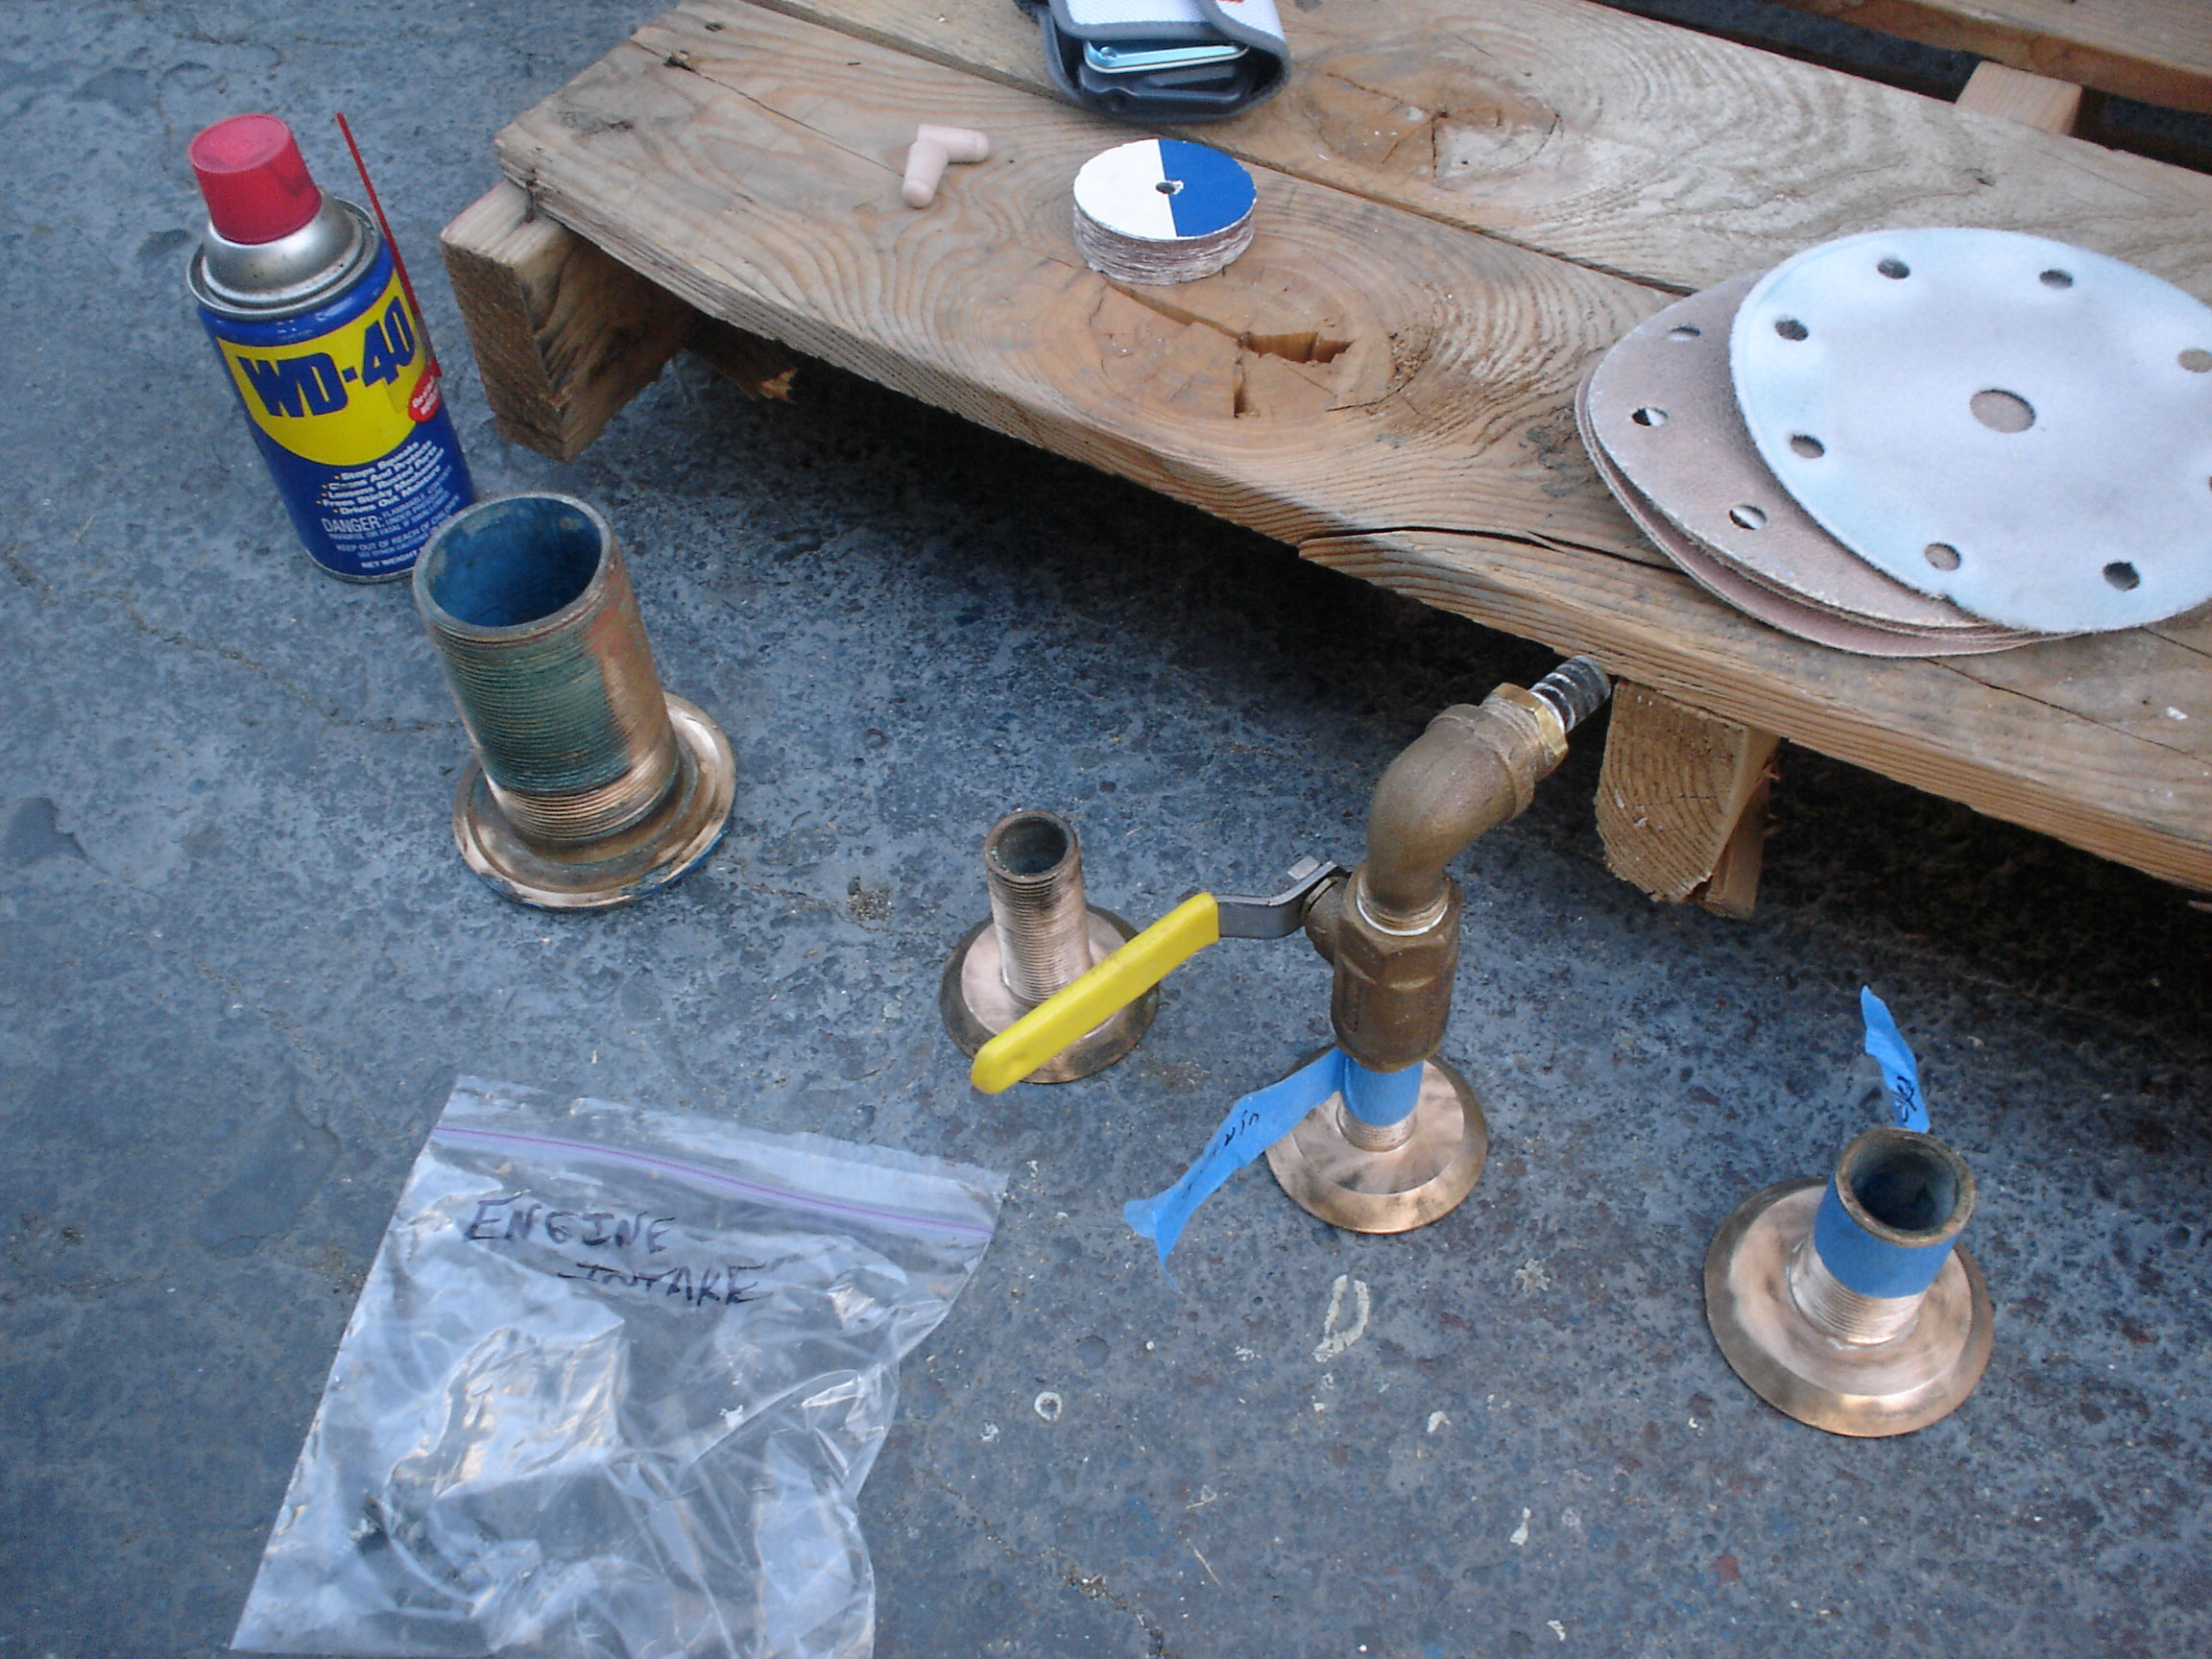
There were 8 below the waterline through hulls when we bought the boat: one for the depth transducer, one for the impeller transducer, two for the head, two for the galley, an engine intake, and the engine exhaust. Some of the through-hulls had seacocks, others had inline ball valves screwed onto the through-hulls. The engine exhaust had no seacock or valve. Only two (the head in and out) has sufficient backing plates. In all cases, the seacocks were not screwed down all the way to the hull; the through-hull nuts were screwed down to the hull and the seacocks were screwed on top of them.
We added proper backing plates to every below waterline through-hull. The backing plates are 3/8″ marine grade plywood, saturated with penetrating epoxy to waterproof them.
We installed flanged, ball-valve seacocks on each through-hull. The seacocks are lag screwed into the backing plates (not all the way through the hull). The seat for the lag screw was drilled out and injected with thickened epoxy, so that the lag screws are not penetrating into the wood in any spots.
We ran into numerous roadblocks during these jobs. 1) A few of the old through-hulls were not long enough after adding the backing plate, so we had to purchase new ones, measure the amount of thread needed inside the boat, then cut off the excess (so the seacock will fully screw down to the backing plate). 2) After installing the backing plates in the galley, we discovered that they weren’t close to parallel to the hull, so jonny spent hours grinding them down to an angle so the seacocks would sit flat (see the video below). 3) All the old through-hulls on the boat were insets, with a countersunk flange. Unfortunately, the through-hulls at Svendsens has differently shaped flanges. So we glassed over the two head through-hulls (you can see this in the third picture below), drilled out new holes, and then used standard mushroom through hulls. This ended up taking far longer (the glassing part) than I thought it would. In retrospect, we should have shaped the old insets to accomodate the flanged through-hulls that we could buy at Svendsens, using the dremel and/or thickened epoxy to make a new seat. 3) It took some time to mark where the lag screws would go, drill out oversized holes, fill them with thickened epoxy, remark where the lag screws were to go, then drill pilot holes for the lag screws.


Leave a Reply