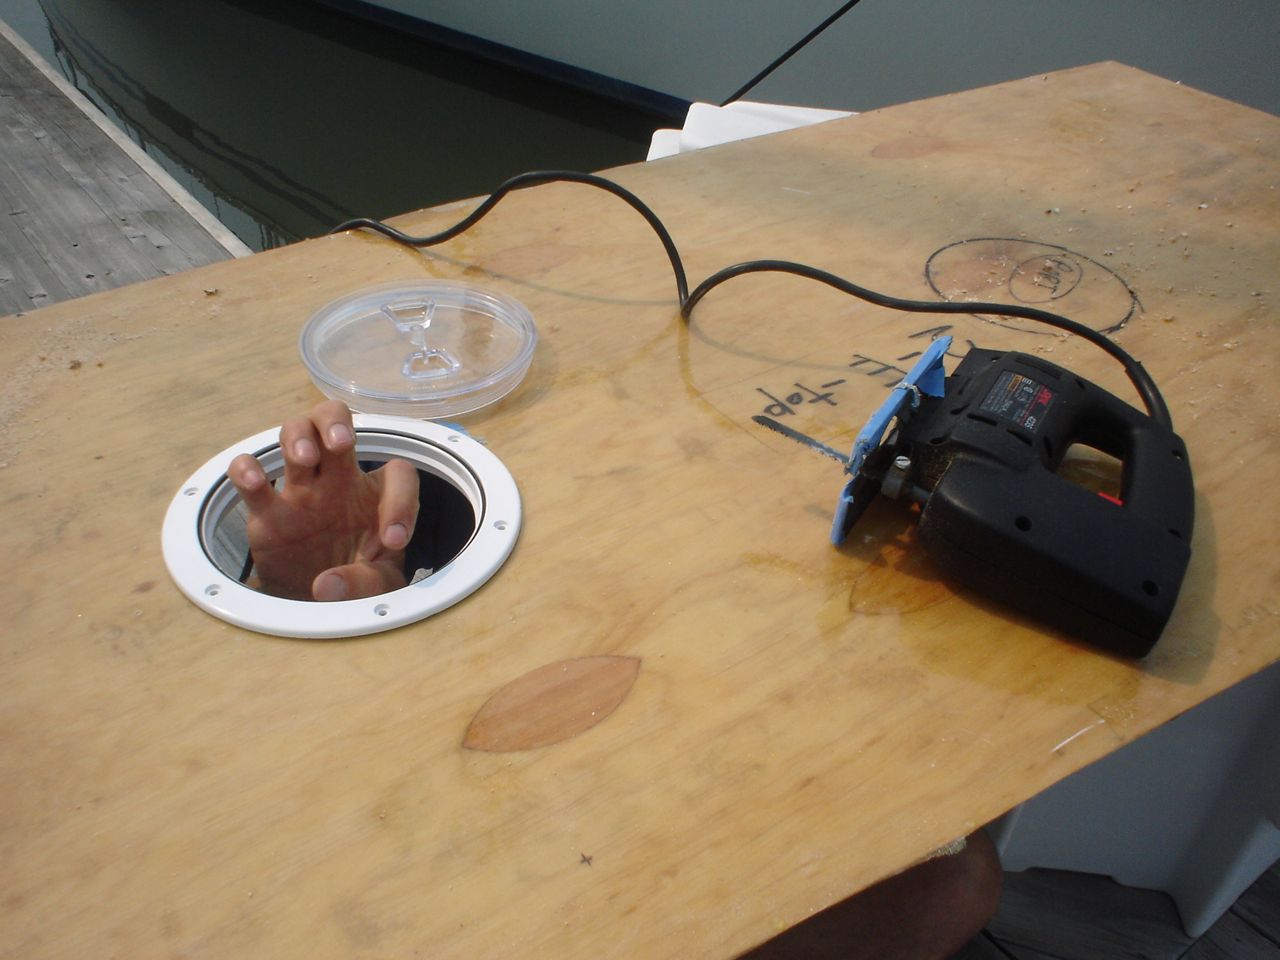
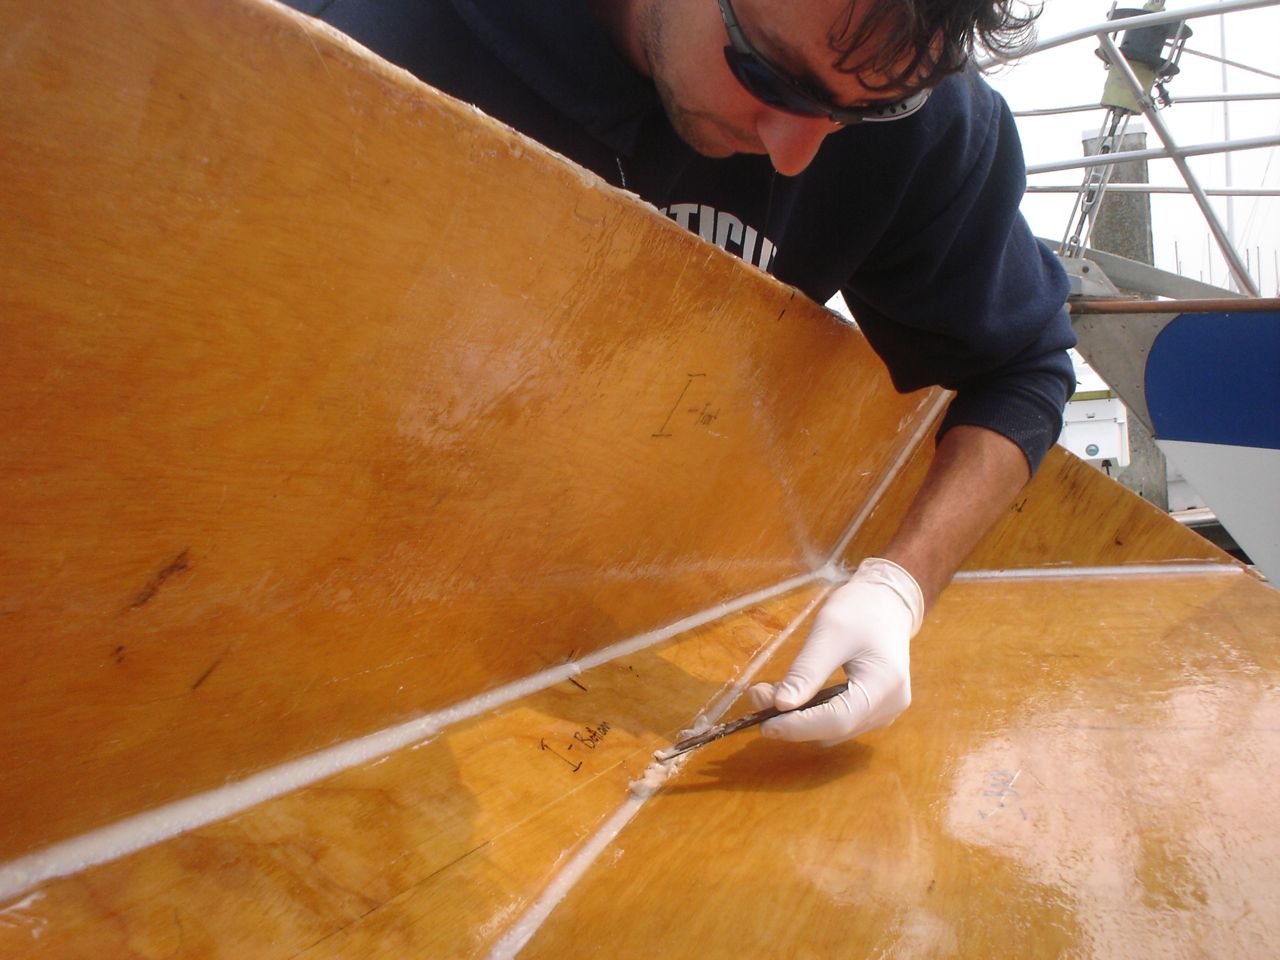
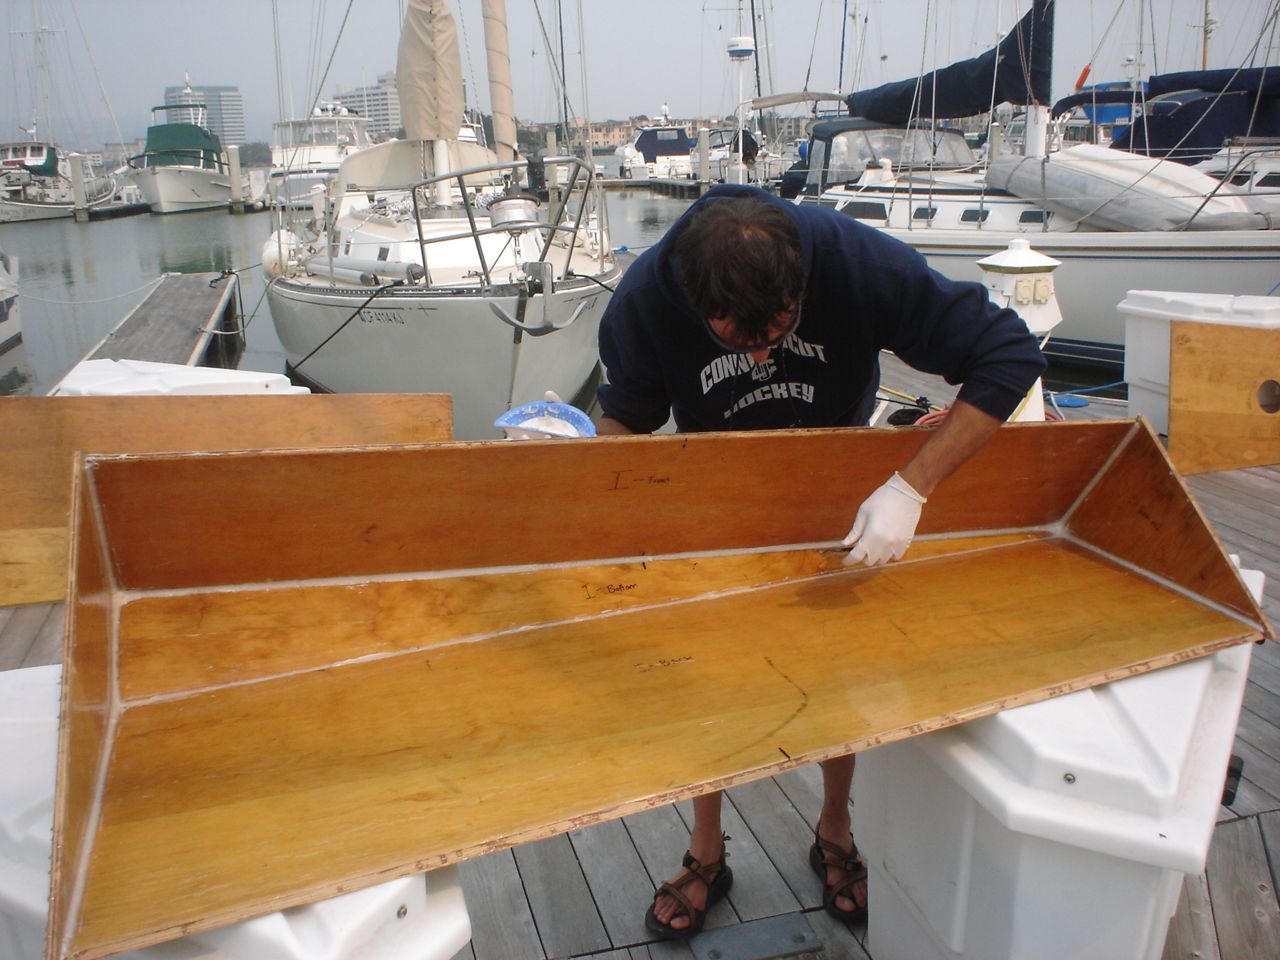
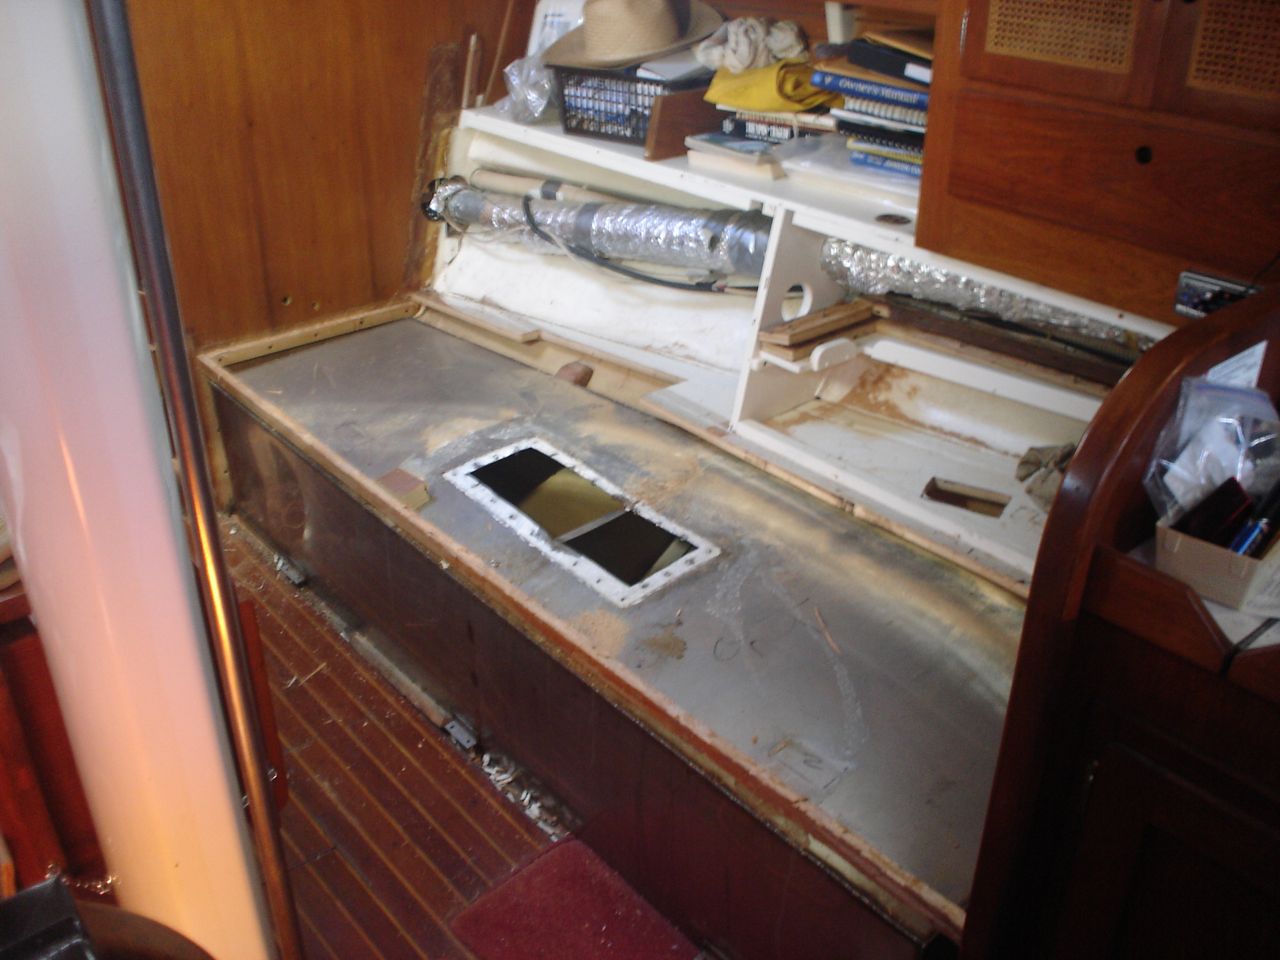
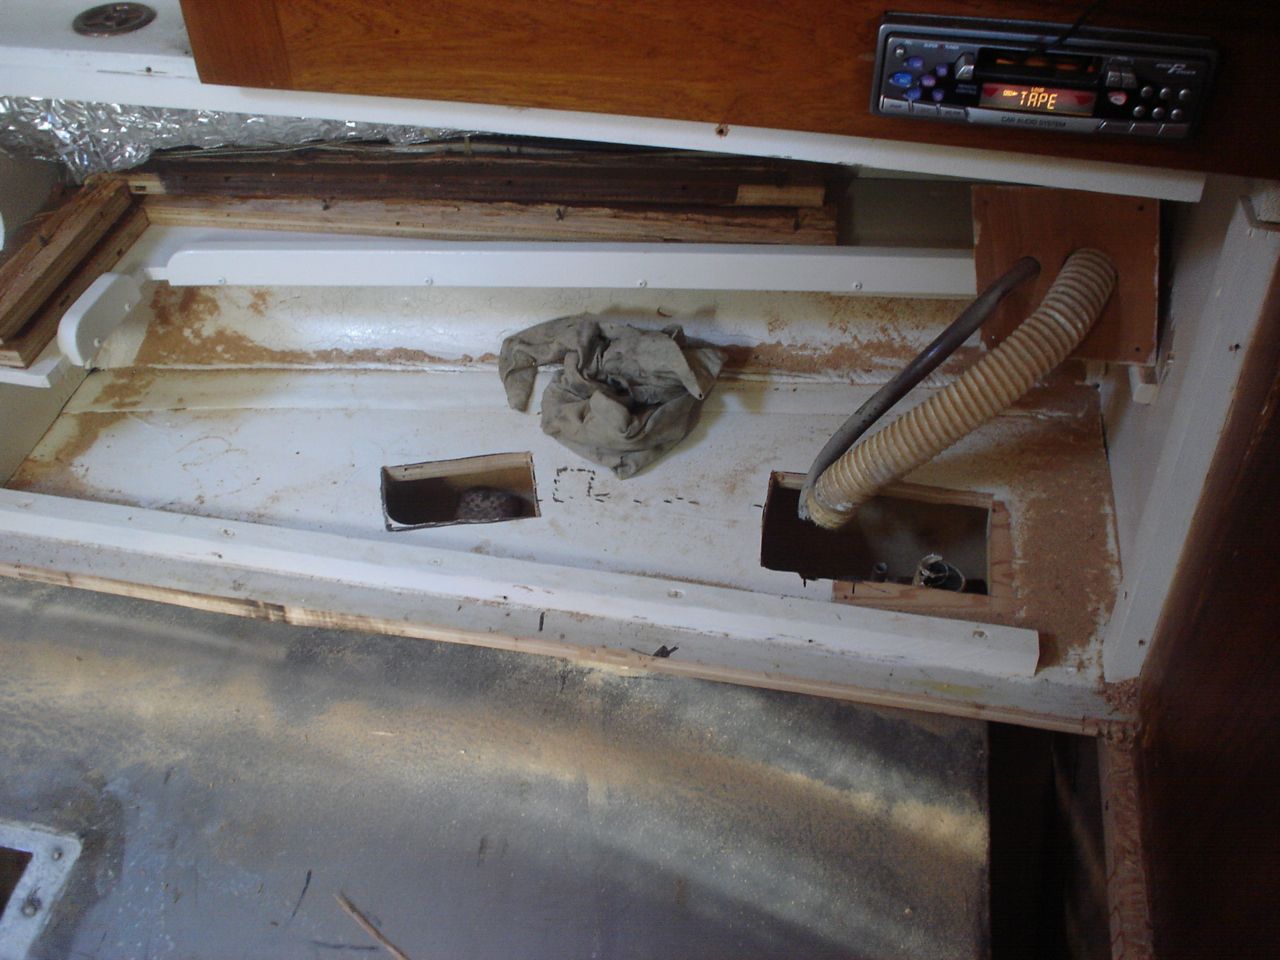
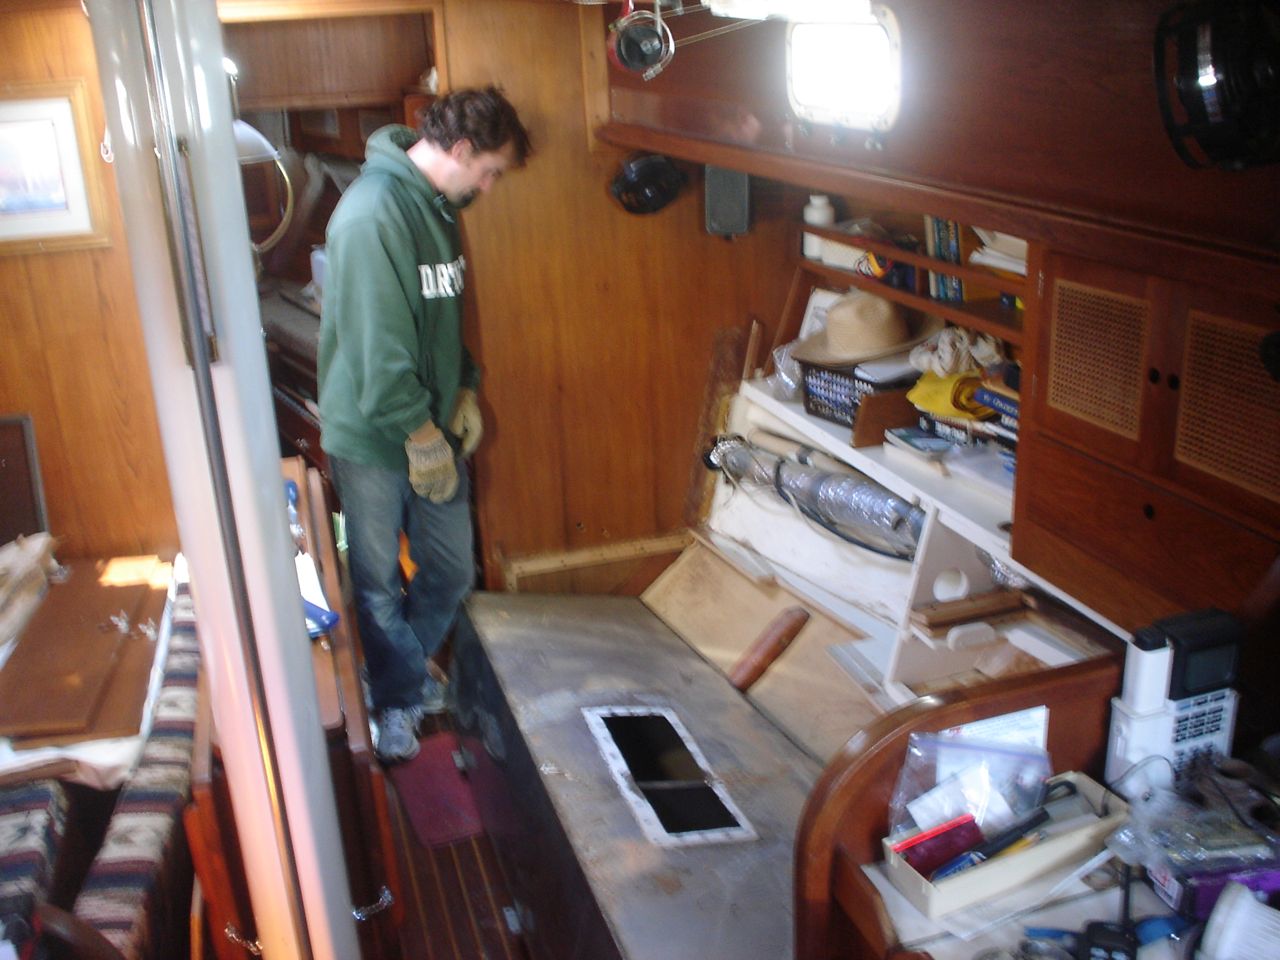
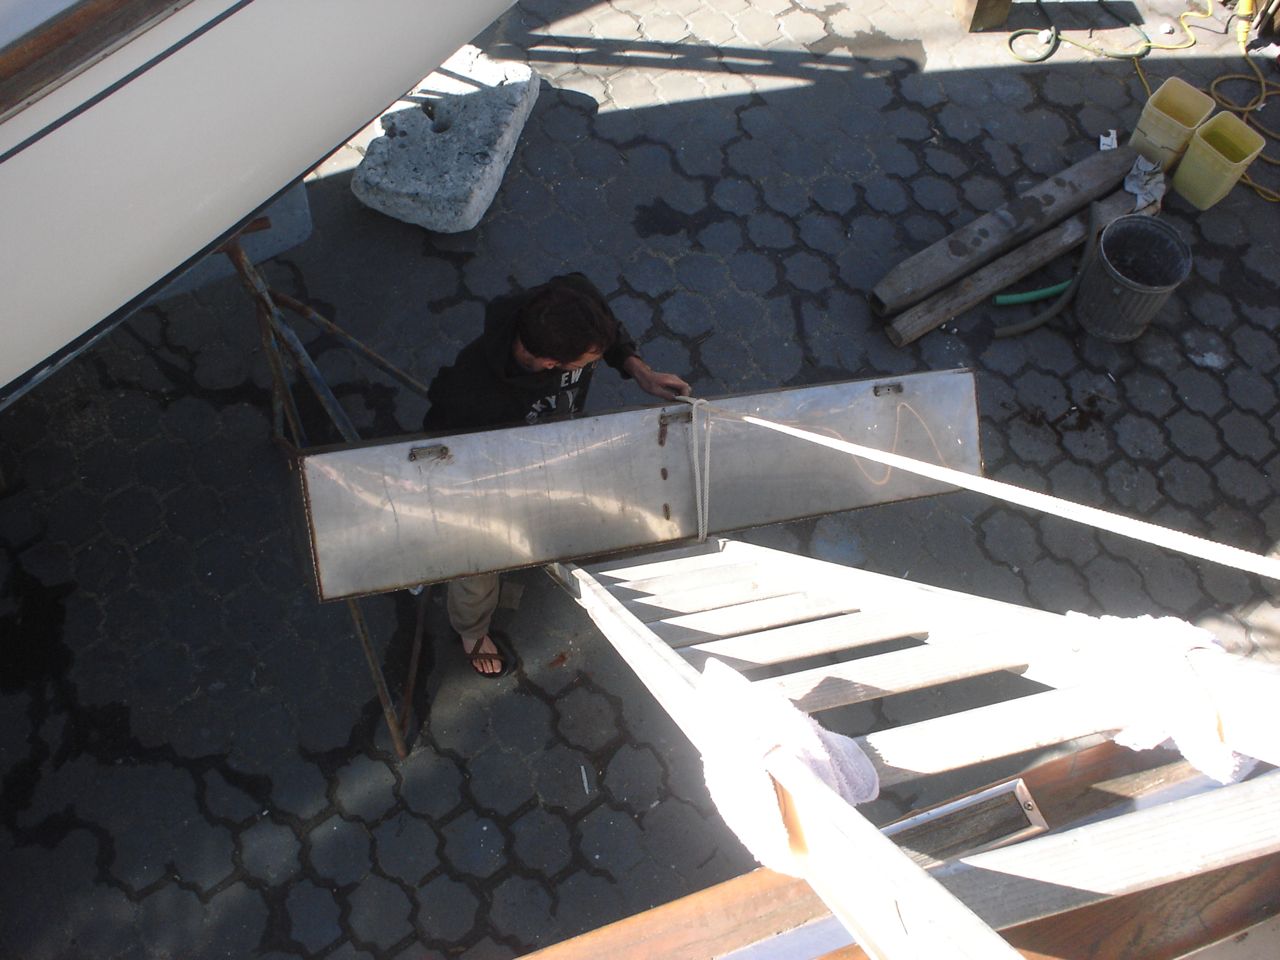
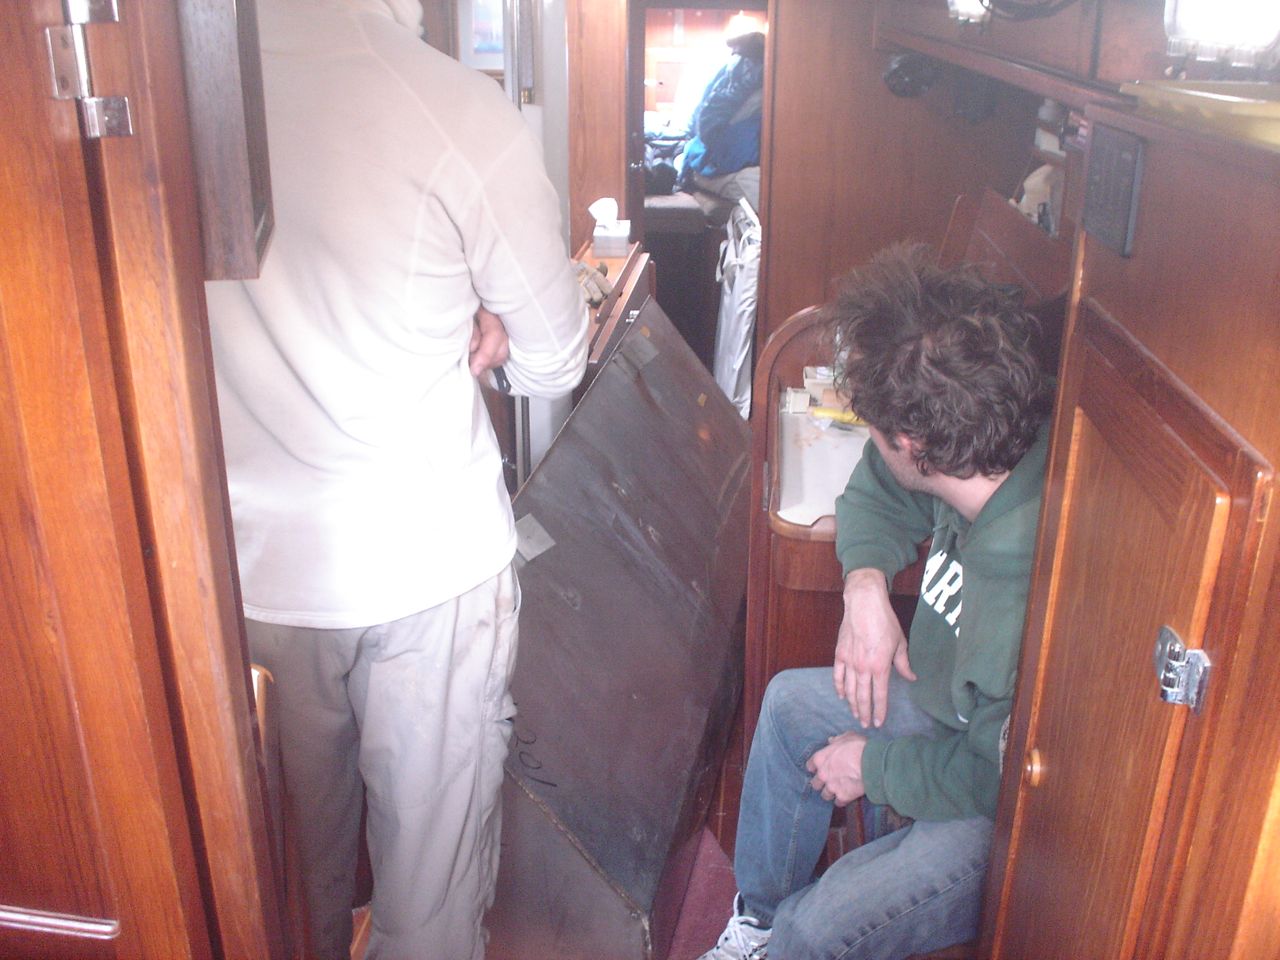
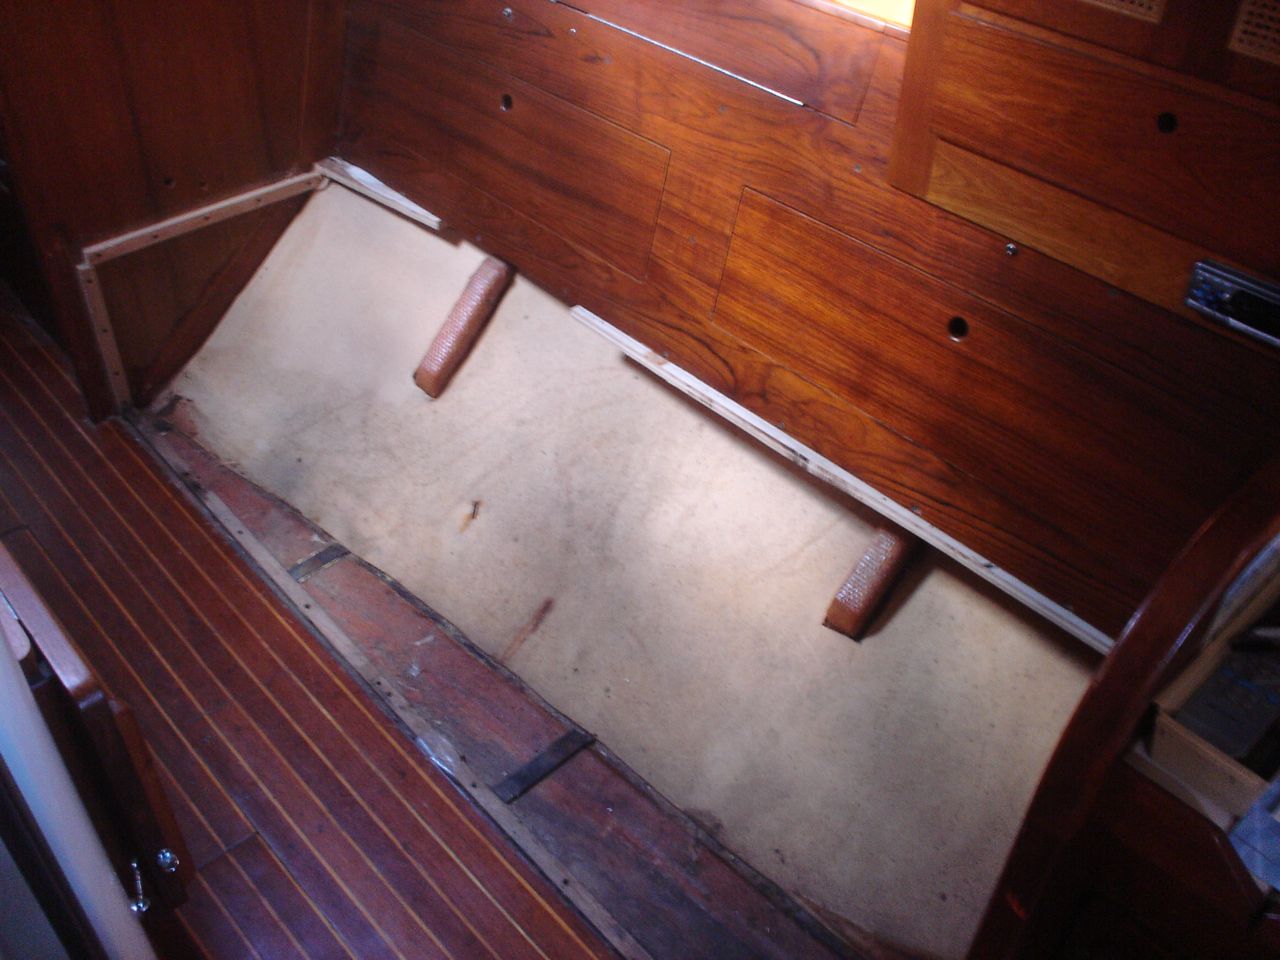
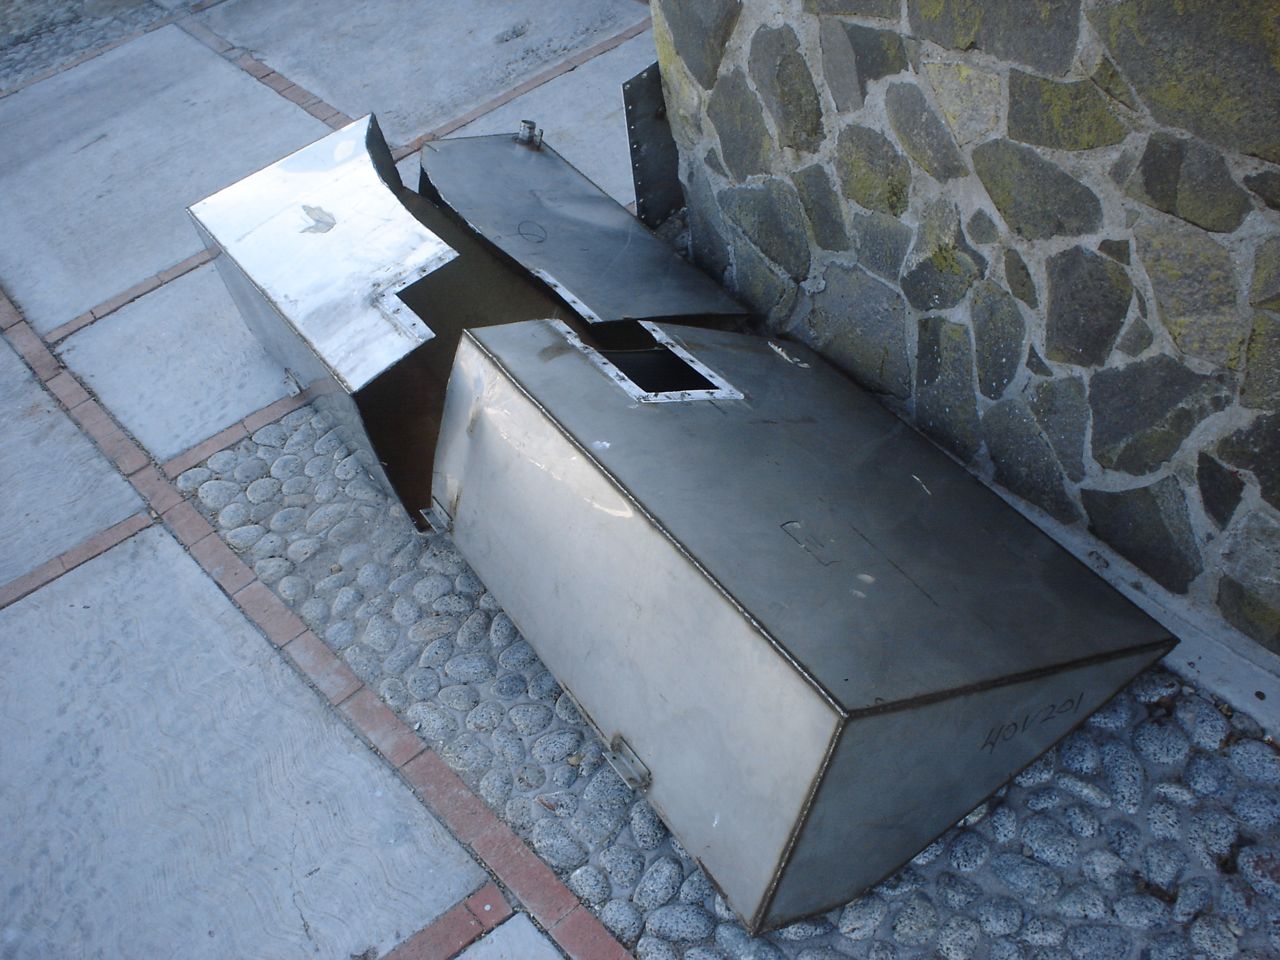
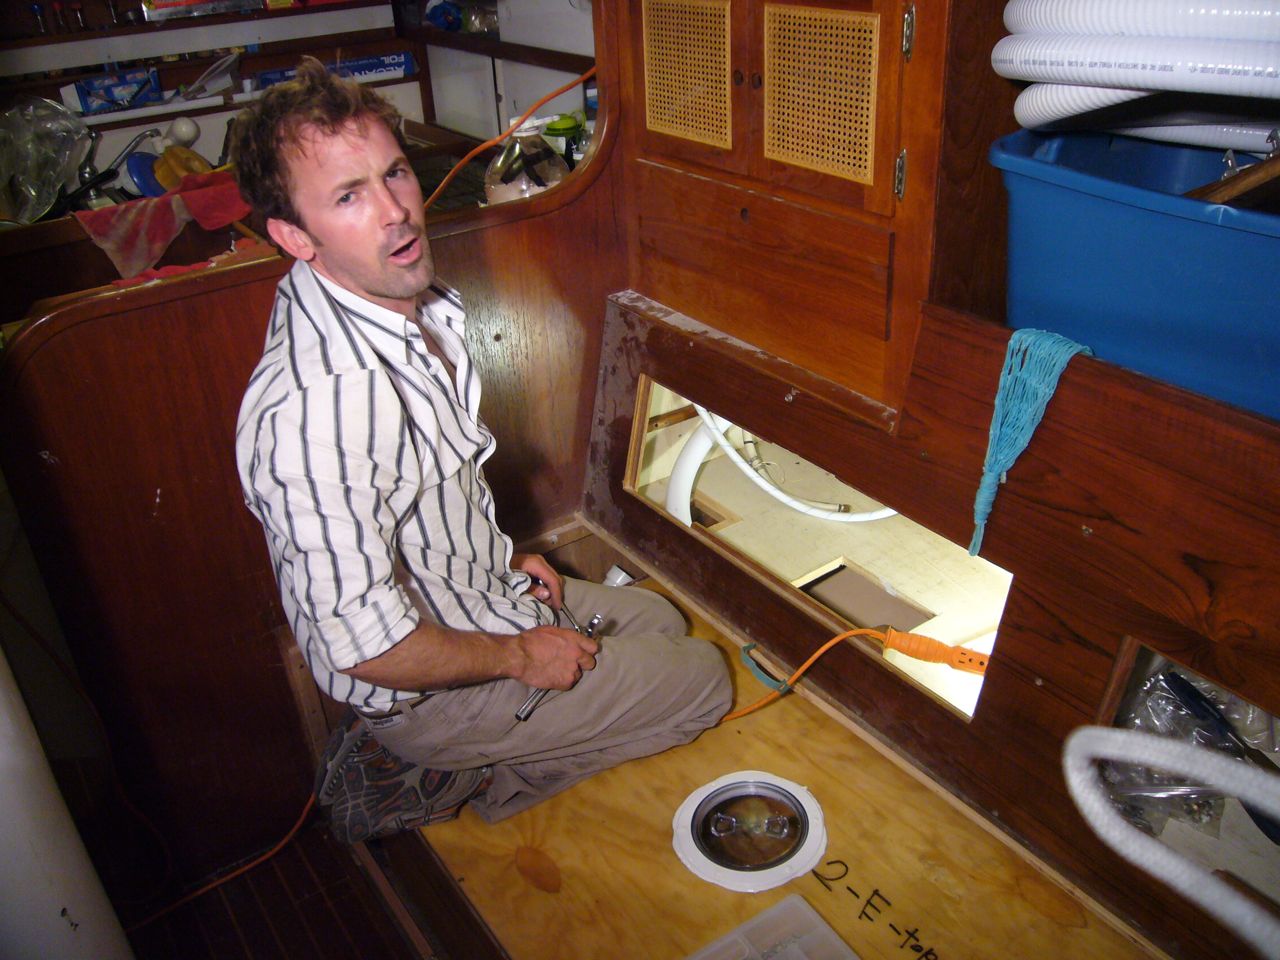
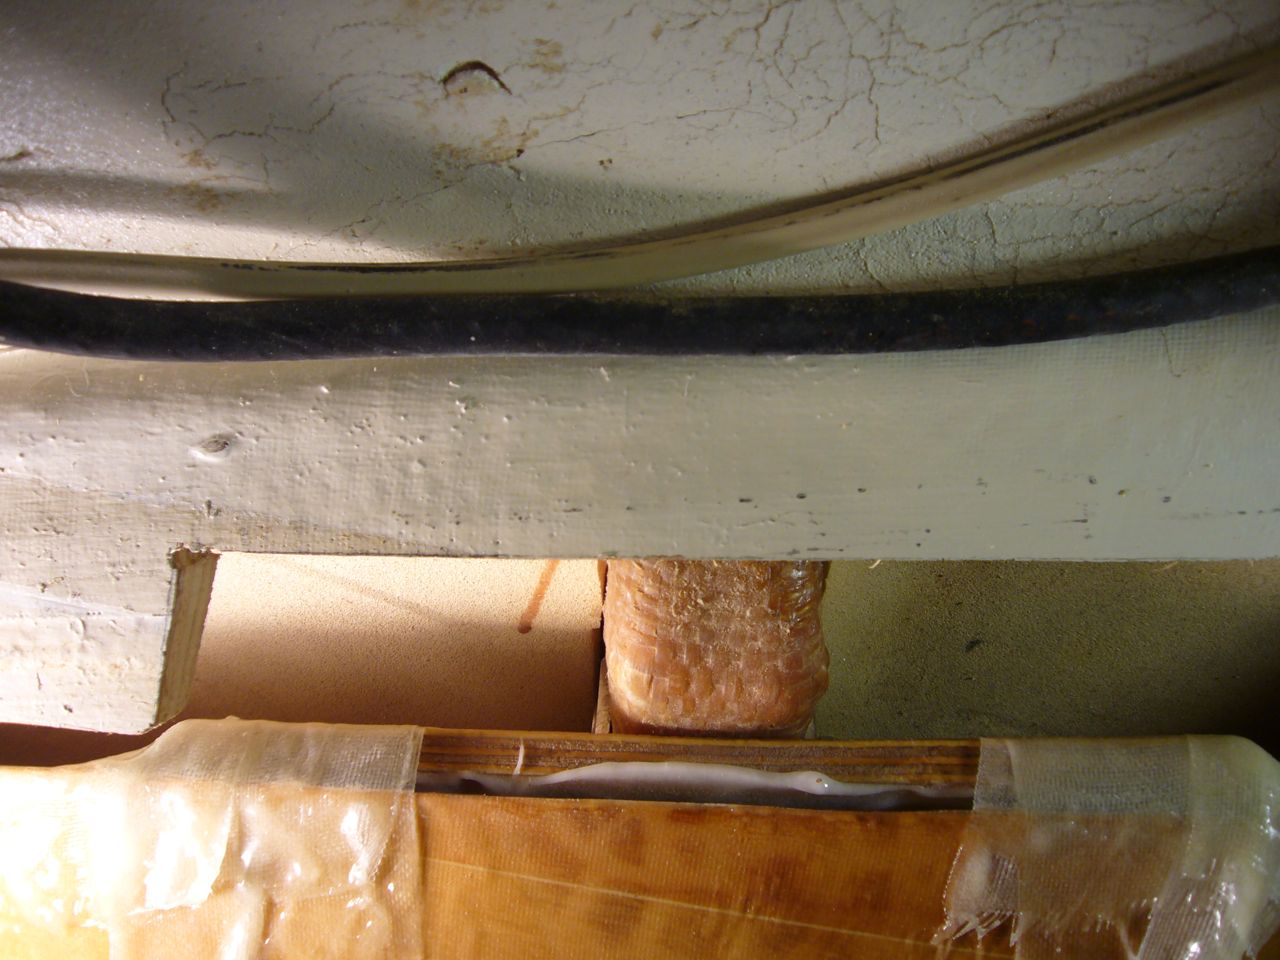
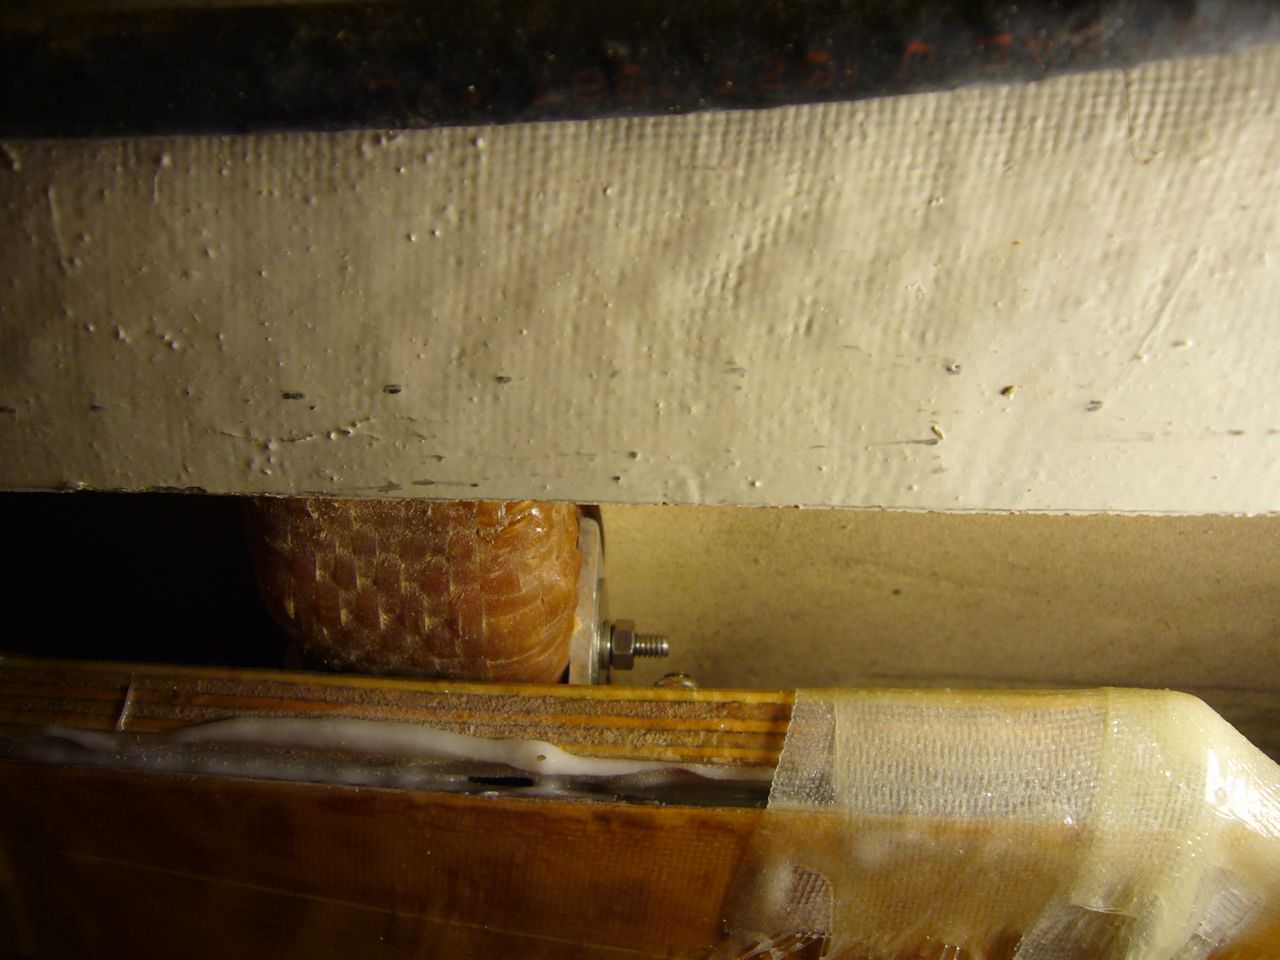
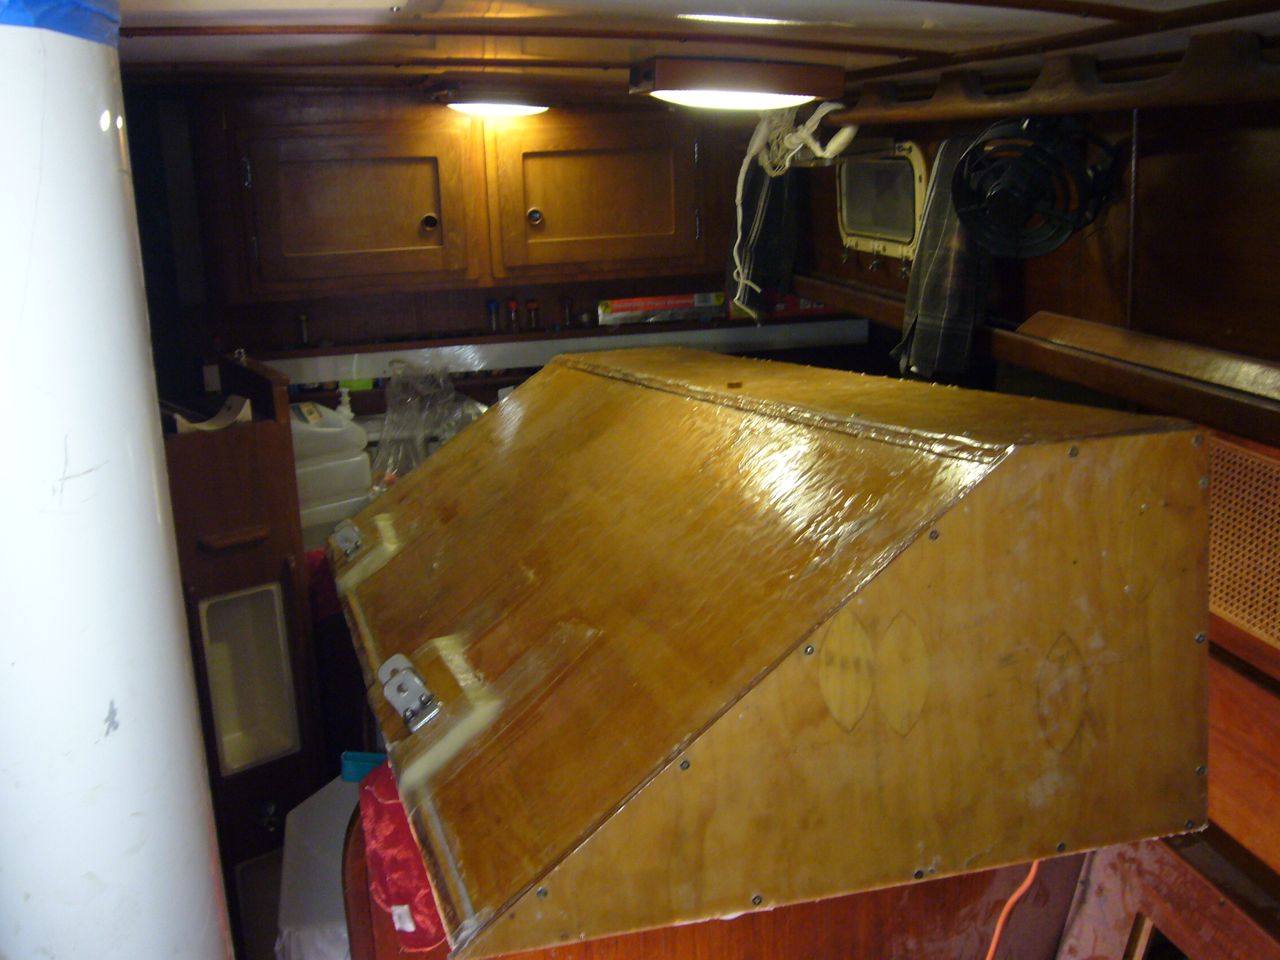
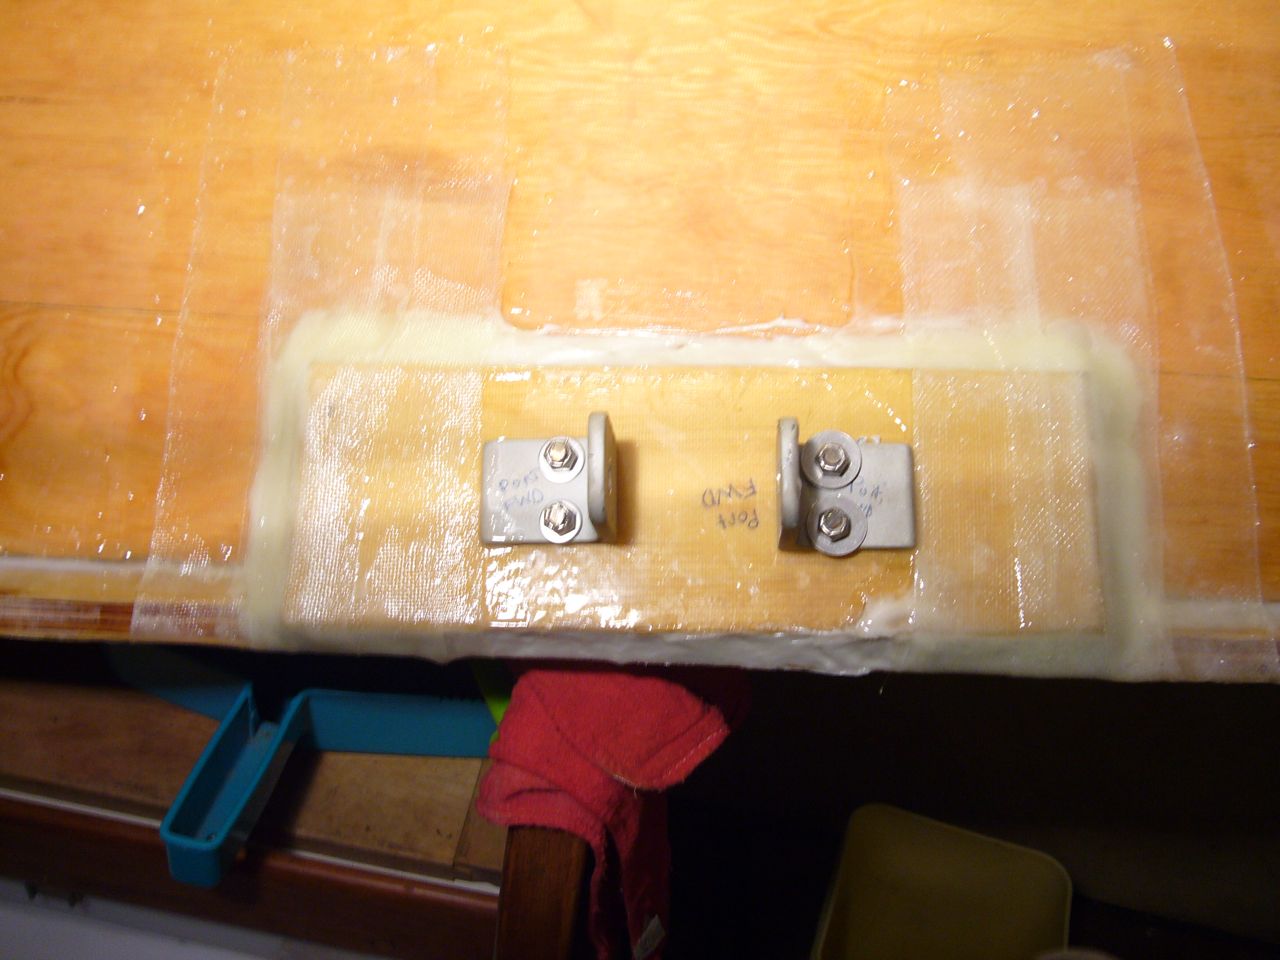
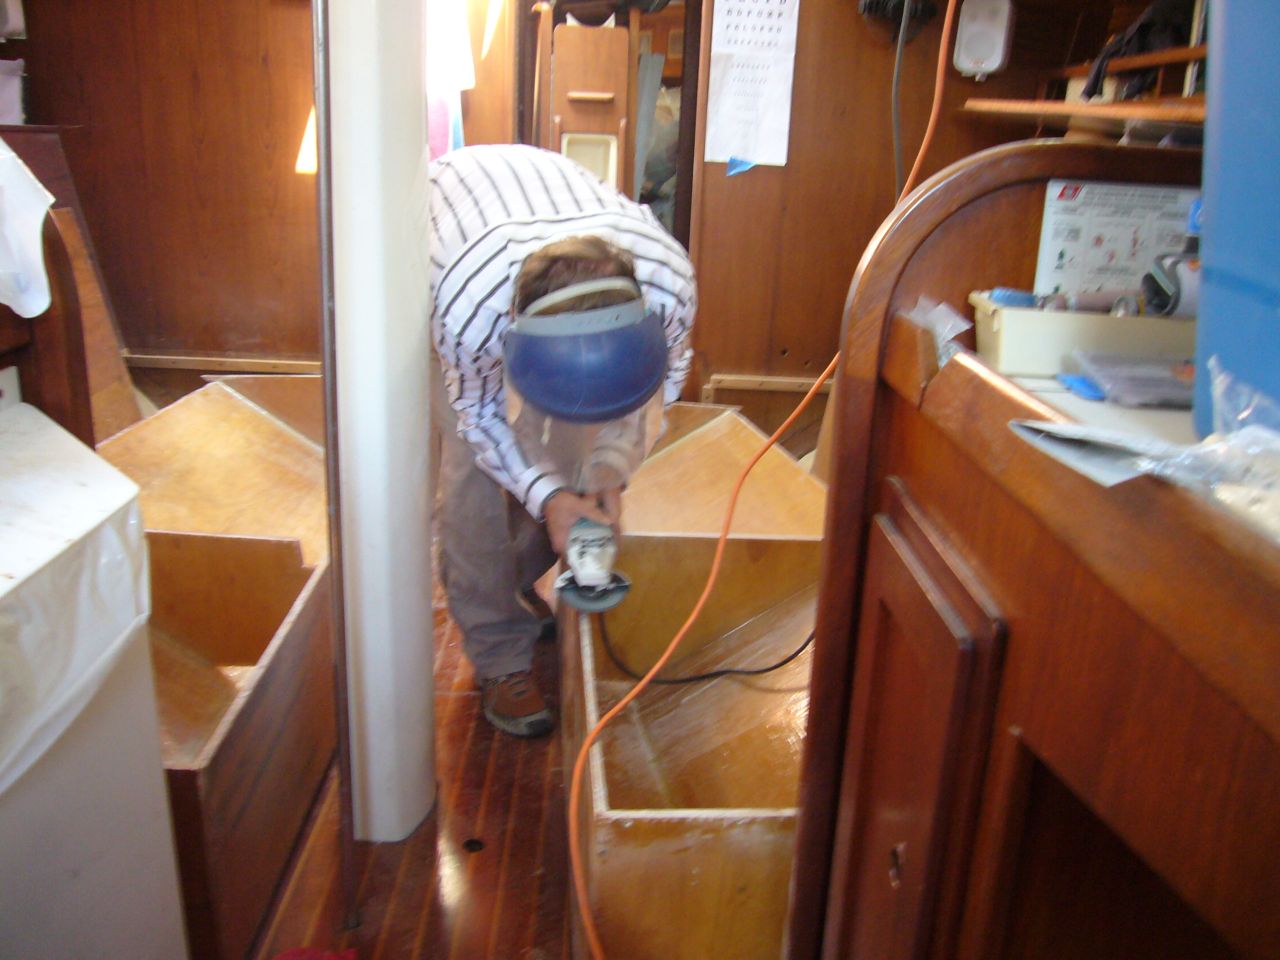
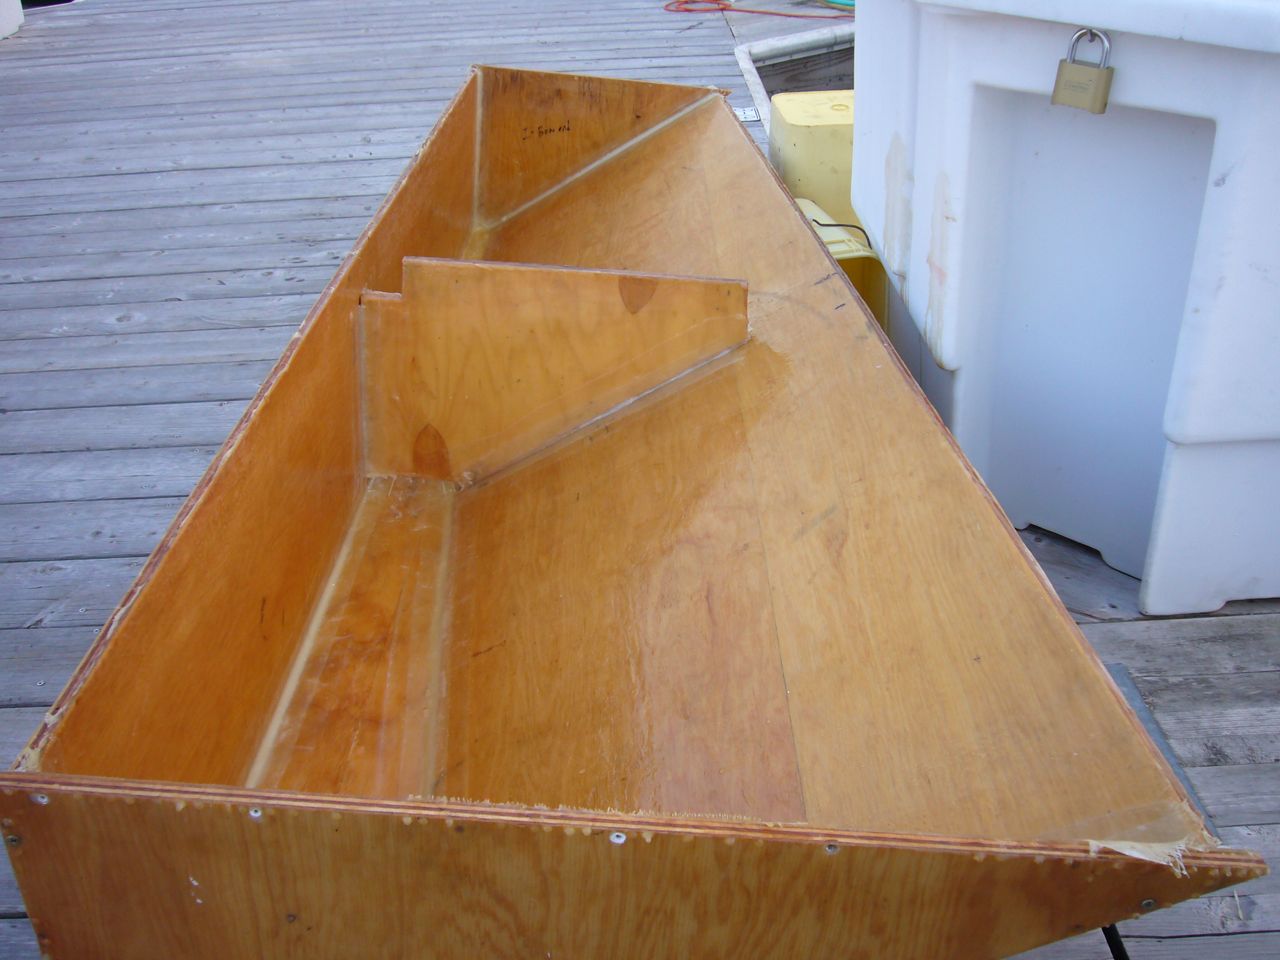
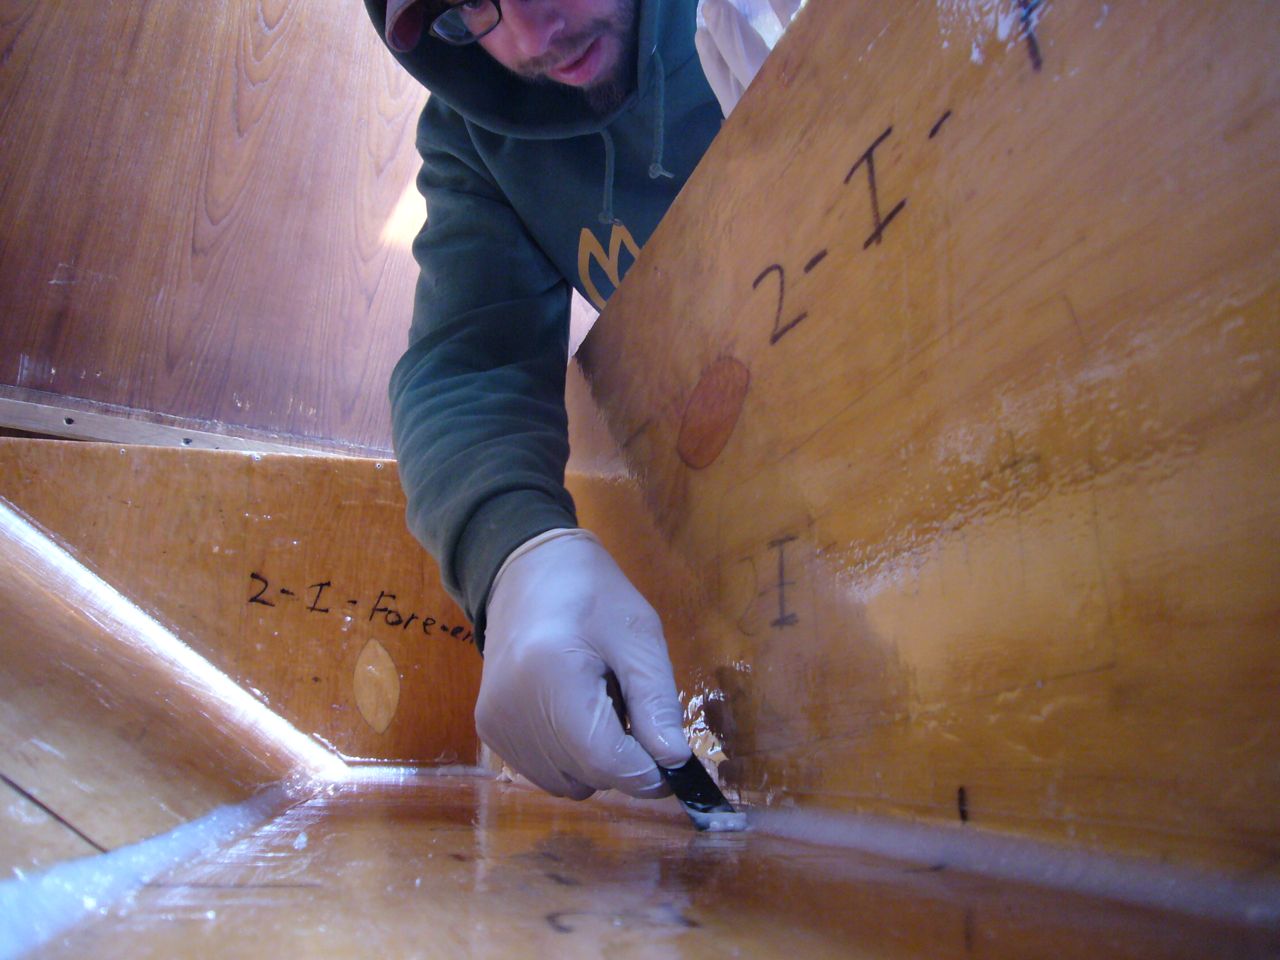
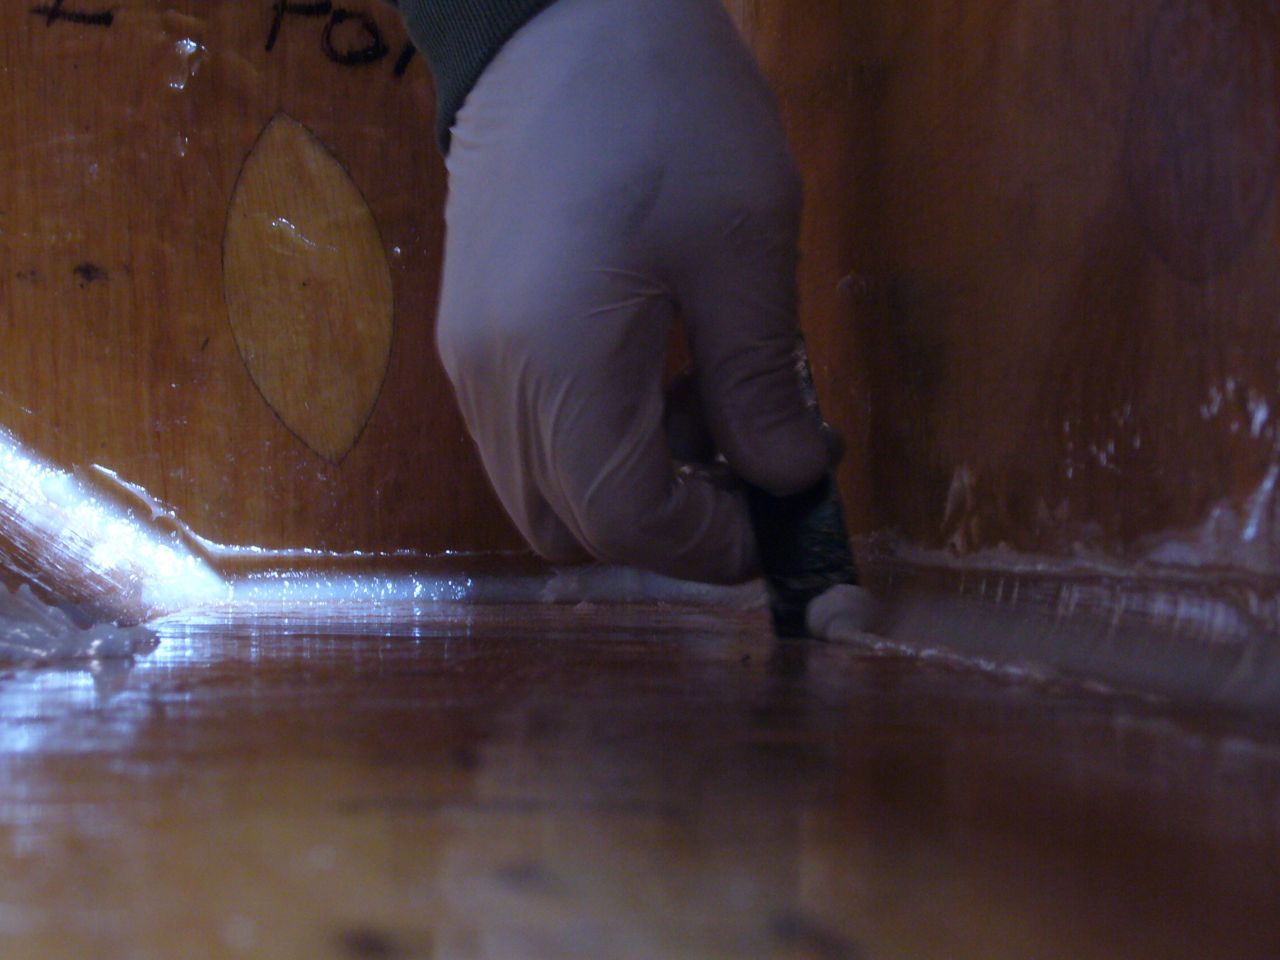
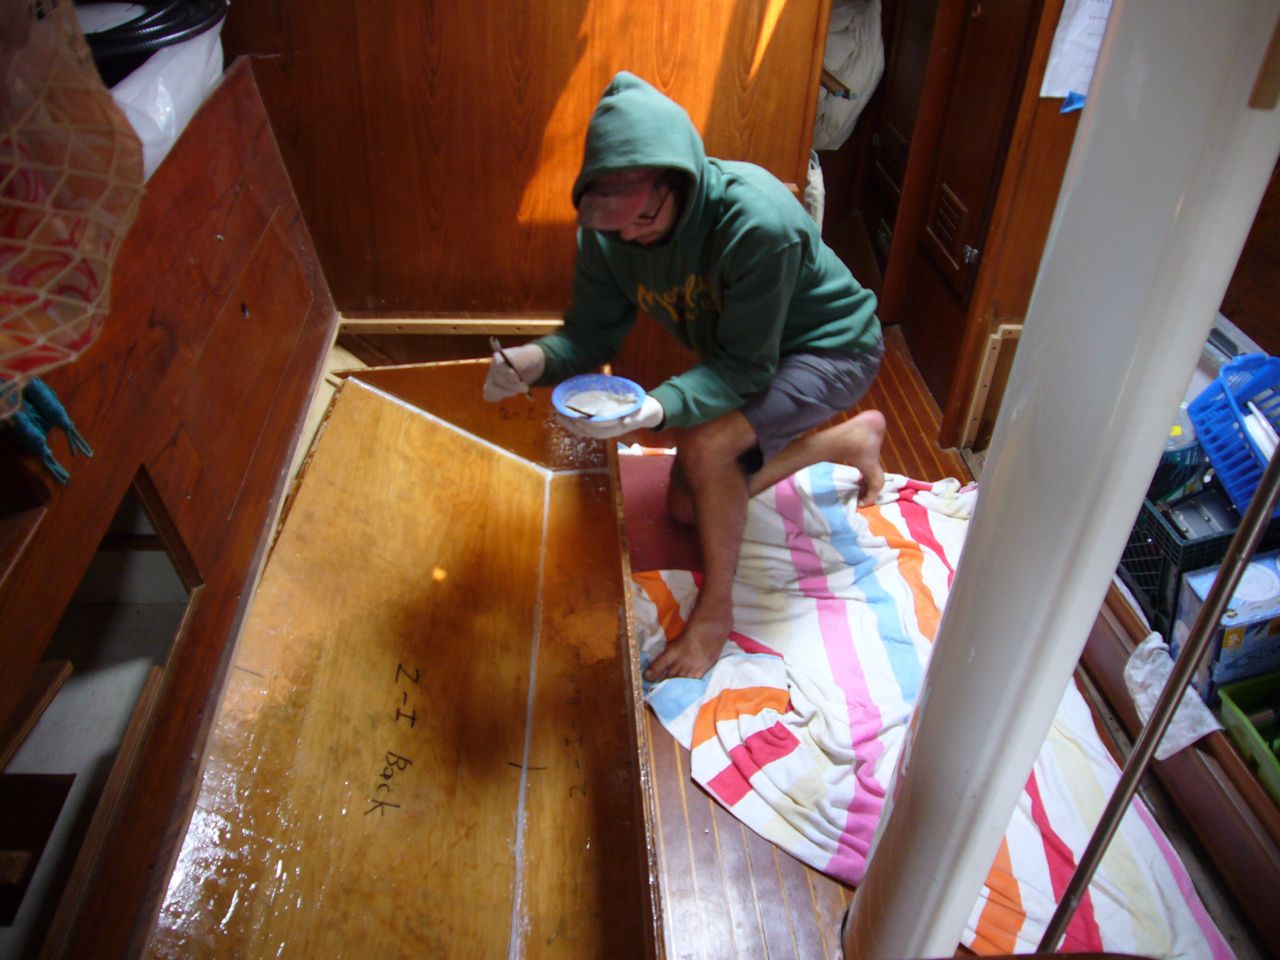
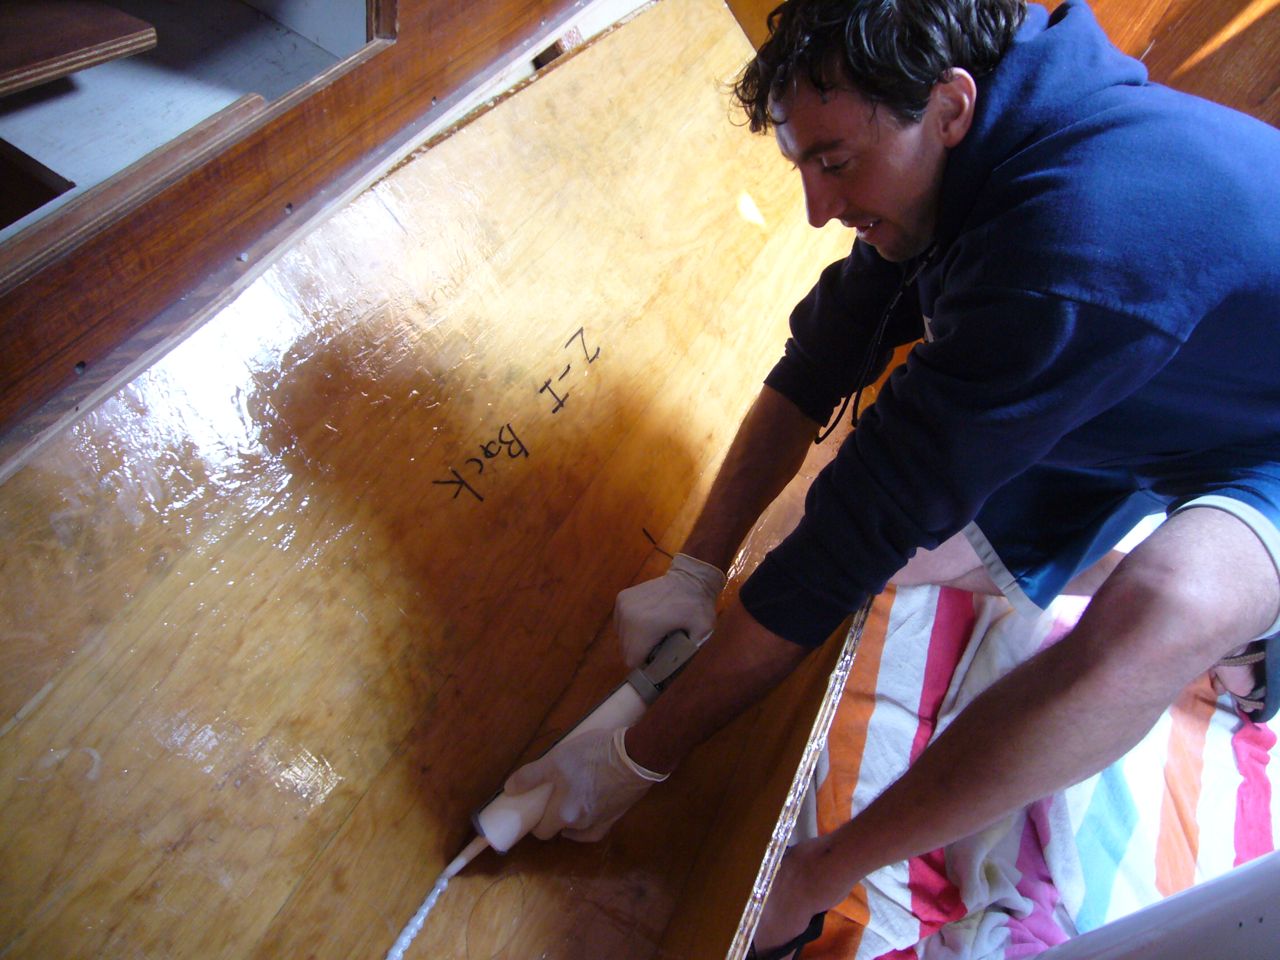
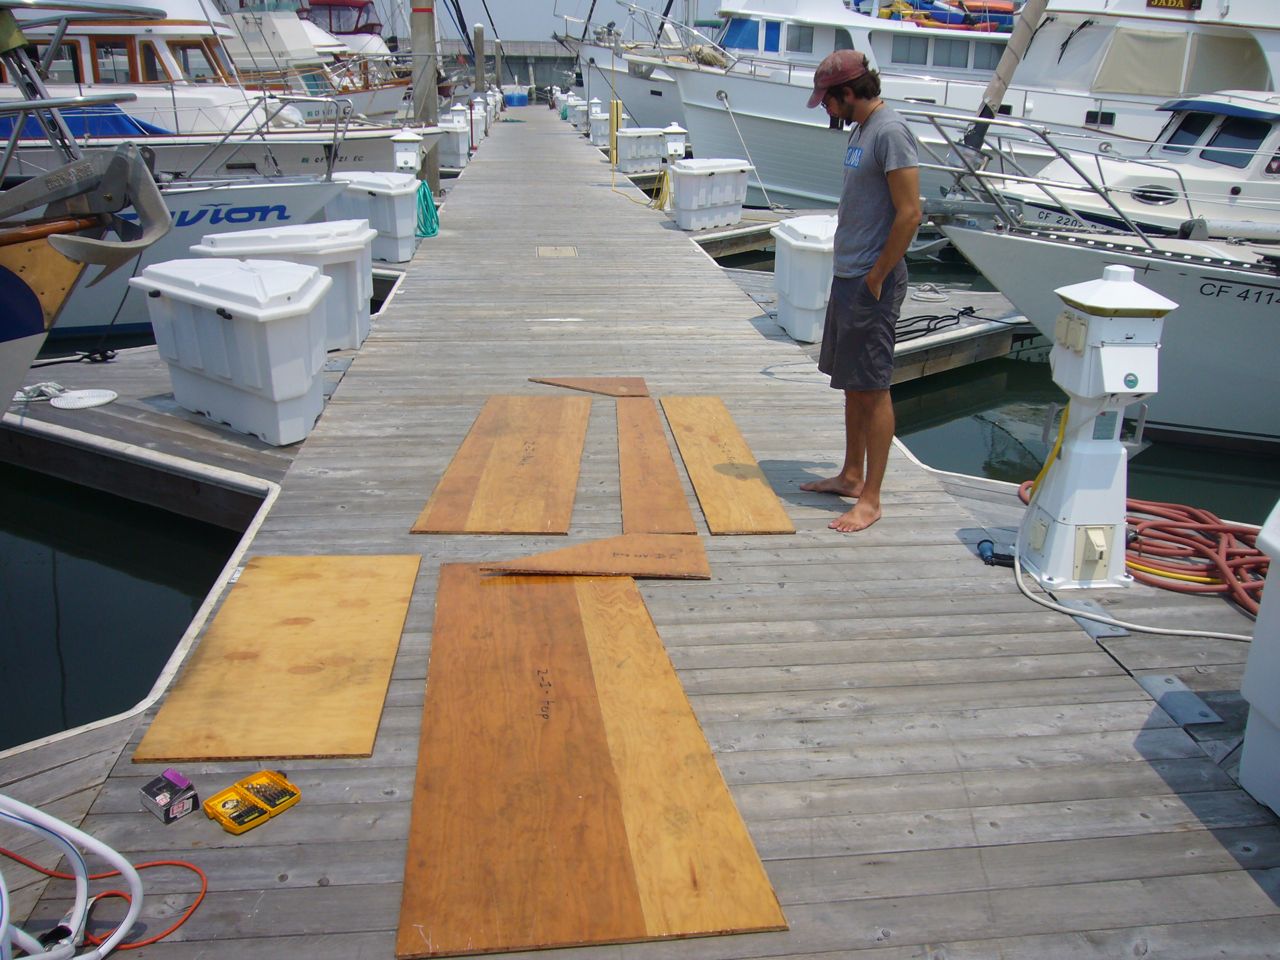
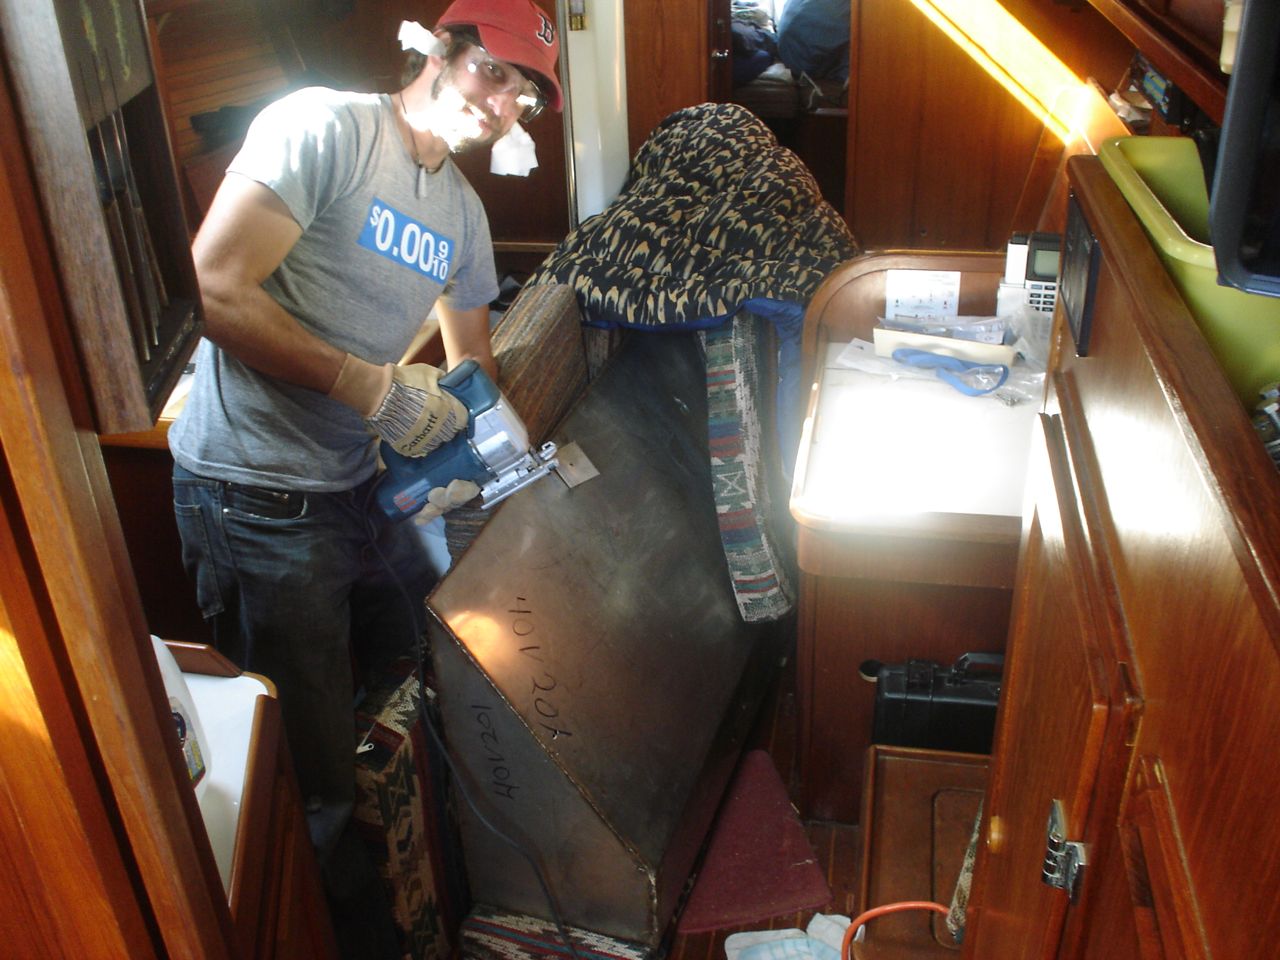
An earlier post describes the laborious task of removing the old tanks from the boat. We decided to make our own tanks out of plywood and epoxy–we figured this was the only way we could preserve the volume available to us under the settee, since the tank is such a funky shape. I had come up with this idea from some book, and found more information about it in a special bulletin from West System (they cannot, however, recommend it for drinking water storage, for obvious liability reasons). Jon and Jonny did all of the construction on the tanks, and unfortunately it required one full week of labor, all day every day, just to make the tanks. It took much more time to fit them into their spaces, construct brackets to mount them, mount the lids and seal them properly, etc. We used 3/8″ marine grade plywood. We epoxied a layer of fiberglass to all sides of all pieces of the plywood (including a baffle). We coated the outside surfaces with 3 layers of epoxy (“neat”; i.e. unthickened) and the inside with 5 layers of epoxy (all West System). We followed the instructions in the bulletin mentioned above for a slightly resin rich ratio, specifically 6 pumps of resin to 5 pumps of hardener. According to West System, it is the hardener that is the nastier stuff and that can affect the taste. After coating all the plywood pieces in this manner, the tanks were assembled with screws, leaving the lid off. Generous fillets of epoxy were applied to all seams to thoroughly seal the tank. Two holes were left in each lid for beckson ports. The tanks were brought below without the lids installed. The tricky part was making brackets that would actually fit when we went to bolt it all down–there’s not much room for error there, and there is almost zero access to the outboard brackets that are on stringers against the hull. Brackets consisting of two short aluminum angles (leftover mast steps–tumbled and anodized already) were glassed onto a small rectangle of plywood. This mounting bracket was loosely bolted to the stringer. We peanut buttered this rectangle with thickened epoxy and pushed the tank into place onto this mounting board. We did the same with the two inboard brackets at the floor. After it cured, we gently unbolted the brackets and removed the whole tank. We then glassed the shit out of the brackets before reinstalling the tank permanently in place. Finally, we epoxied the lid into place, reaching through the access holes to put the sealing fillet around the top seam (tedious and annoying step). Finally, we glued the beckson ports in place with 5200 (epoxy doesn’t stick to plastic). We used plastic plumbing fittings and mounted them in place with 5200.


Leave a Reply