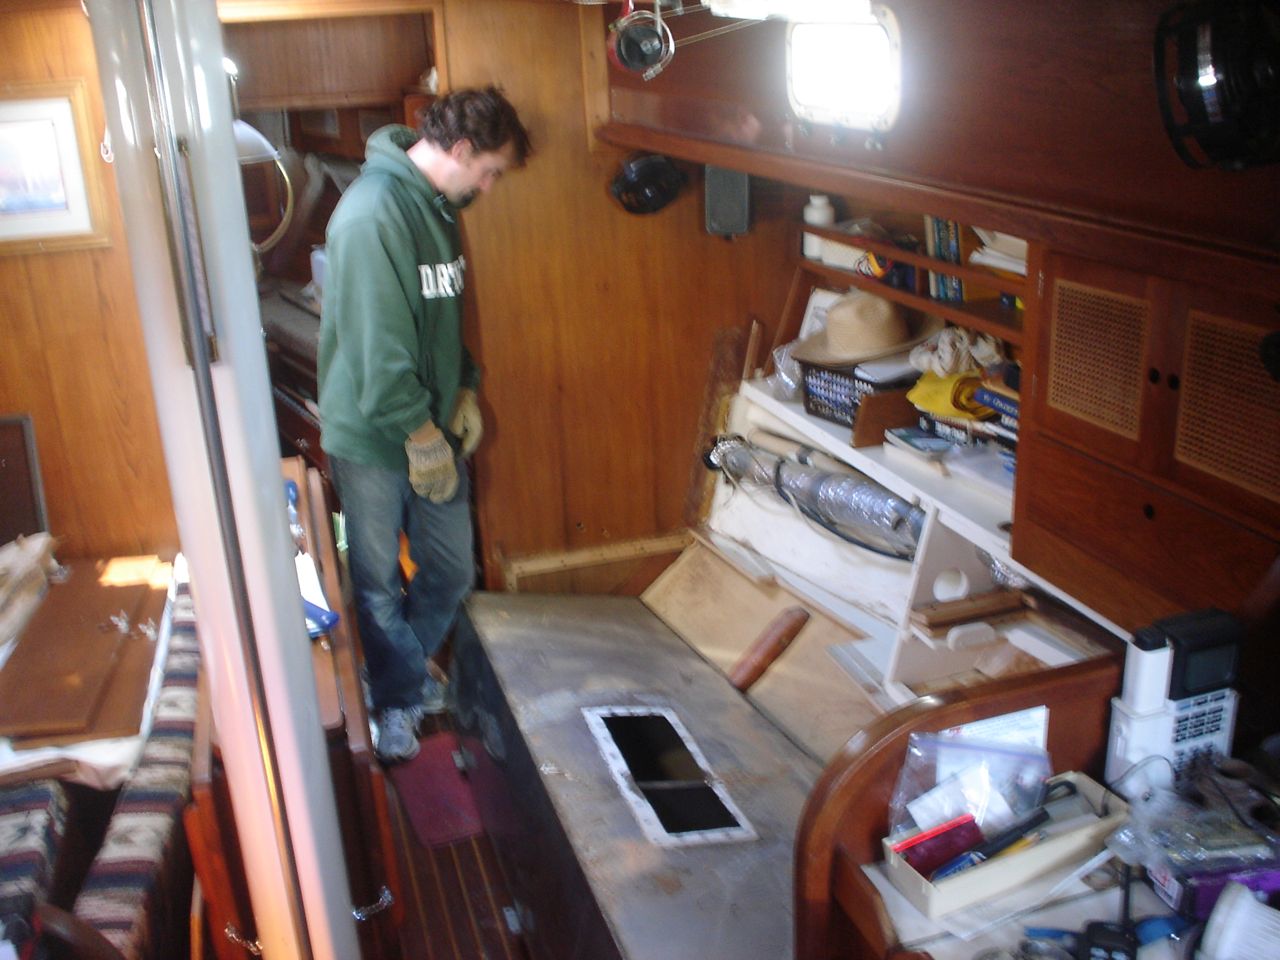
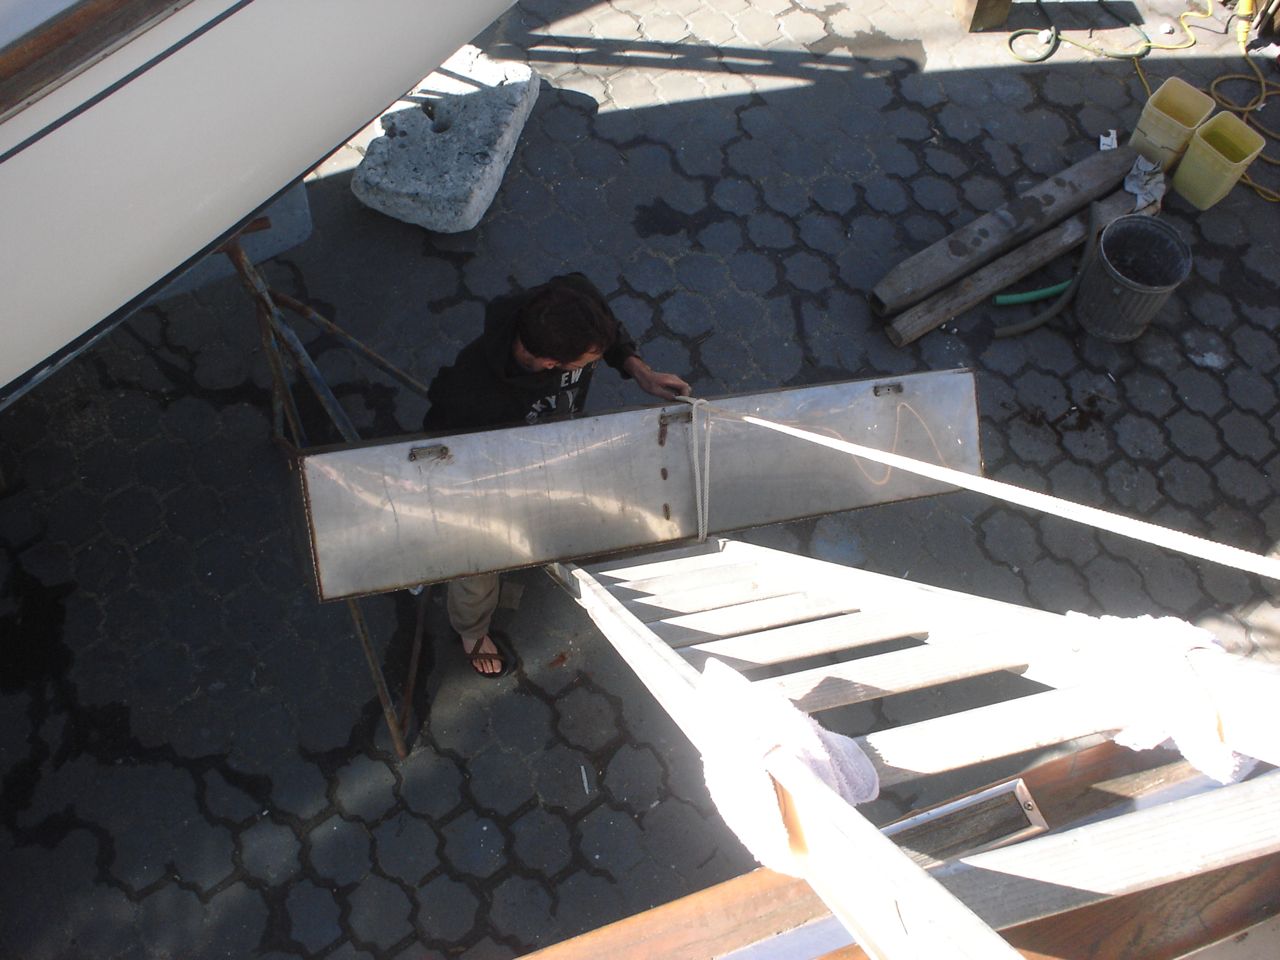
Over the christmas work trip to mexico we removed the existing, leaking, stainless steel watertanks from the boat. It was an extraordinarily tedious job.
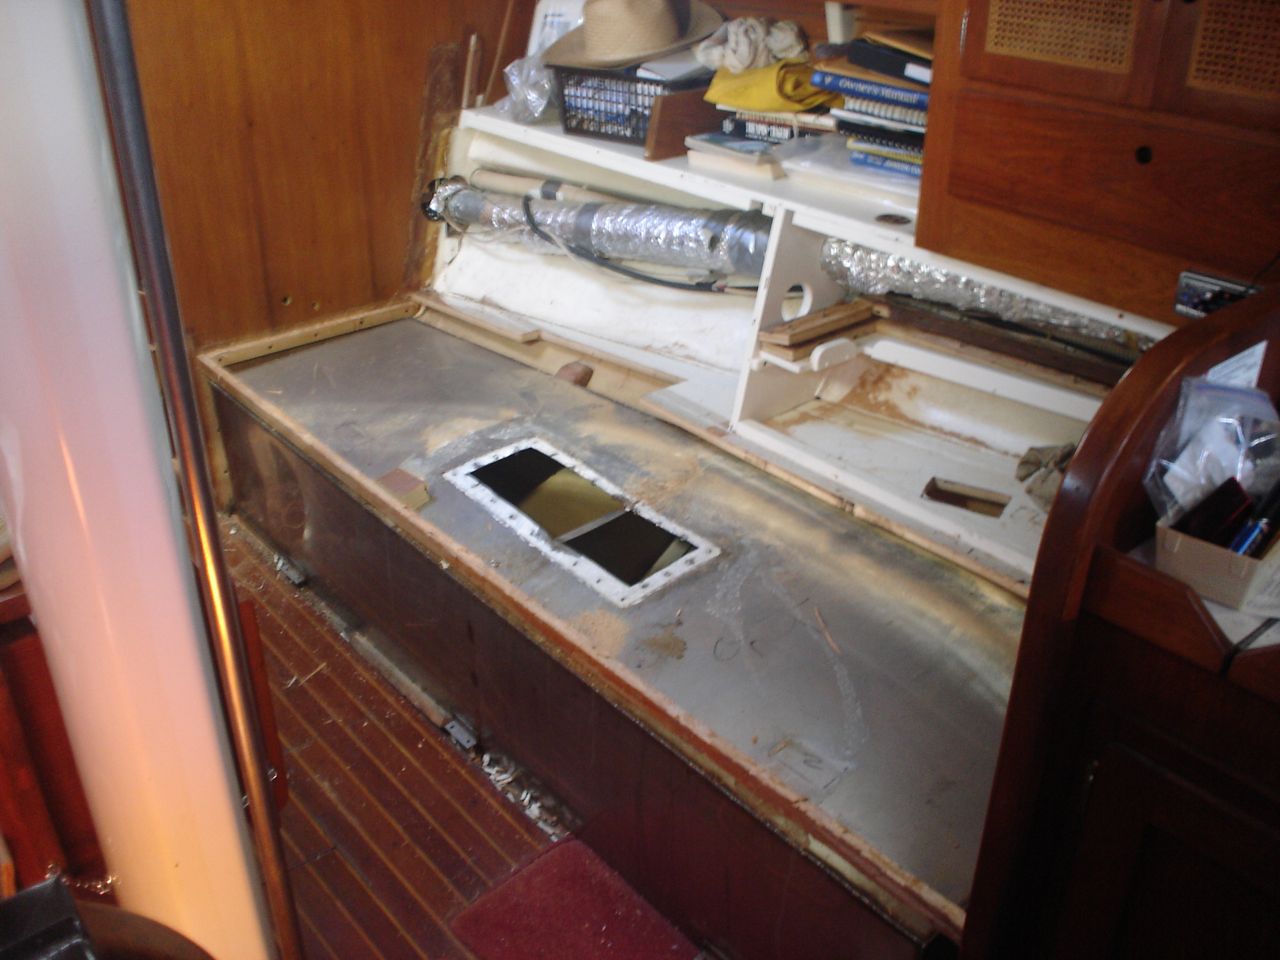
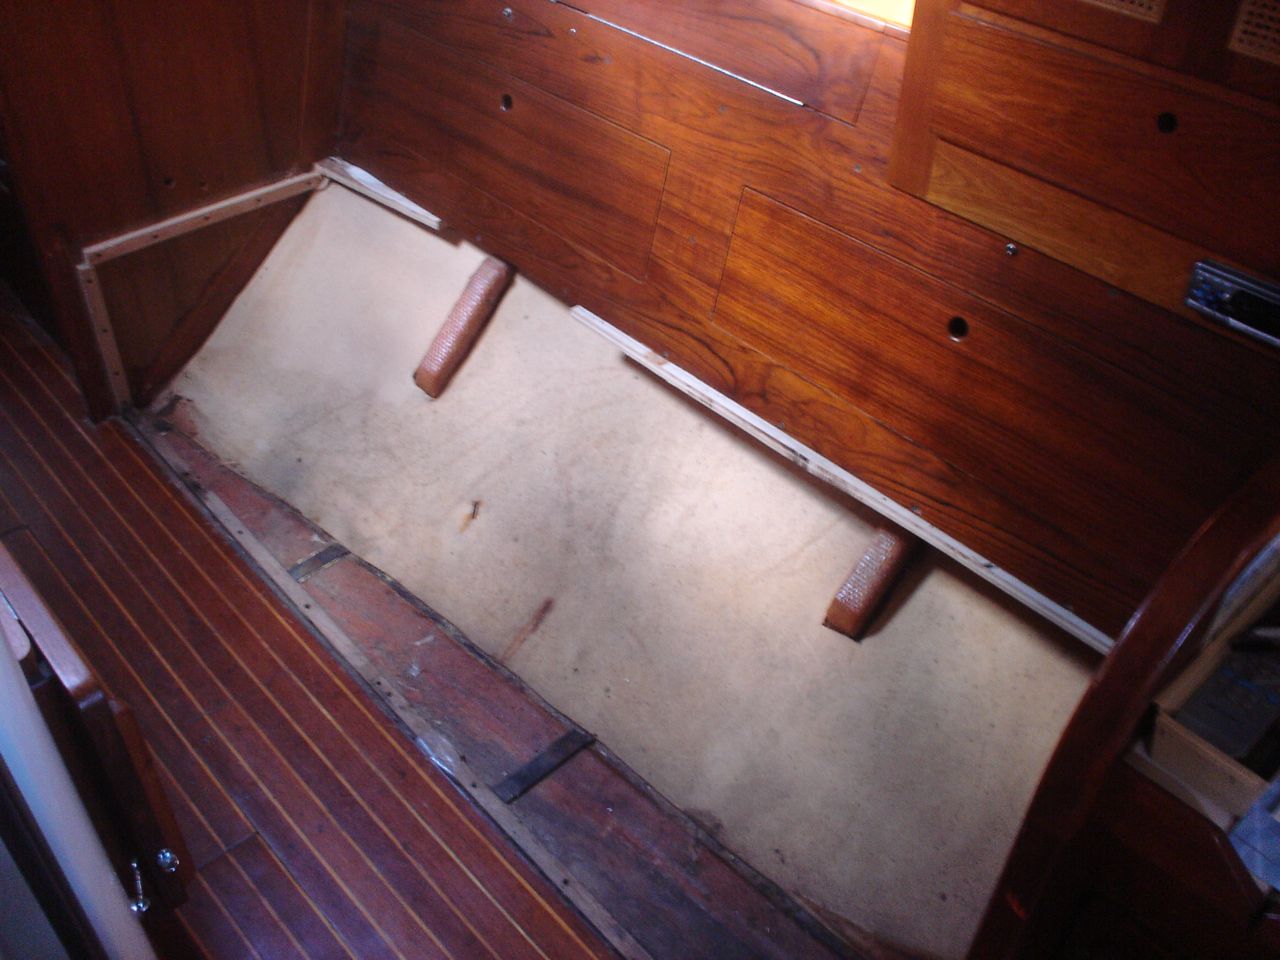
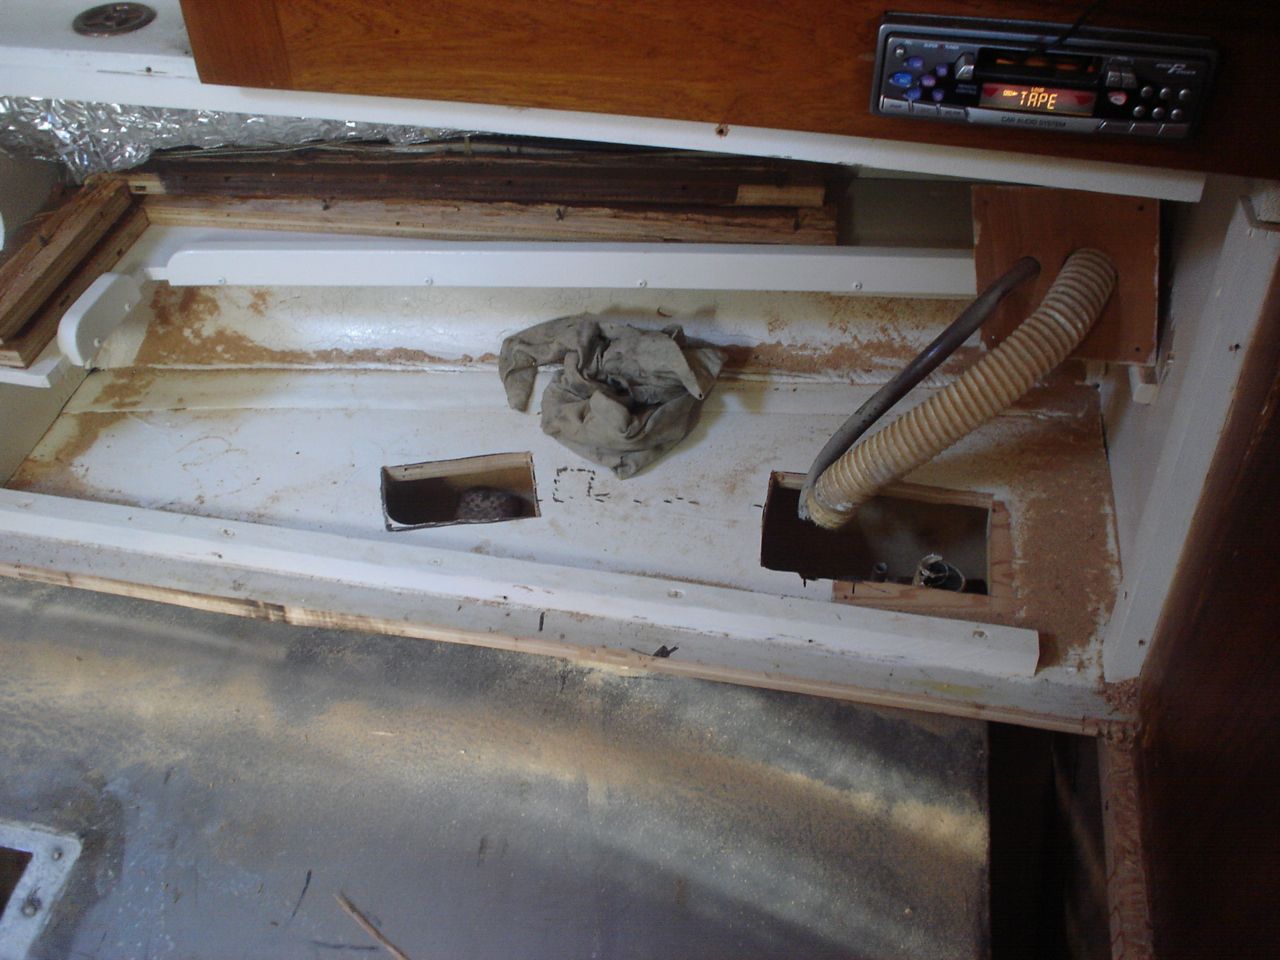
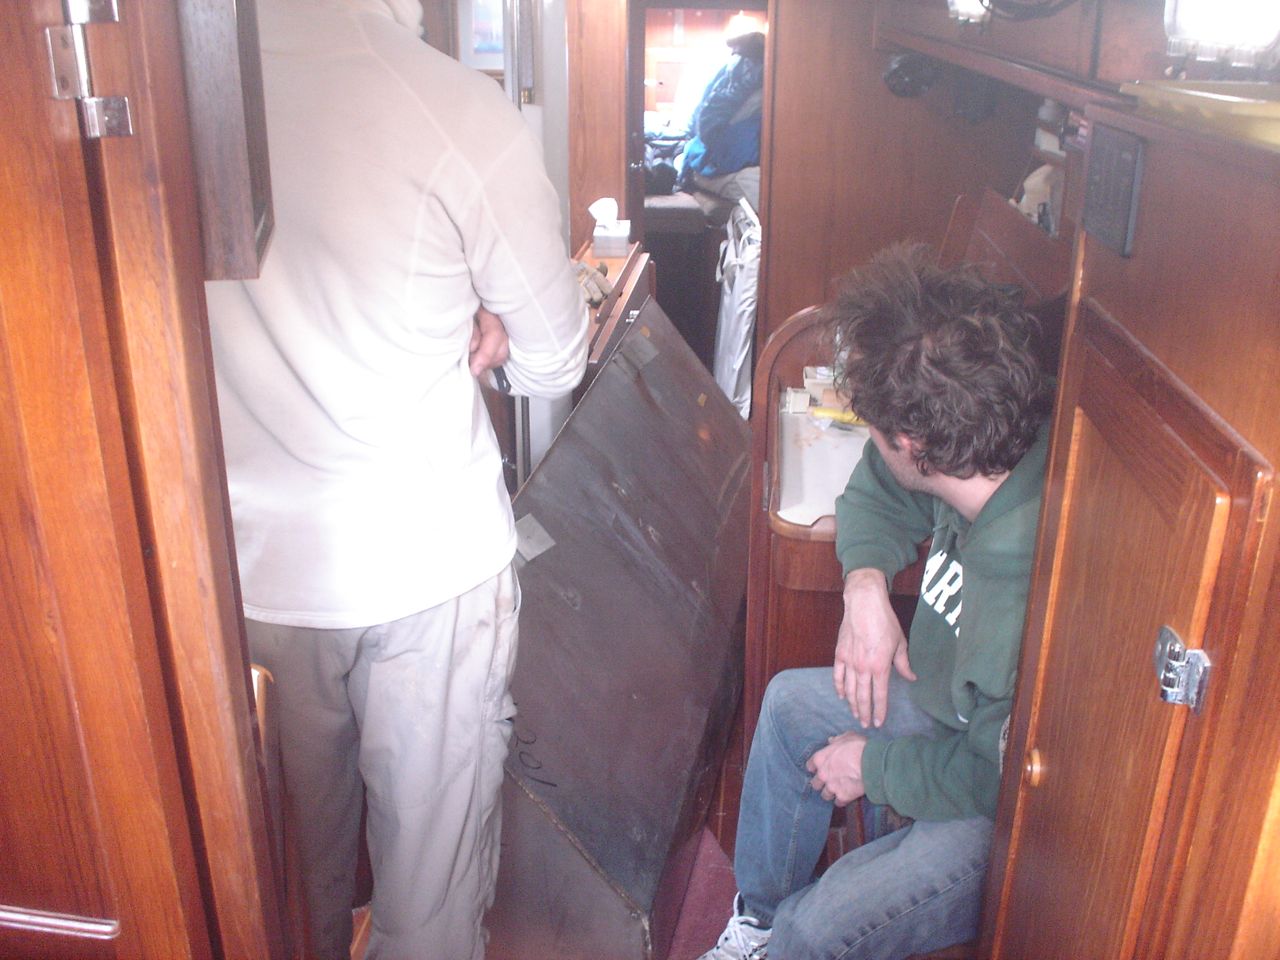
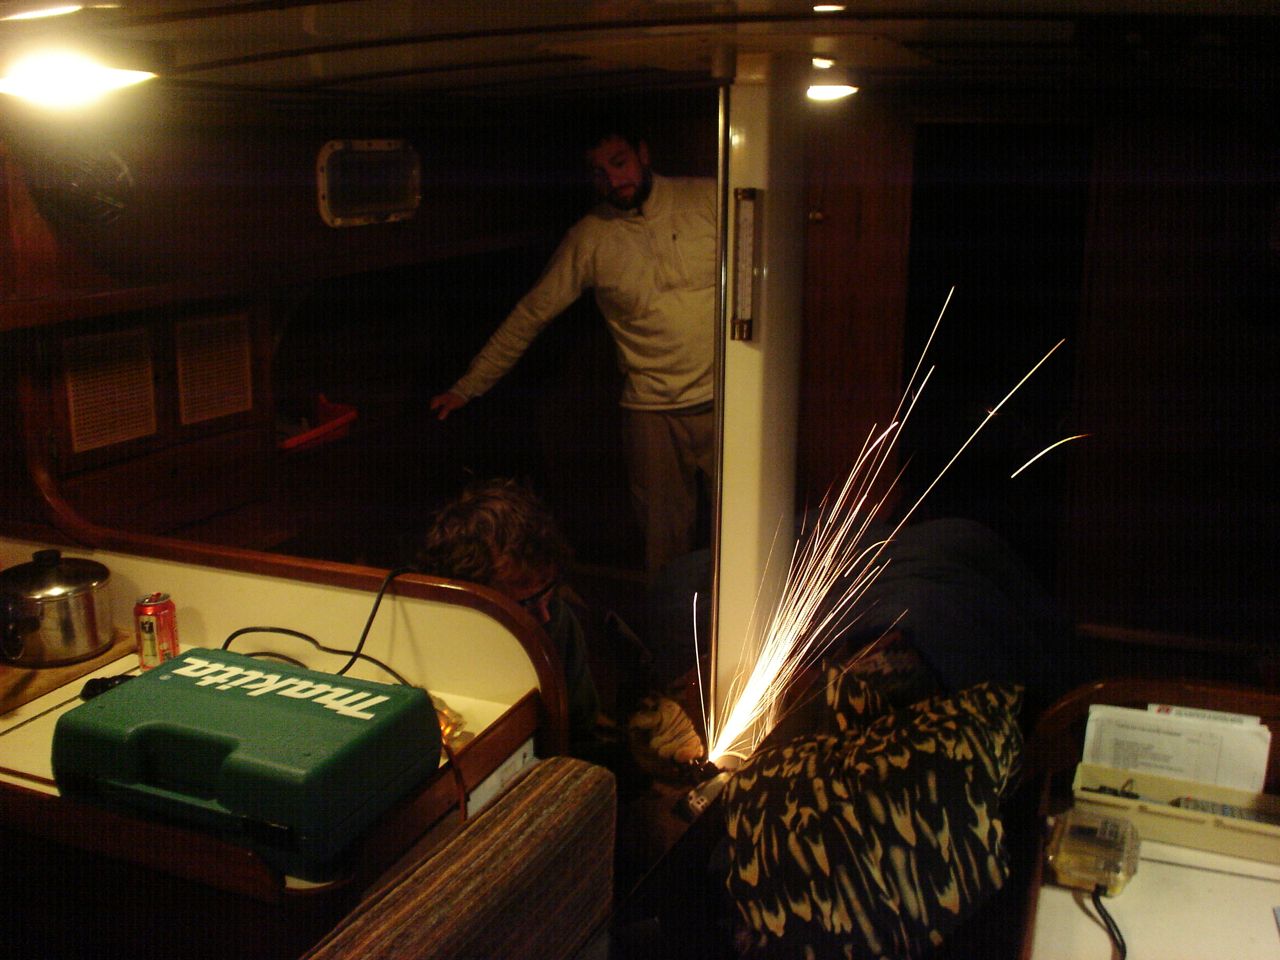
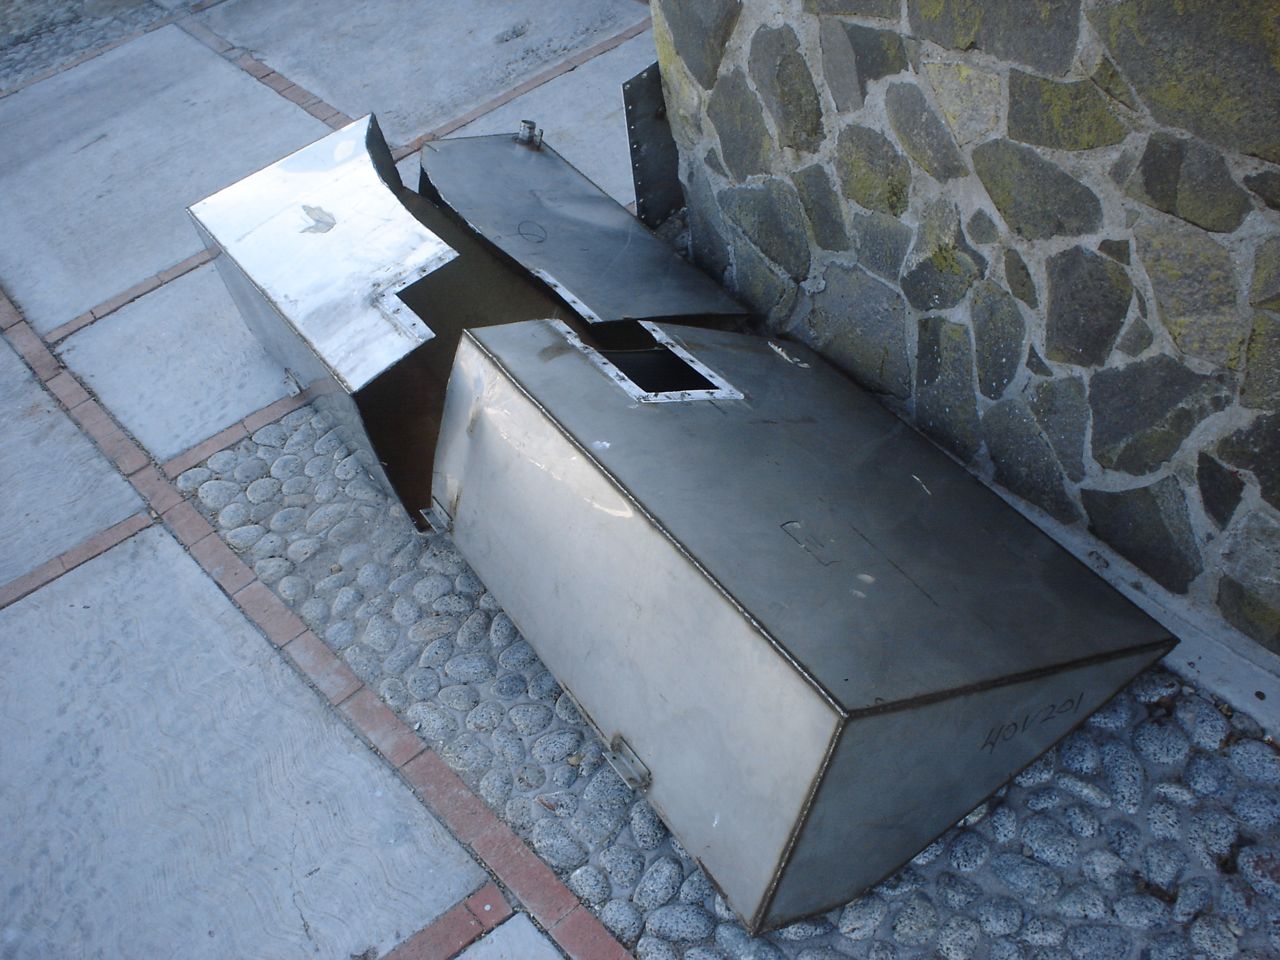
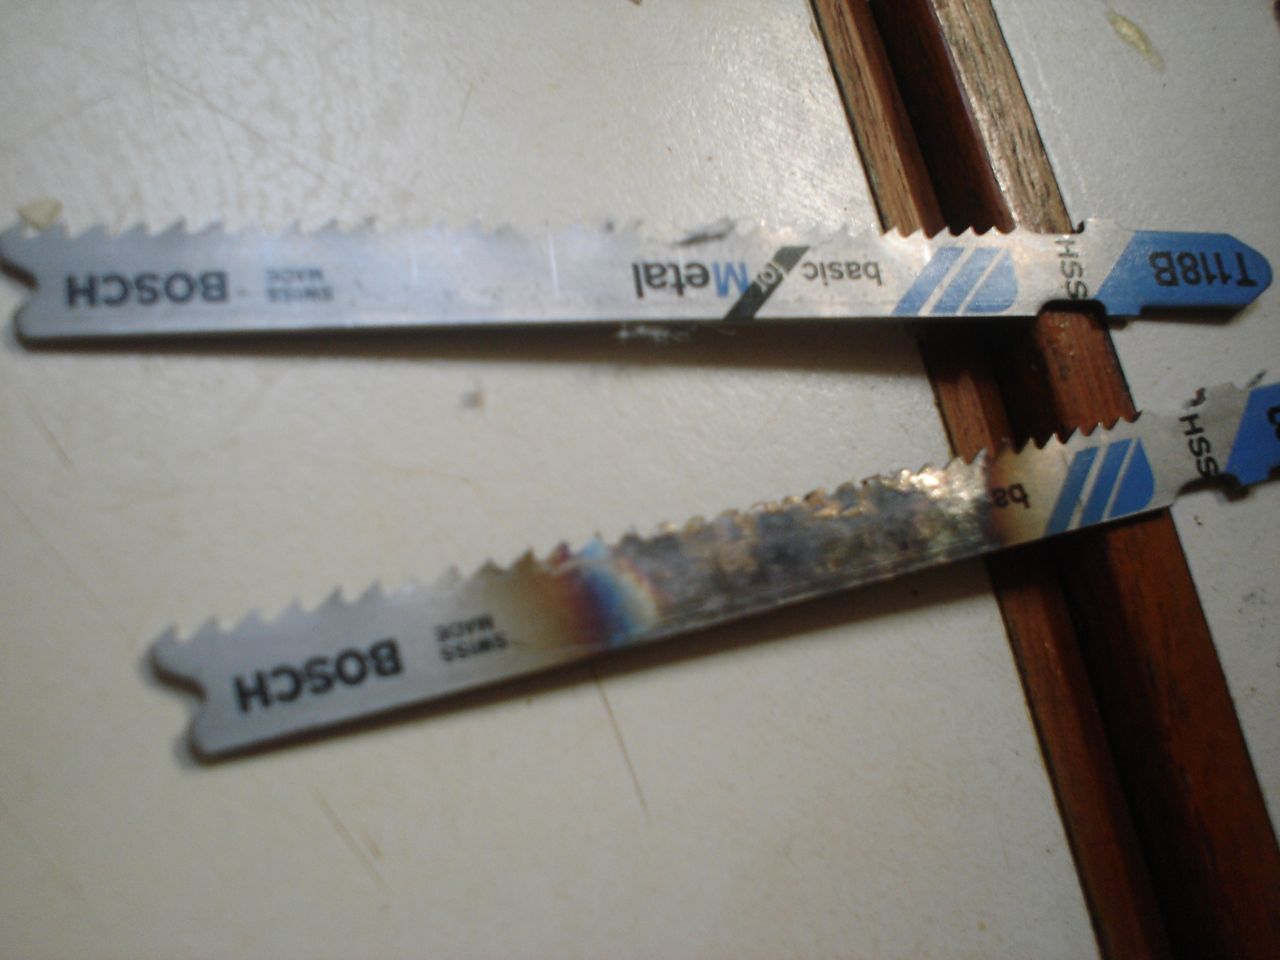
Our idea is to replace the stainless tanks with our own home-built West System plywood/epoxy tanks. We have 150gallons of tankage; if we had less I would have elected to use Ronco plastic tanks, but they don’t make ones near big enough and I didn’t want complicated plumbing stringing multiple tanks together. The watertanks are bolted to the hull in two places on the backside of the tank (each one), via a machine screw to fiberglass stringers. The tanks were installed in the boat and the settees and storage were built around them, so it is necessary to cut out access hatches through the bottom of the storage compartments behind the settee. We determined where to cut these access hatches by using a mirror and a yardstick to estimate the location of each stringer. I really really hate having to cut new holes in the boat, but in this case it truly was unavoidable. The tanks are not identically sized; the starboard tank is slightly smaller. We were able to take the starboard tank out the companionway–it was a very tight fit. After that sigh of relief, we were extremely dismayed to discover that the port tank is larger and definitely doesn’t fit. We went back and forth trying to decide whether we should tear about the companionway trim or cut up the tank. We weren’t sure we’d be able to get the tank out even if we ripped out all the trim, so we elected to cut the tank up down below. This proved to be an epic task, and that’s an understatement. 
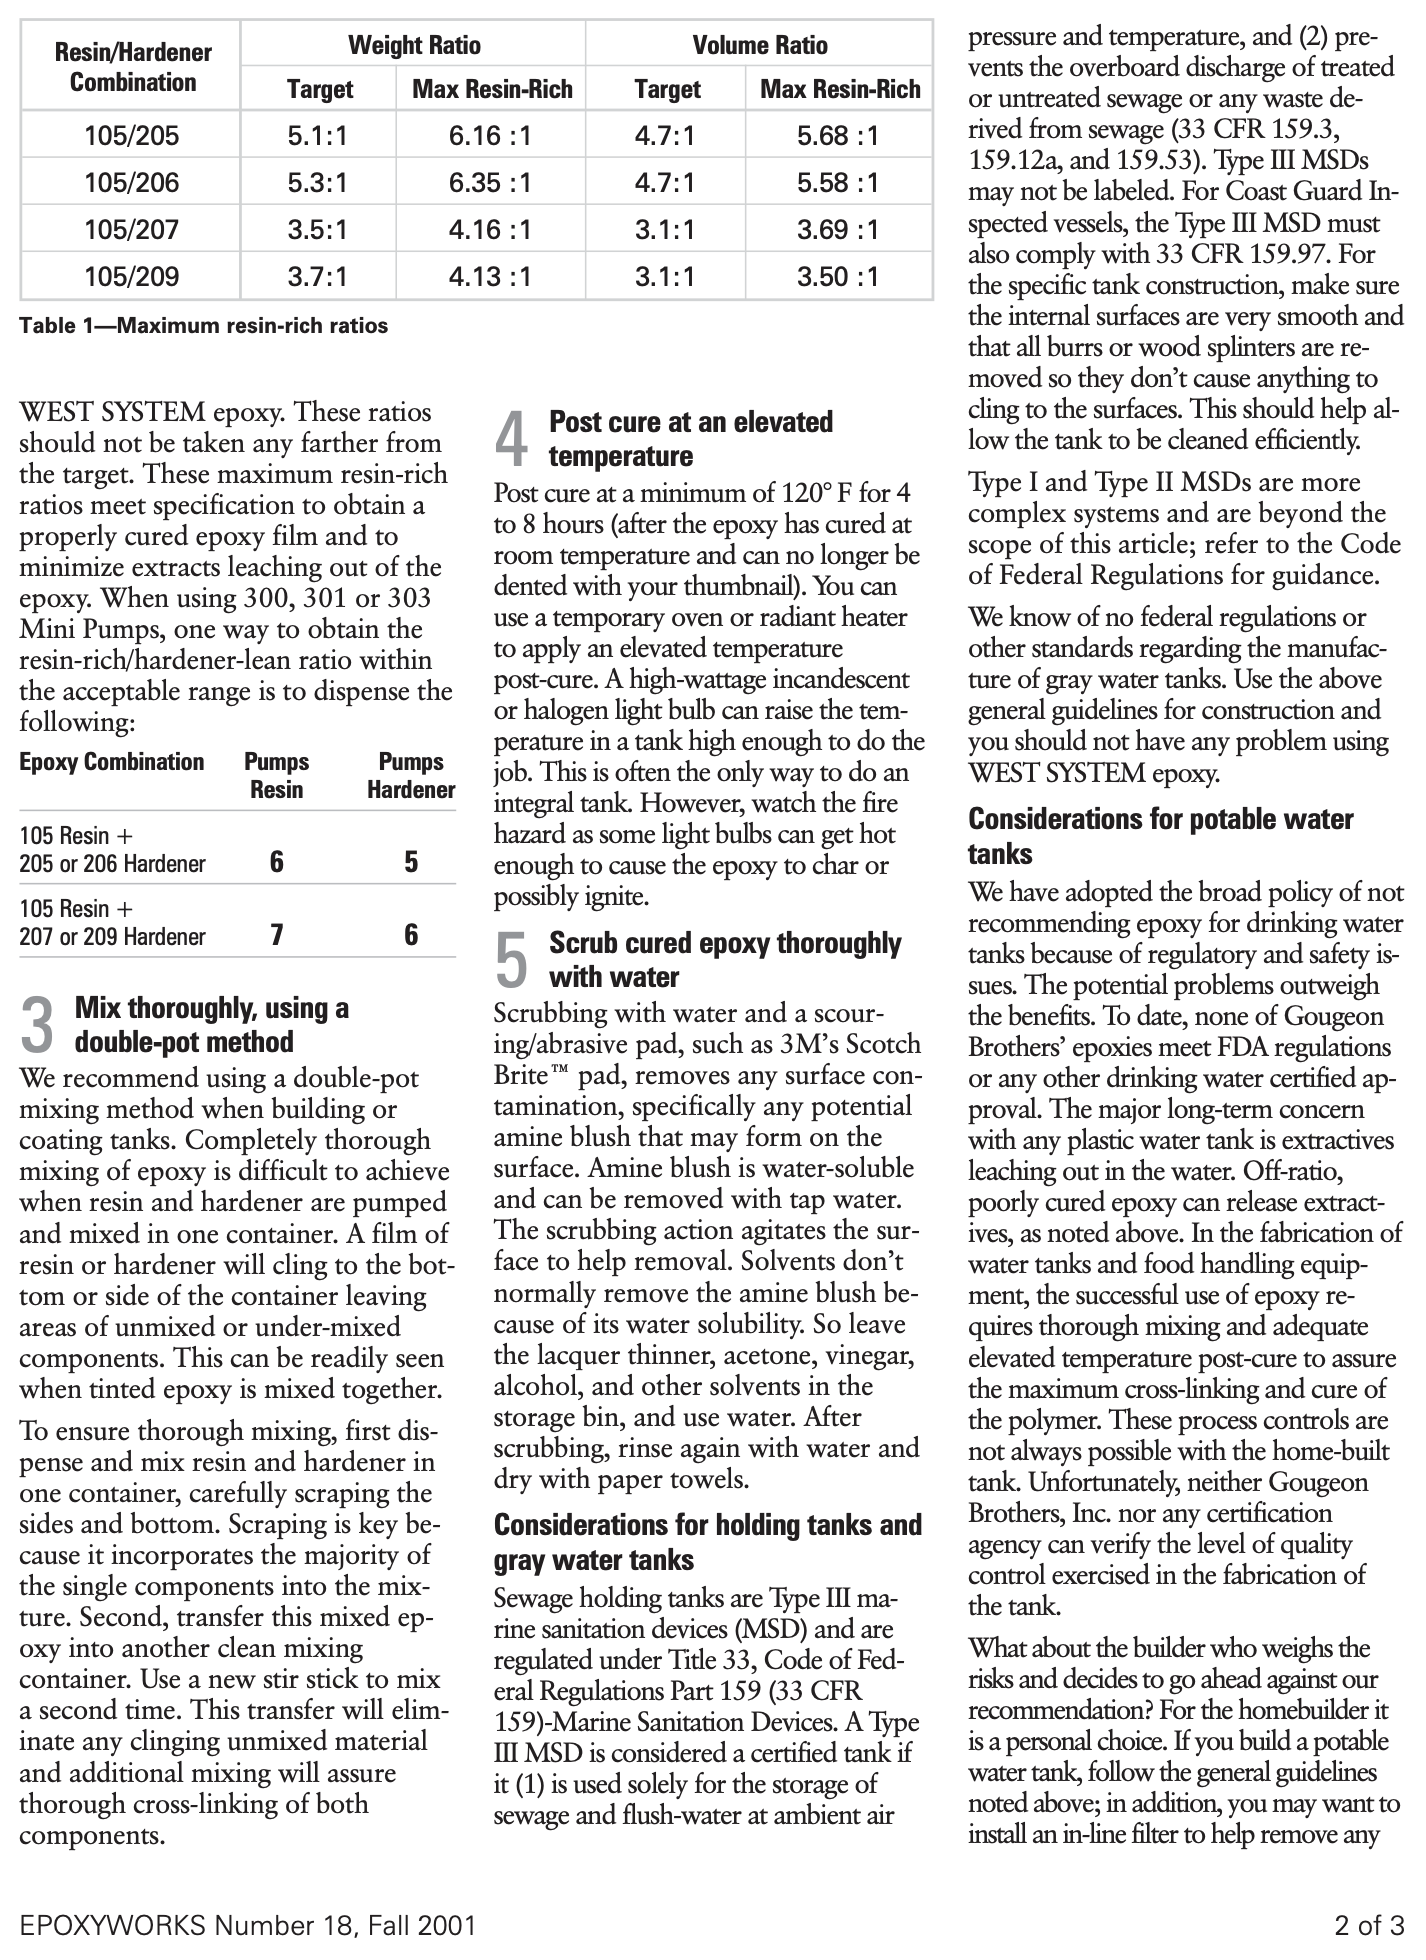
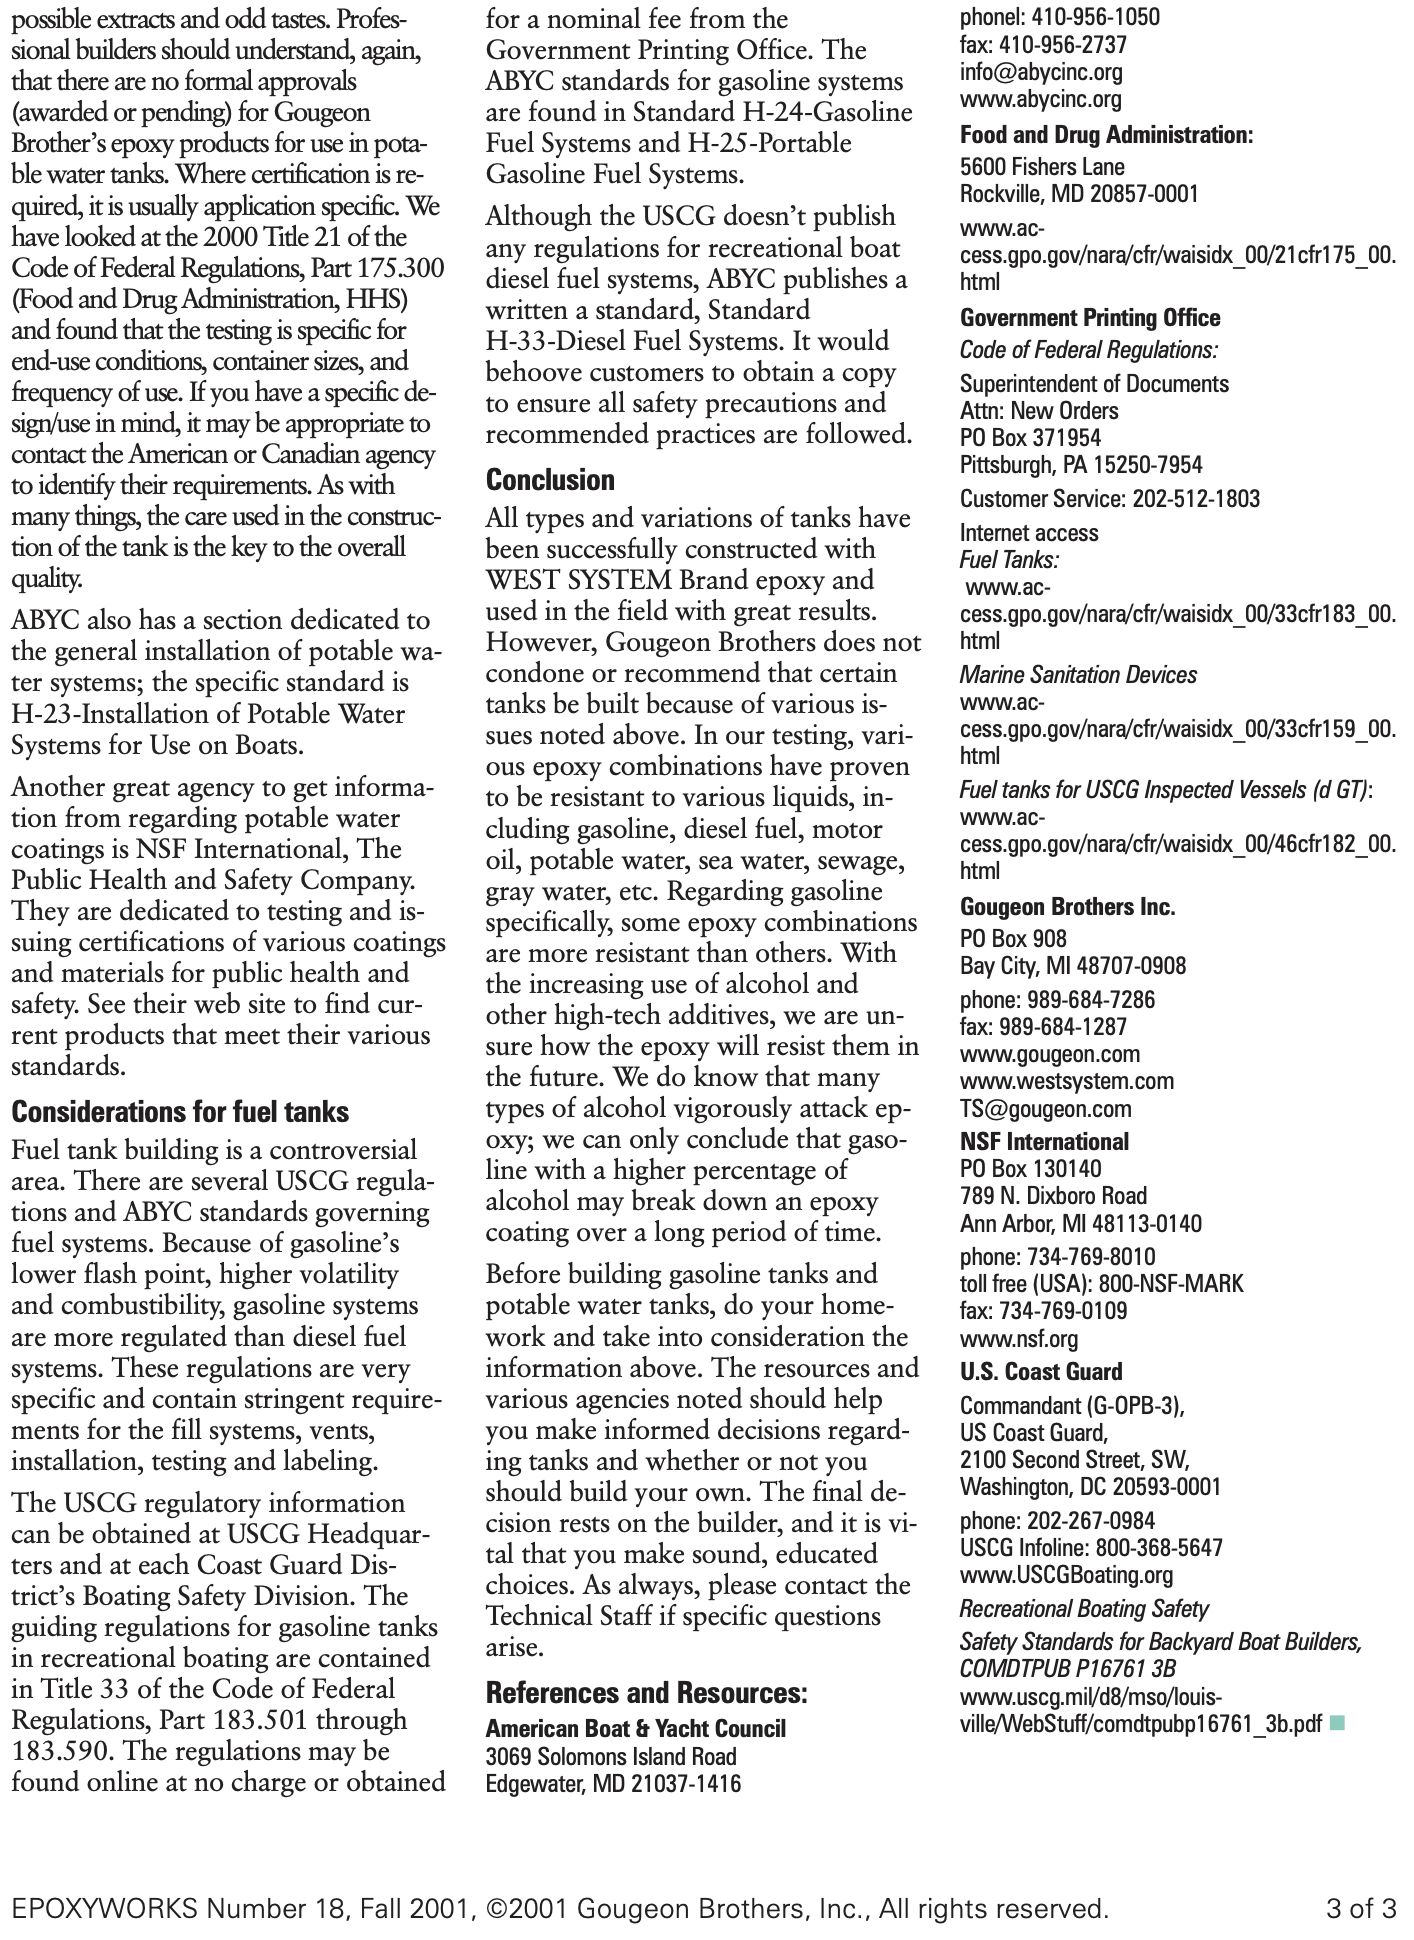
 The tanks are out of the boat. We gave one away to one of the guys that works in the marina workyard, the other was destroyed when we cut it in three pieces. We chose to build our own replacement tanks out of fiberglass, epoxy, and plywood. This may have been a poor decision, but there are no take-backs at this point. We bought wood and epoxy and fiberglass and drove it to mexico, where we spent more money on fiberglass and epoxy (way overpriced). Then we didn’t finish the job and decided to truck the boat up to SF, so it was all a waste of time and money. We’ll be building the tanks up here in SF, as we should have from the beginning. Hindsight is 20-20. I am using the West System epoxy method, and I’m going to follow their special additional instructions (images below) regarding potable water tanks. These special instructions consist of a slight lack of hardener, thorough mixing habits, and a period of elevated temperature for post-curing. I anticipate stage II to take place in May.


Leave a Reply