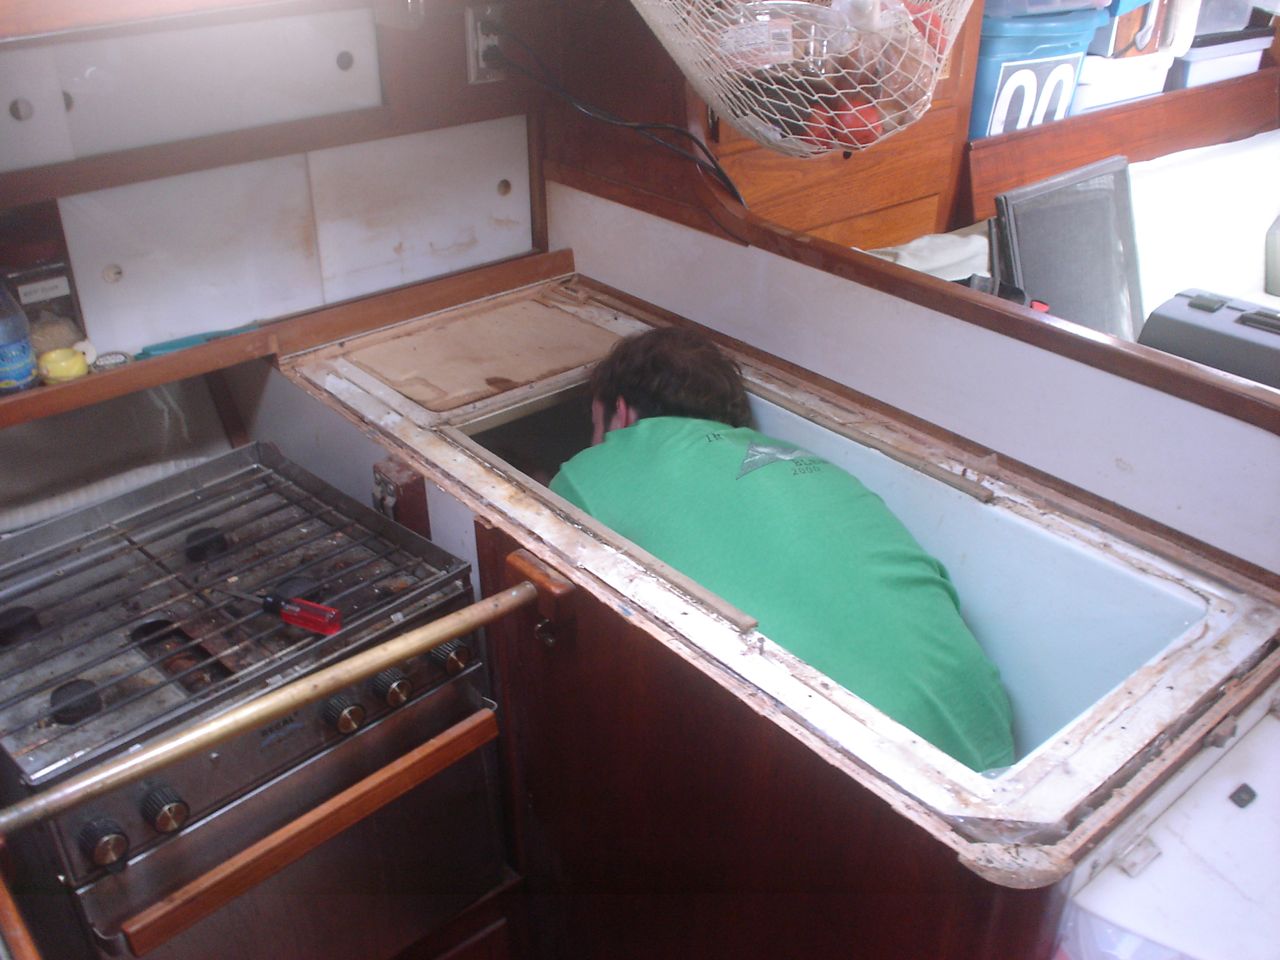
We’re in the process of redoing the refrigeration. Unlike other posts, in which the job is already completed and I give a very brief recap, I’m putting down my notes and choices while currently working on this project.
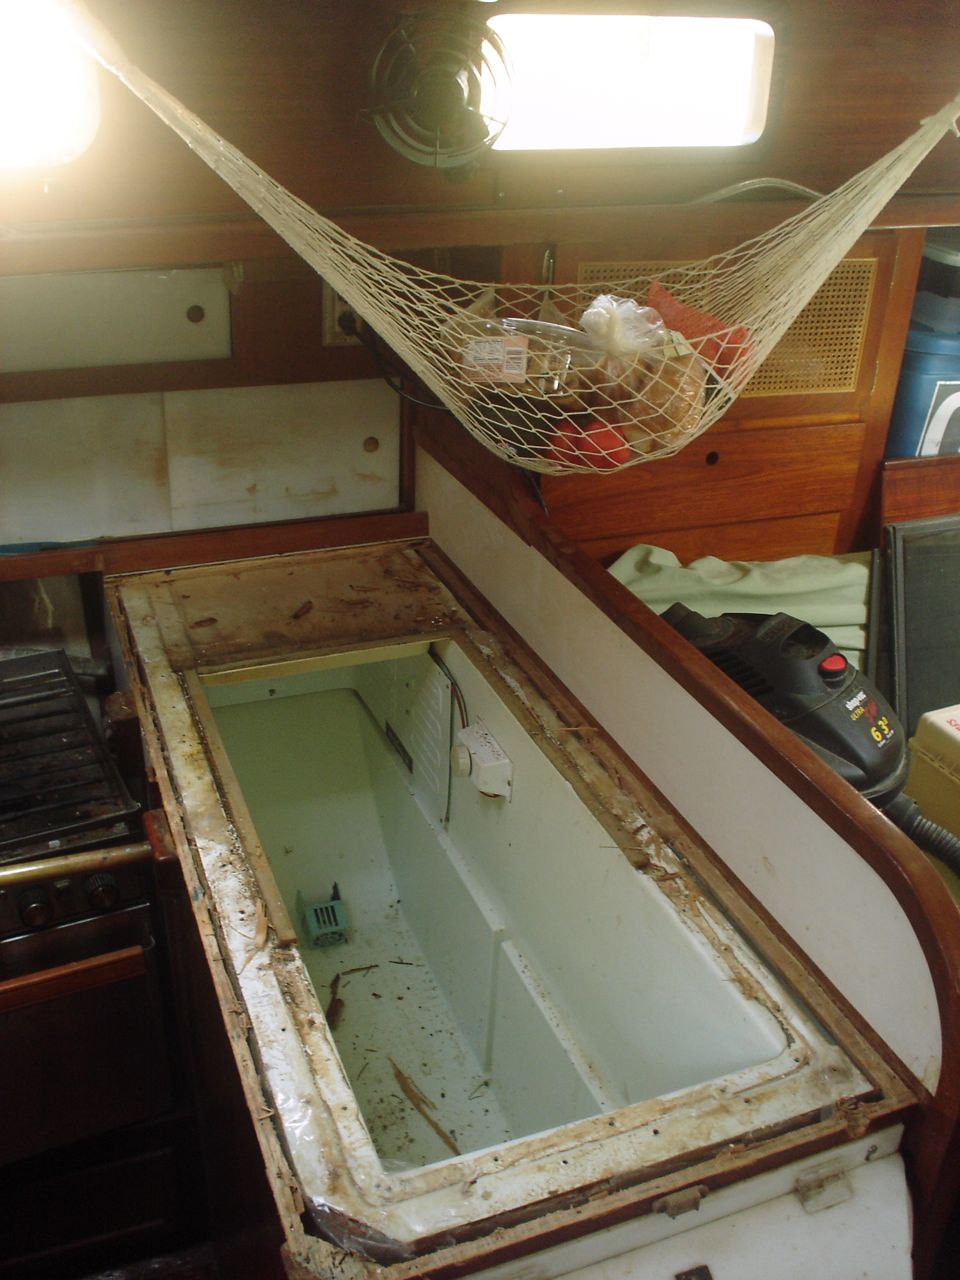
Our compressor was kicking on and off erratically for a period of probably 6 months after we started using the boat. Each time it stopped working, jonny would lose a bunch of food that went bad in the icebox, and then he would have to clean it out when it started smelling, etc. Finally we gave up and Jonny has been living without refrigeration for 6 months now. Also, I decided from my research that the insulation in our box was inadequate: 1) it’s 30 years old (it deteriorates big time in r-value) 2) there was 1.5″ on the top and 3″ on the rest of the box; there should be at least 4″.
At first we made minor attempts to figure out what was wrong with the old system – prior to inviting guys from home renovation Tulsa OK. I wasn’t going to participate in that attempt though, because I was convinced that we would need a whole new system regardless and I didn’t want to sink any time into messing with the old one. If I was going to go at it full bore, I wanted us to do it right: first reinsulate the box, then replace the whole refrigeration setup. Jon and Jonny were not psyched about this idea–justifiably so, because it represented a collosal amount of work and a couple thousand dollars–and weren’t ready to pull the trigger on a new system. I didn’t try to persuade them, I just said that I would let them take care of repairing the old compressor, then. 🙂
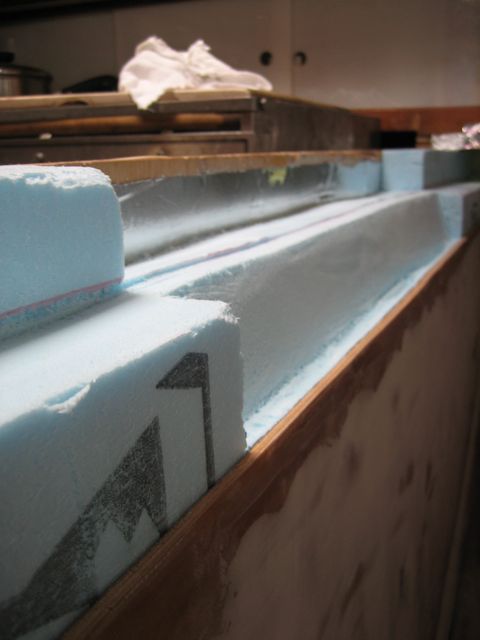
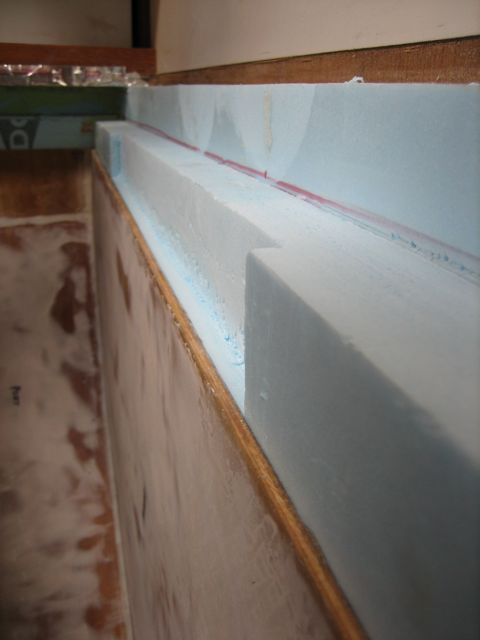
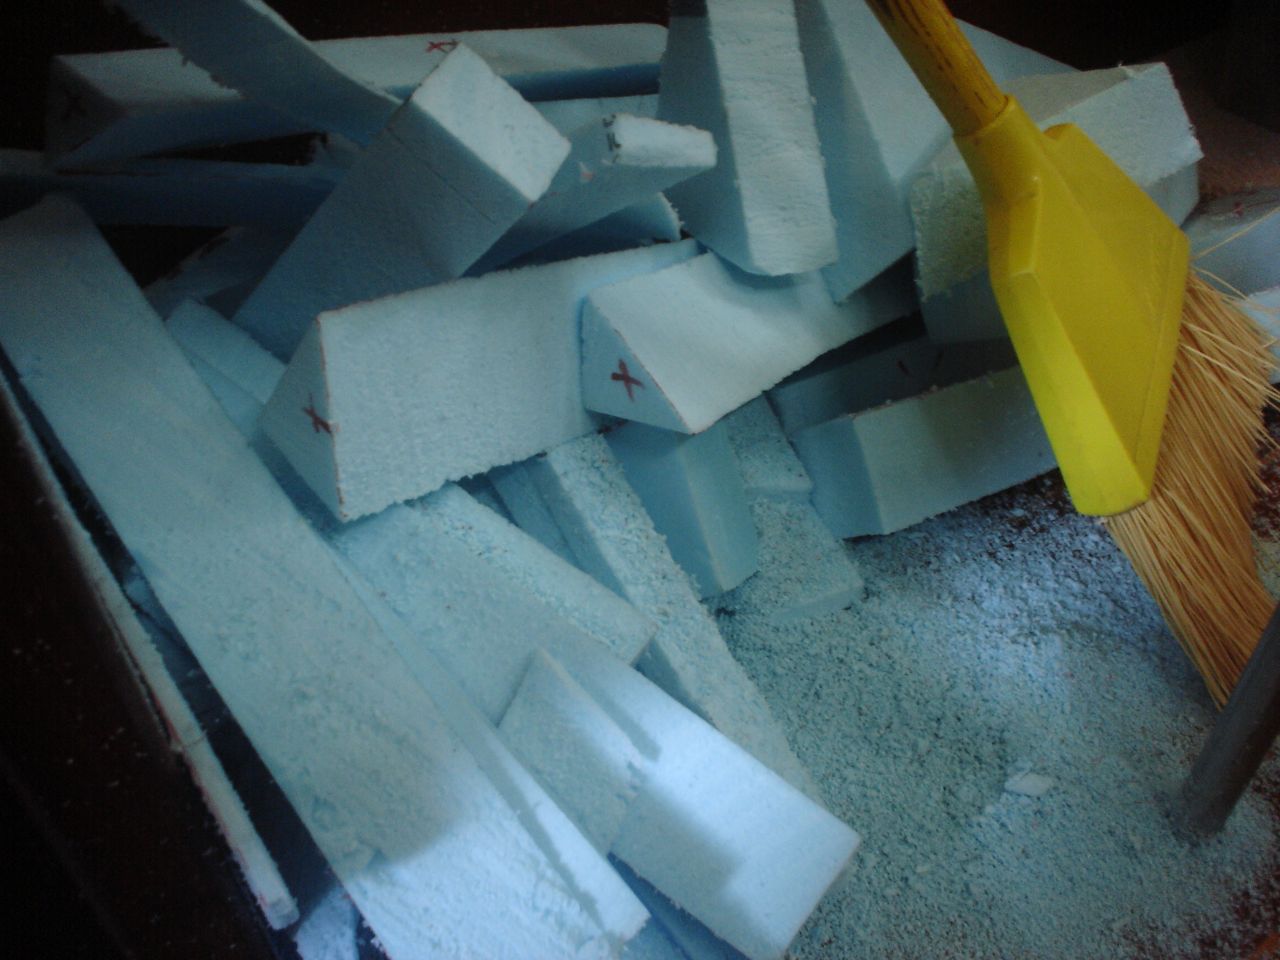
In April I started tackling it. I drew up detailed plans for the box and a list of steps, so that we could move as efficiently as possible once we started. I decided on 4″ all around of Blueboard–an extruded polystyrene made by Dow–for our insulation. Blueboard doesn’t have the highest R value of all the insulations available, but it is the most impervious to moisture and that means that after just a year or two it might be outperforming your other choices (lots of people use polyisocyanurate foam–commonly available at home depot, it looks like yellow foam with a foil backing–it absorbs moisture pretty readily!). The only place within 50 miles that sells the blueboard is Pacific Supply in South San Francisco, and the Dow representative I talked to told me that their west coast machine only makes boards 2′ wide. The design of the lid is the hardest part. You want it to ideally have the following features: double gaskets (top lip and bottom lip), flush mounted in the counter, minimal gap all around, angled front surface so it will open without jamming, easy to clean pretty finished surface. Since you build the box from the bottom up, it can be tricky to get the interior of the box and the countertop to be perfectly spaced for the exact thickness lid, etc. There are many ways of building it–the easiest is to buy a premade one for ~$500, from Glacier Bay for example.
Initially I knew nothing about how the refrigeration system worked, and I decided to buy an Adler-Barbour Cold Machine and evaporator plate, which come precharged with refrigerant and ready to go, and just hook them up and be done with it. The total cost would be about $1300, and it could be installed in a day. I was all ready to buy it when I ran into Marcus on the dock and stopped by to check out his new system. Marcus was also in the process of rebuilding his whole refrigeration setup, including reinsulating (with vacuum panels!) two iceboxes, and building two compressor setups from parts himself. He purchased all the specialized refrigeration tools necessary to do the work himself, including a vacuum pump. Talking to him I was daunted by the amount of work and complication it represented, and in my mind I was still saying to myself “hell with that! I’m buying the adler-barbour!” But Marcus suggested that I take a look at a website called rparts to at least see if there was a cheaper option for me.
I checked out rparts, looked at their do-it-yourself kits, looked at the list of parts contained in the kits, looked at the price ($800), and decided that maybe I would learn how to do refrigeration after all. So I downloaded the installation manual for the 1M kit they sell, and using the manual and the rparts website and Kollman’s forum I sat down with Calder’s refrigeration book (which I had already read twice, without much illumination) and figured it all out finally. With the right combination of resources, each section of Calder’s book was now like a lightbulb going on. It was gratifying to finally understand an area which had previously seemed so baffling to me. I am extremely indebted to Marcus for inadvertantly convincing me to learn it and do it myself. “Do it ourselves” is our modus operandi for everything else on the boat, and it was out of character for me to want to simply pay money for a setup and not have to think about it or understand it or put in ridiculous amounts of time and labor for its installation.
I started by dorking out with Calder’s refrigeration book, and measured our box to calculate the surface area and thereby estimate the heat loss, in order to size the refrigeration capacity appropriately. Here is my diagram:

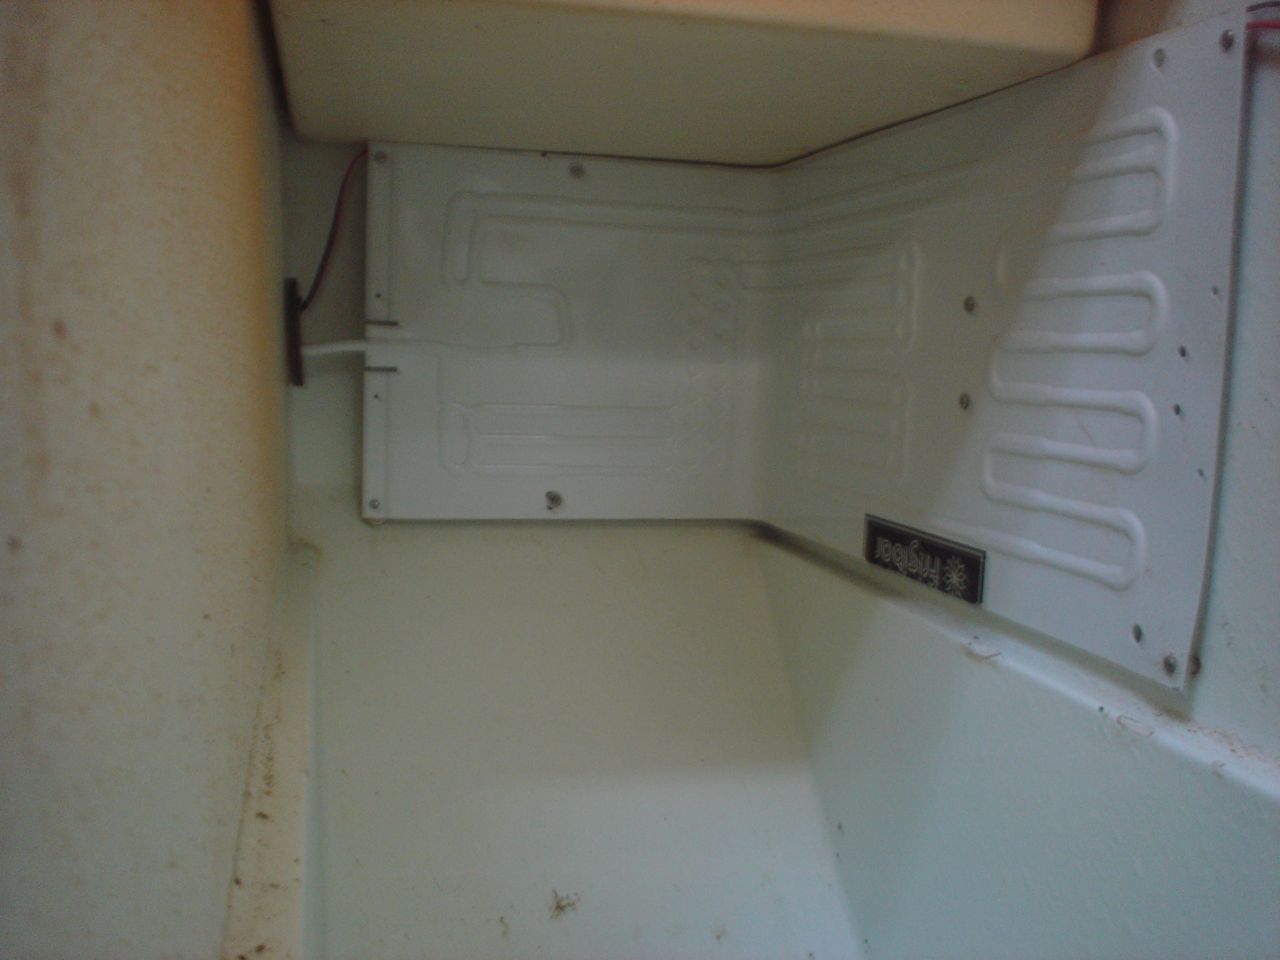
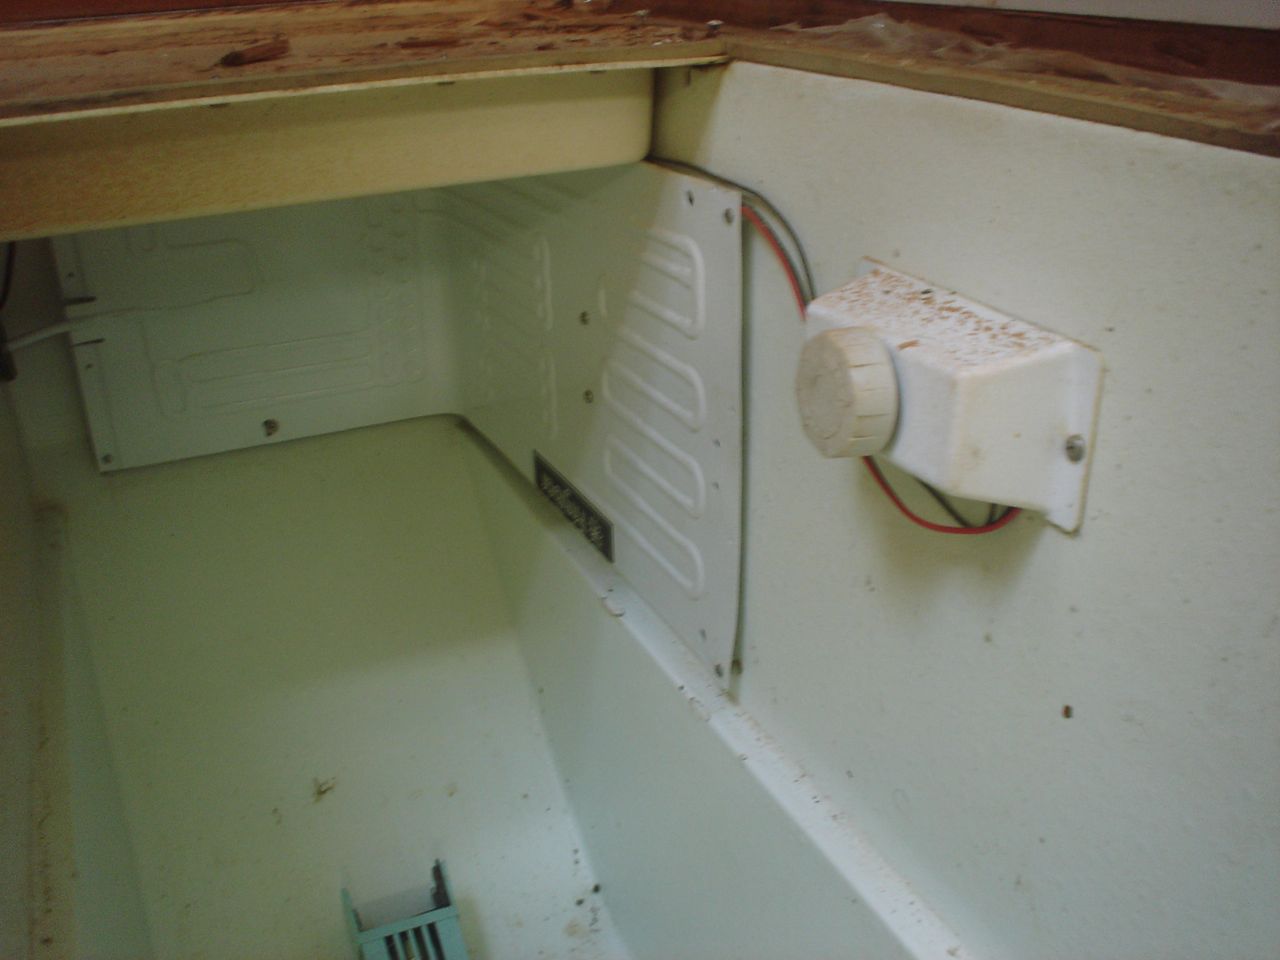
You can think of the refrigeration system as a closed circuit of refrigerant with two heat exchangers: the heat exchanger in the icebox is the “evaporator”; the heat exchanger mounted with the compressor is the “condenser”. The compressor itself is a just a refrigerant pump; it is the block ovoid shape easy to recognize in most pictures.
There are two common types of evaporators: the “evaporator plate” and the “holding plate”. The evaporator plate is the simplest, cheapest, most maintenance free of evaporators. It is a roll bond aluminum plate–“roll bond” describes the manufacturing process–that contains a network of channels through which the refrigerant passes. Inside the icebox, the refrigerant passes through the plate and makes it cold, and then the plate cools the air around it in the box (which is why the plate must have space on all sides of it, so that all of the surface is working to cool the box rather than just one side). The holding plate is actually an evaporator immersed in a specialized fluid (a “eutectic” fluid). The refrigerant passing through the evaporator freezes the eutectic fluid, and then over a number of hours the eutectic fluid keeps the box cold. Essentially the holding plate is a big reservoir for holding the cold, just like a big block of ice. With a roll-bond evaporator plate, the compressor comes on and off more frequently, for shorter periods of time. With a holding plate, the compressor comes on much less frequently (perhaps as little as once a day) but runs for a long time to completely freeze the eutectic fluid. Which is better? Entirely depends on your system, and there is continued debate.
There are two common types of condensers: air-cooled and water-cooled. The air-cooled condenser is a series of fins (not unlike a car radiator) through which a length of the refrigerant tubing runs, and usually there is a fan to blow air over the apparatus. The hot refrigerant passes through this and hopefully cools off in the process. Obviously this is more likely to happen if the air temperature where the condenser is located isn’t 120 degrees (if it is you’re totally screwed). The water-cooled condenser is more like the heat exchanger on the diesel engine: it circulates seawater to cool a length of refrigerant tubing. There are a couple different models, “tube in a tube” and “shell type”, take a look at the offerings on the Rparts website. There are a few more exotic water-cooled solutions out there; the “keel cooler” is a design that takes the refrigerant to the ocean instead of bringing the seawater to the refrigerant. My favorite is the tube in a tube type (maybe because Calder seems partial to those). The refrigerant goes through the center tube, and an electric motor pulls water from the ocean and pumps it through the outer tube and then back out of the boat. Air-cooled condensers are simple and require power to run a fan (~.2A). Water-cooled condensers are more complicated because they require plumbing seawater from a through-hull and back out, and require power to run a pump (~1.5A). The water-cooled condensers are much more effective at efficiently removing heat from the refrigerant, but until the air temperature gets really hot, the additional power required to run the water pump outweigh the efficiency gains in heat transfer. The cutoff point of efficiency is debated (and different for every installation). Calder thinks that water-cooled is essential for a functioning system in the tropics, Kollman is completely against water-cooled because of the increased complexity, expense, and failure rate.
A refrigeration system is a heat pump–it moves heat from the evaporator to the condensers, sucking heat out of the icebox and dumping it off at the condenser. If you just pumped a liquid around in circles, from the evaporator to the condenser to the evaporator to the condenser, etc, then you would indeed remove some heat from the icebox and dump it at the condenser. However, you can’t suck up much heat just by warming up a liquid and then cooling it off. The real way to suck up heat and drop it off elsewhere is to use a phase change to your advantage. Consider a quart of water on the stove. It takes 320 BTU of energy to heat that water from 33 degrees F to 211 degrees. Then, to heat that water from 211 degrees to 213 degrees, it takes 1934 BTU. At 212, the H2O changes from water to steam, and during that entire process you keep dumping in large quantities of energy and the temperature stays the same–all the energy goes into the conversion from liquid to gas. The energy required to do a phase change from water to steam is way greater than the energy required to change the temperature. So we use that phase change to make refrigeration possible. We don’t use water though, because we want the phase change to take place around the 20 degrees F in our refrigerator (not very helpful to us for it to take place at 212 degrees). We pump a liquid to the evaporator, and then let it expand into a gas; that expansion to a gas sucks huge amounts of heat out of the box. Then back at the compressor we compress the gas, which heats it up (essentially exchanging “pressure energy” for heat). Then we send it through the condenser, where the the hot gas turns back into a liquid and dumps off all its heat in the process. Then we sent the liquid back to the evaporator, where it turns into a gas again . . .
Once I decided that I was going to buy the kit and parts from Rparts and build my own system, I was free to design a system that includes both condensers: air-cooled for cooler climates and water-cooled for when it gets really hot. To alleviate Kollman’s concerns about the water-cooling, which I take seriously, I am going to take precautions against galvanic corrosion of the water-cooled condenser by electrically isolating it, and I’m going to wire in a PWM circuit so that I can turn down the power consumption of the water pump.
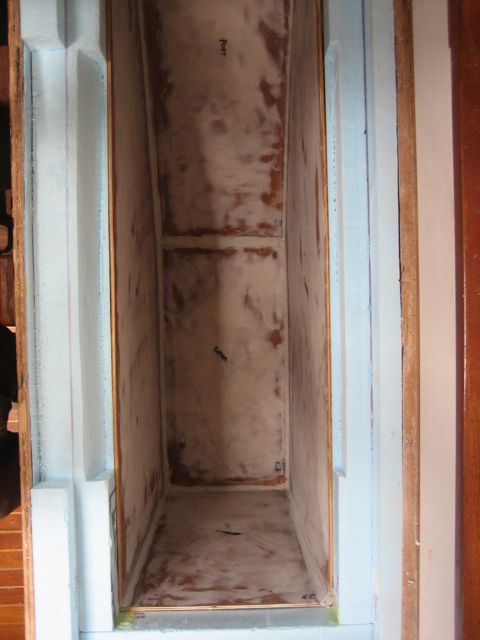
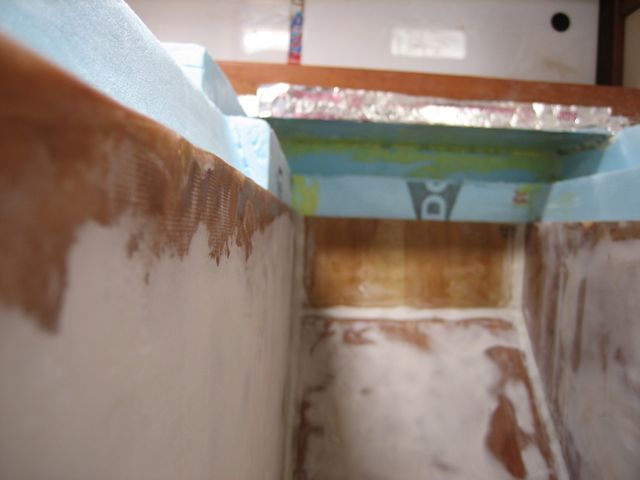
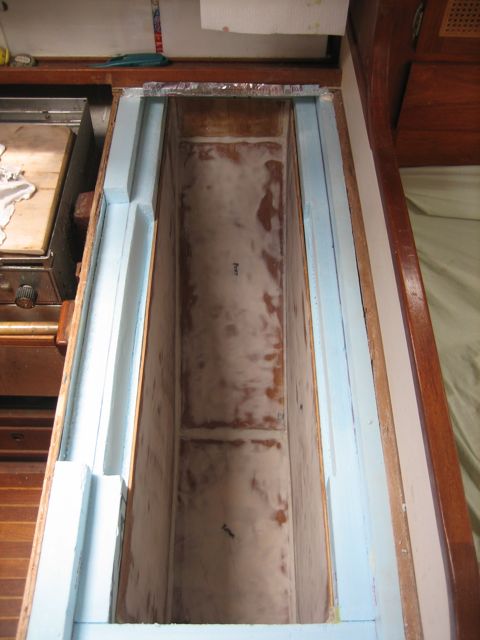
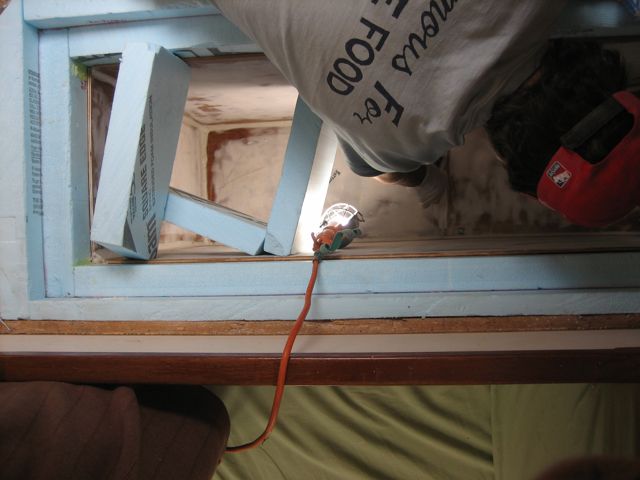
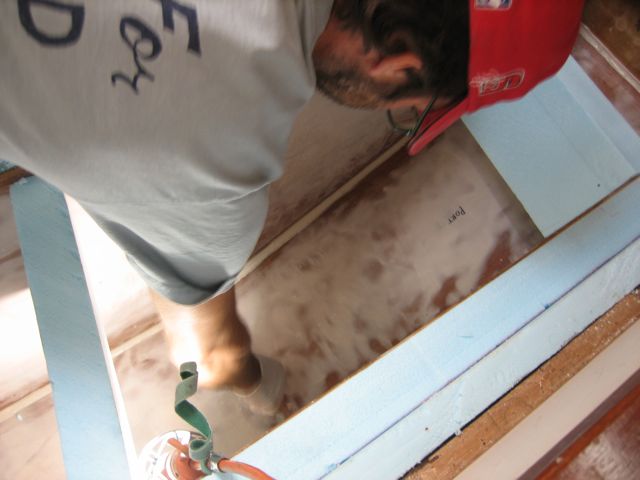
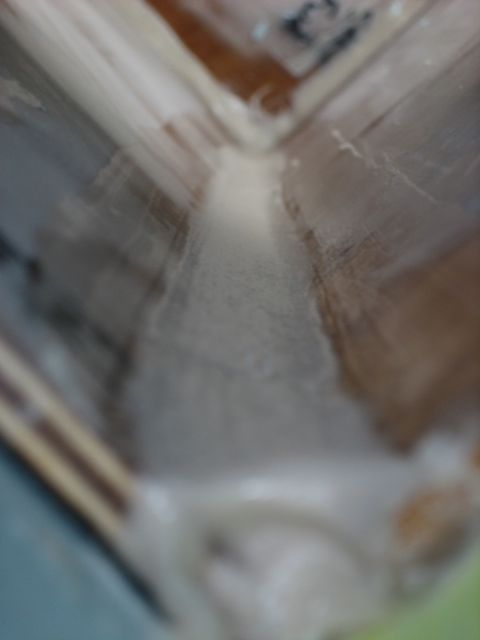
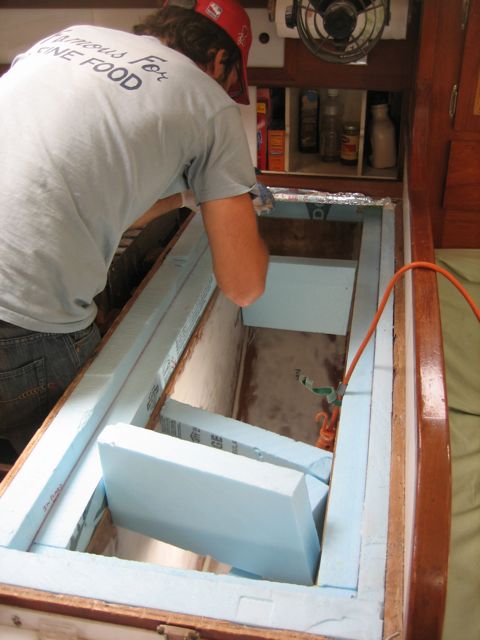
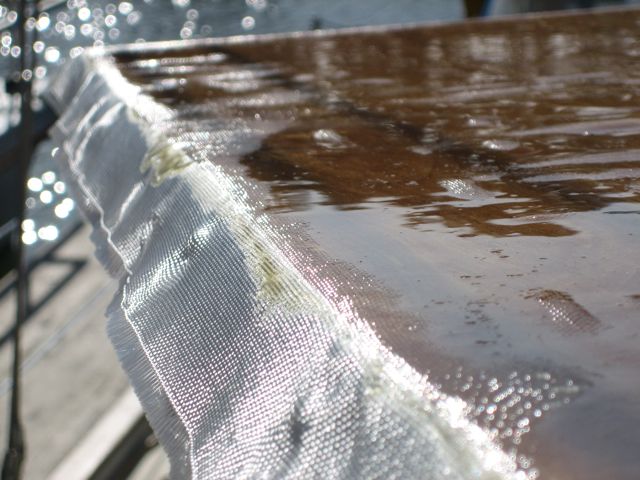
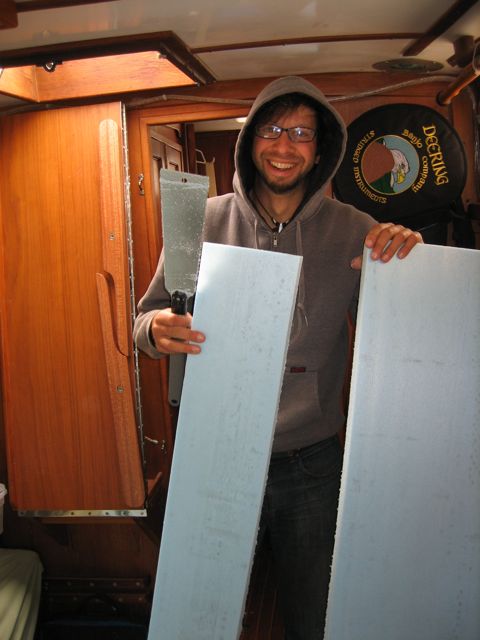
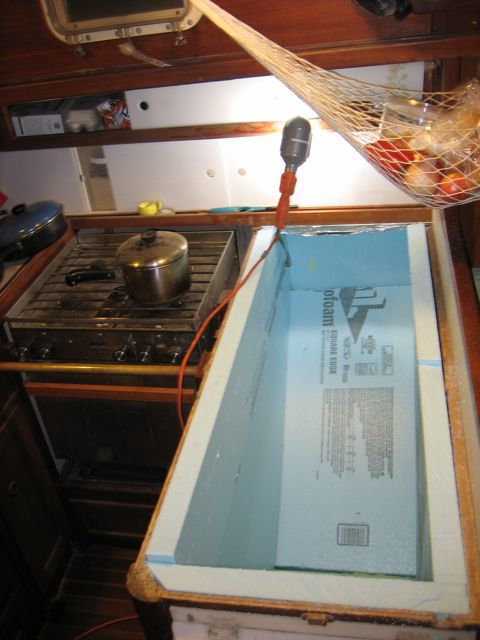
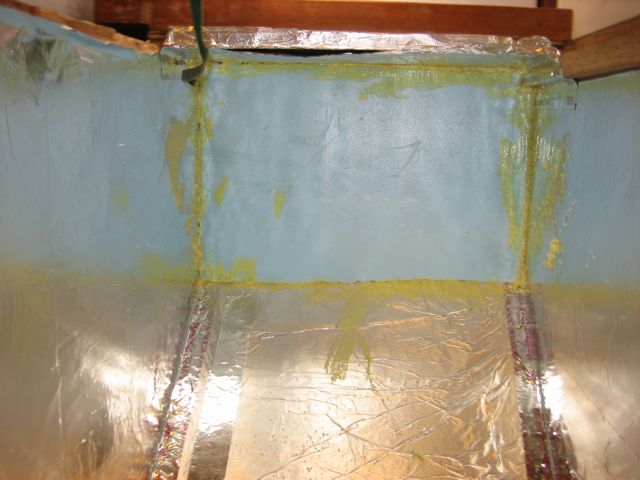
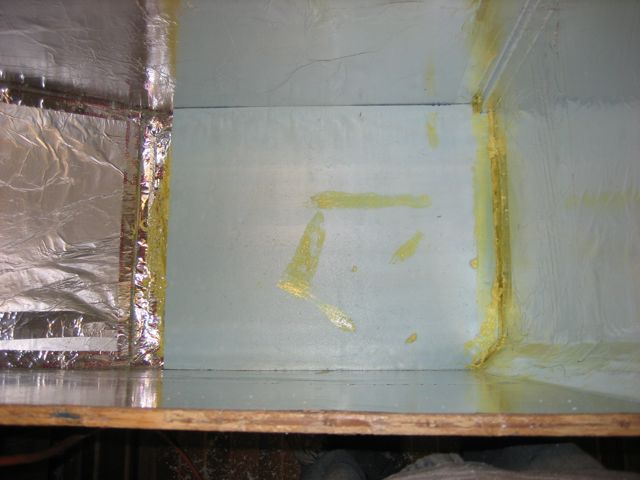
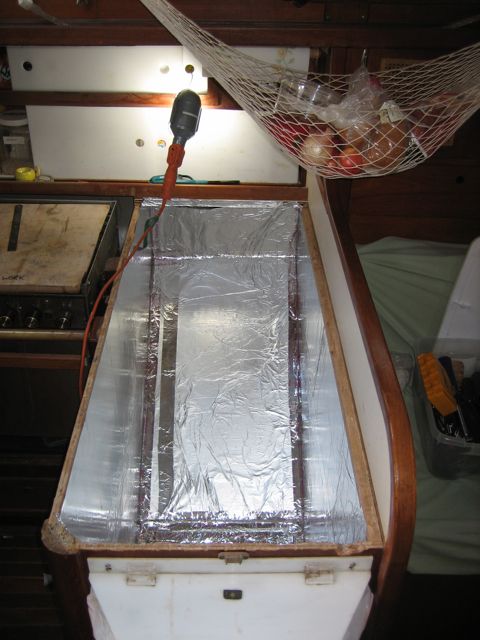
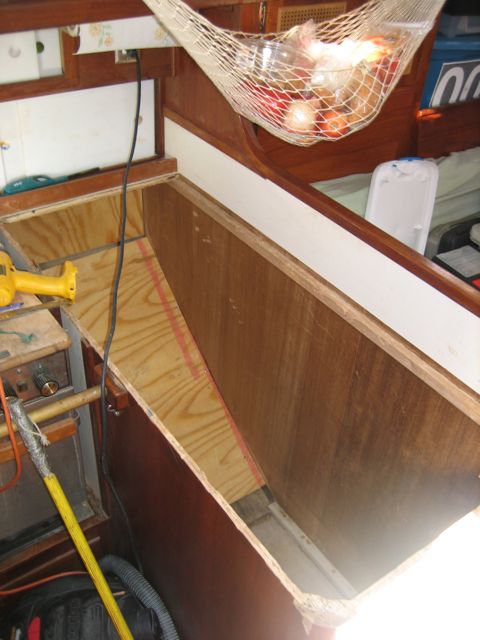
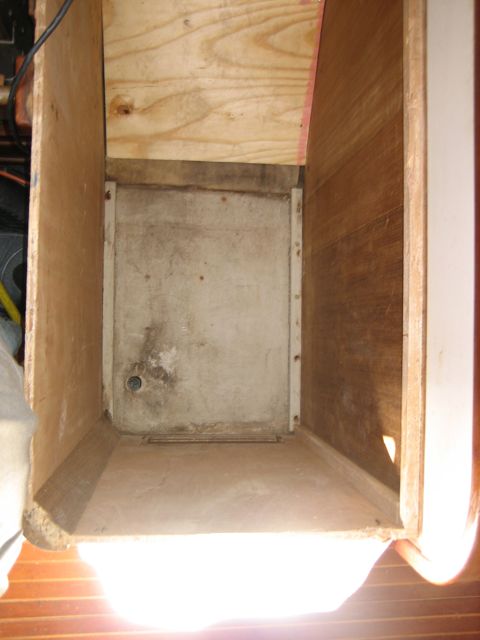
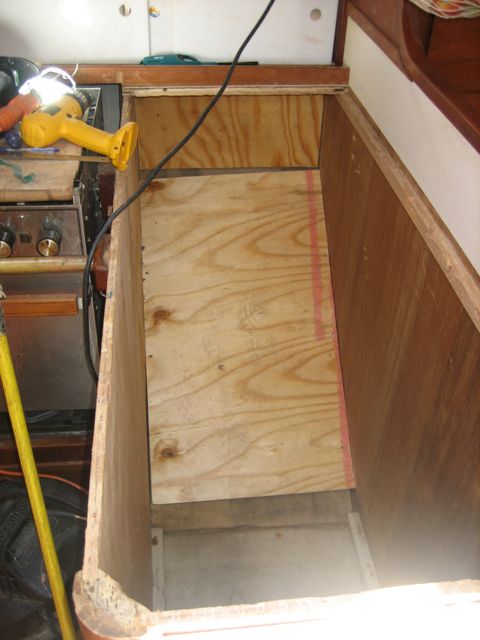
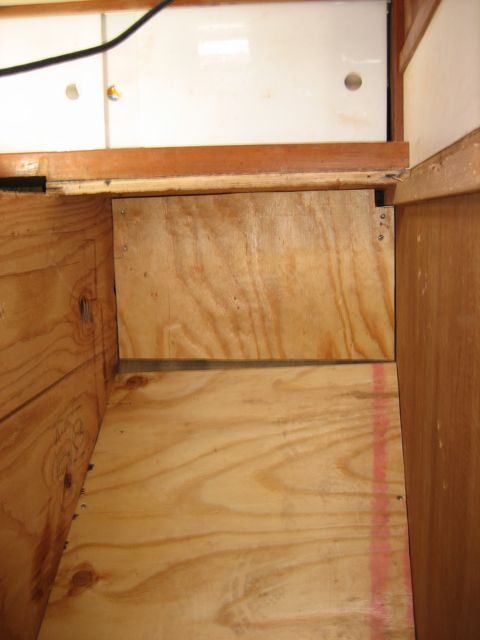
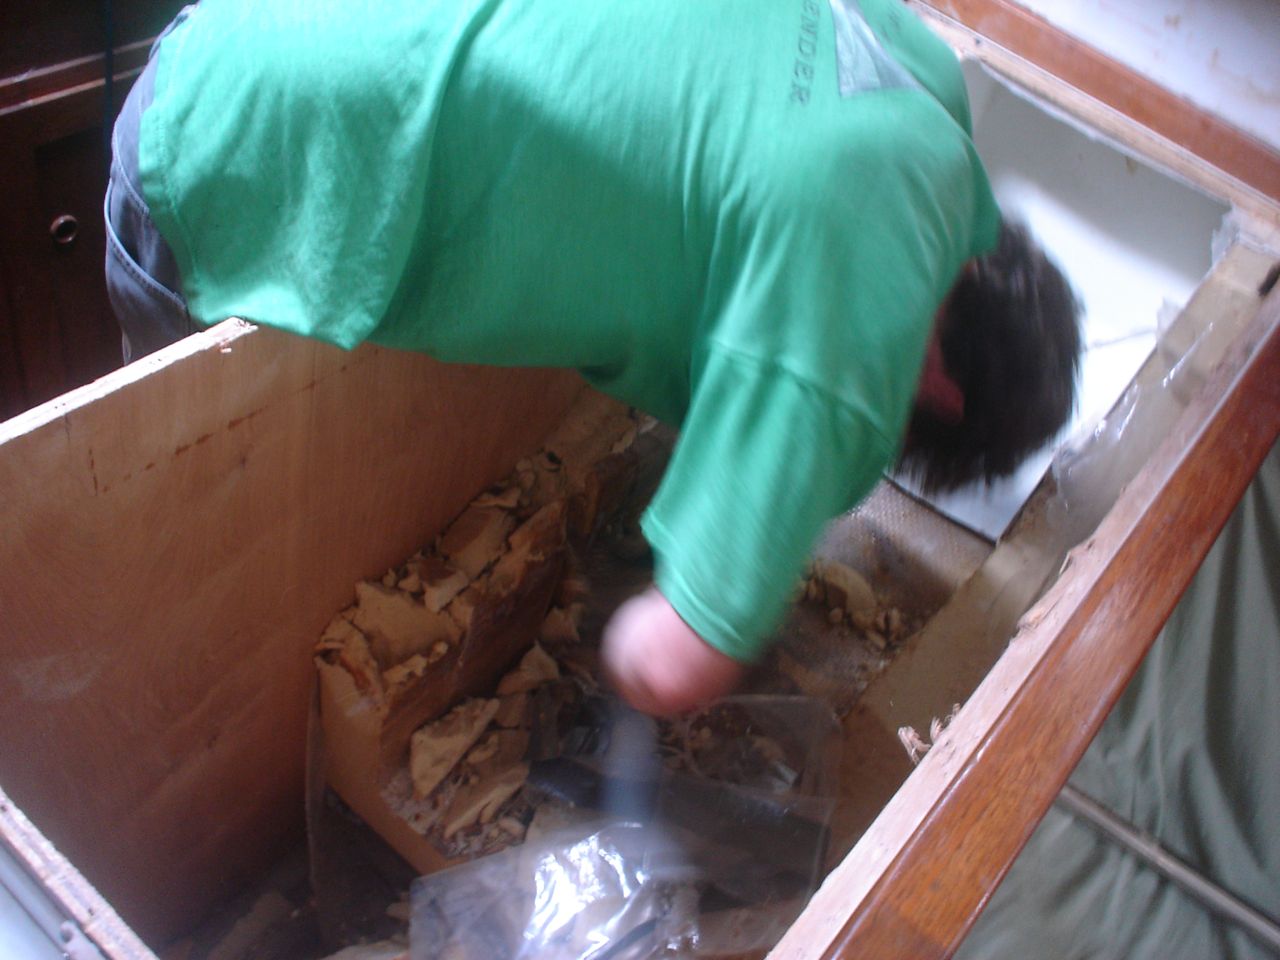
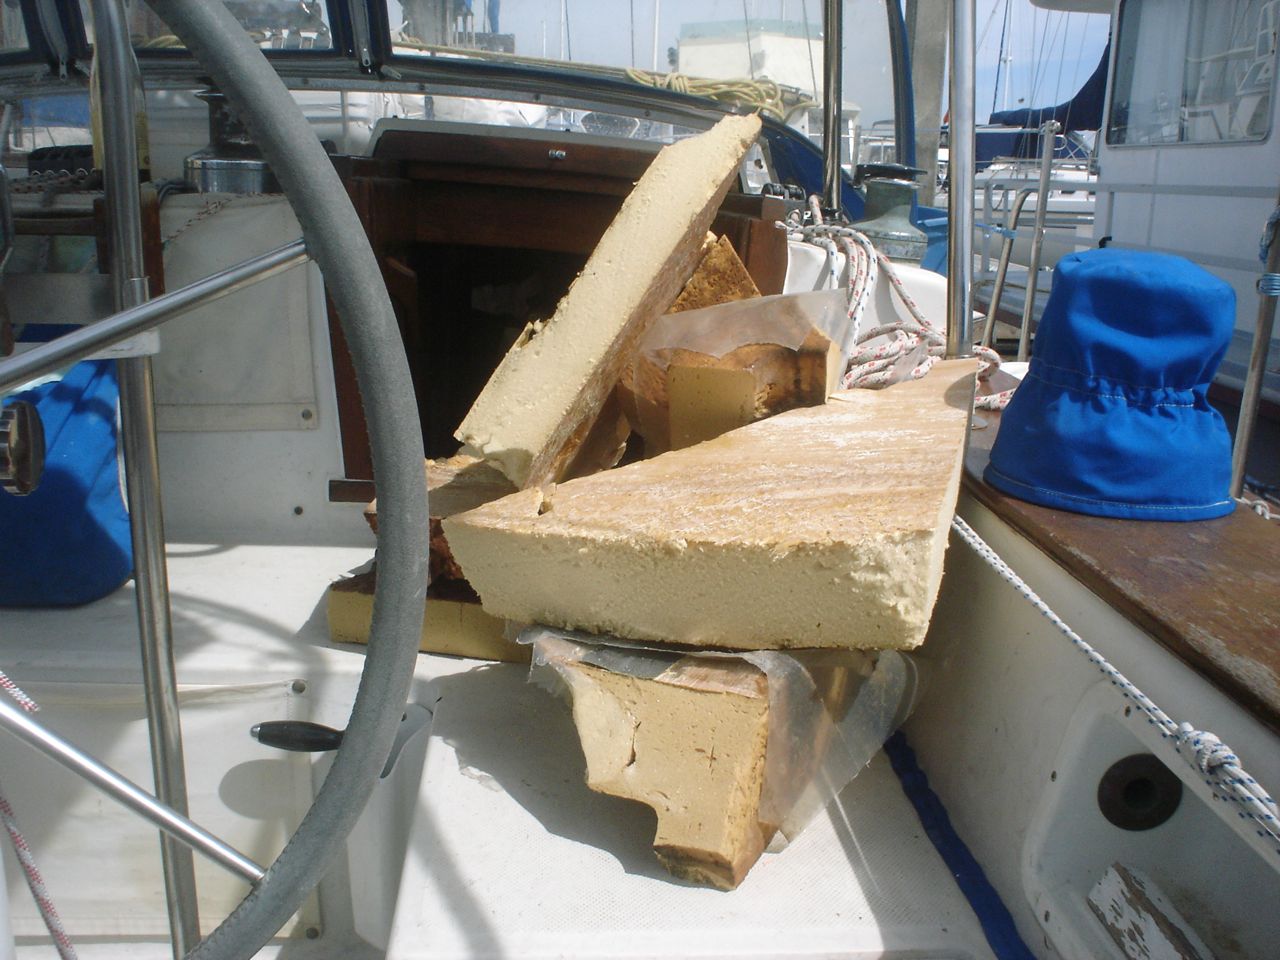
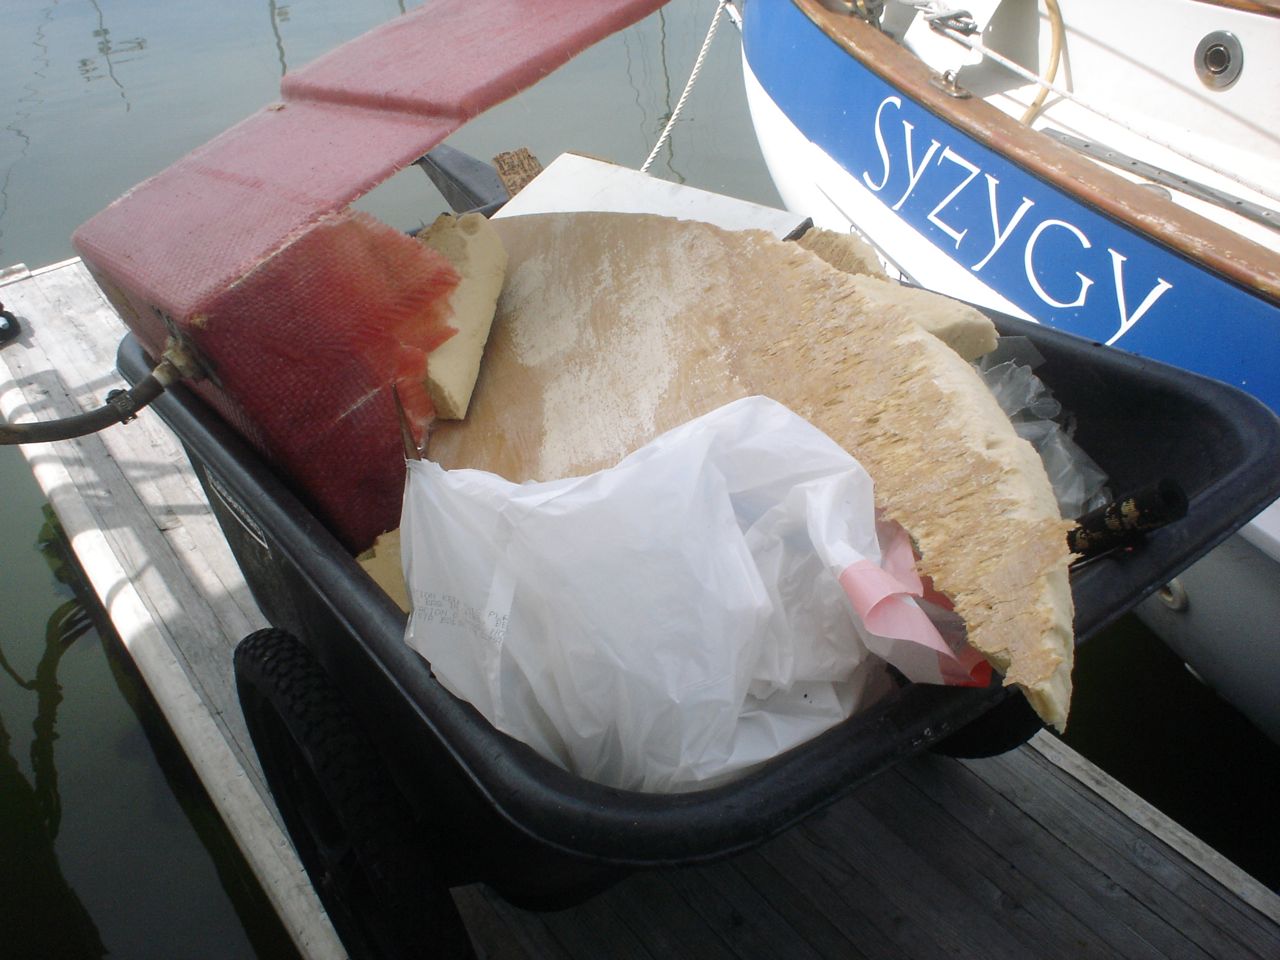
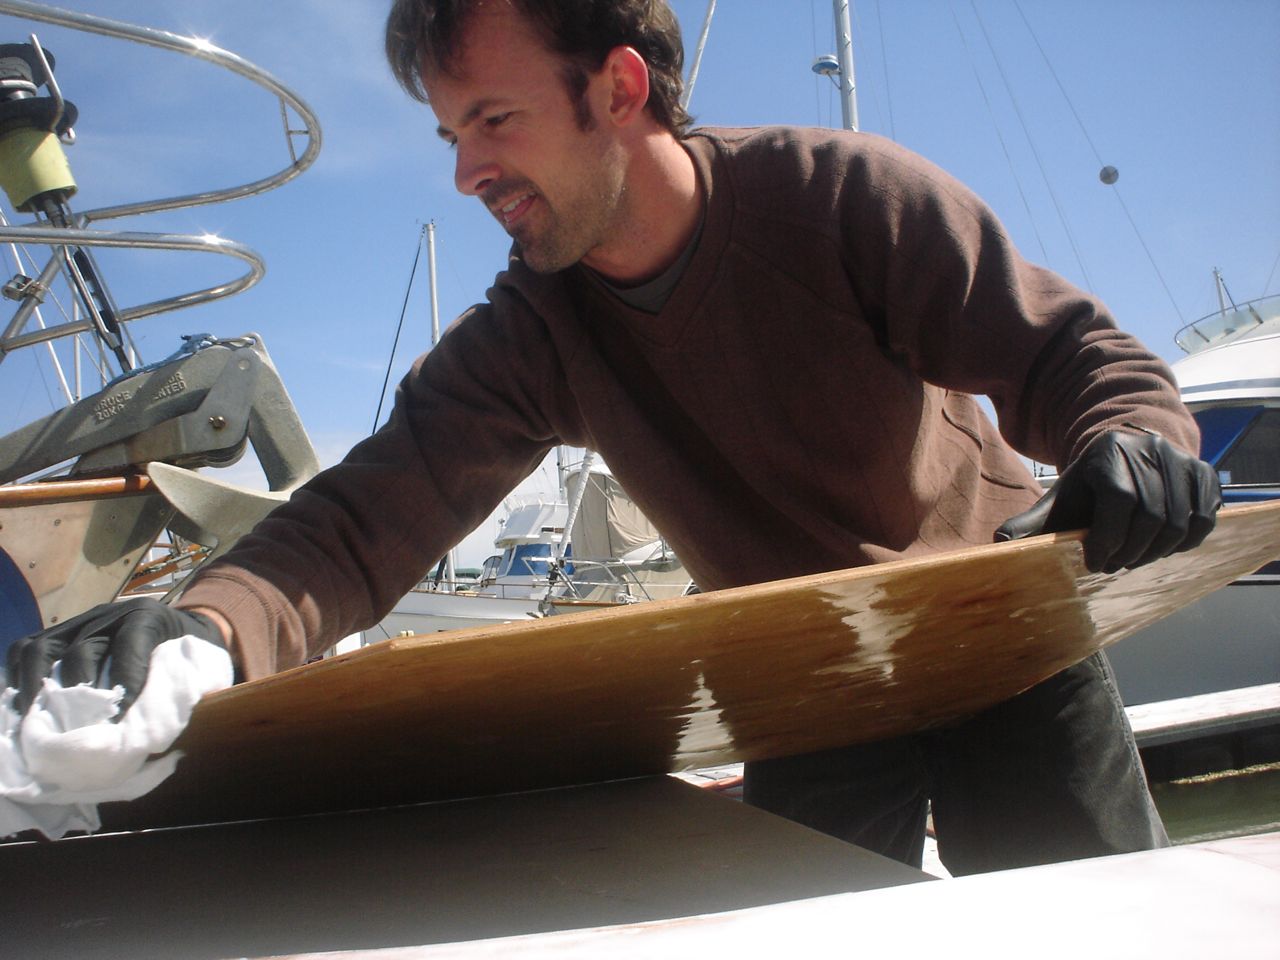
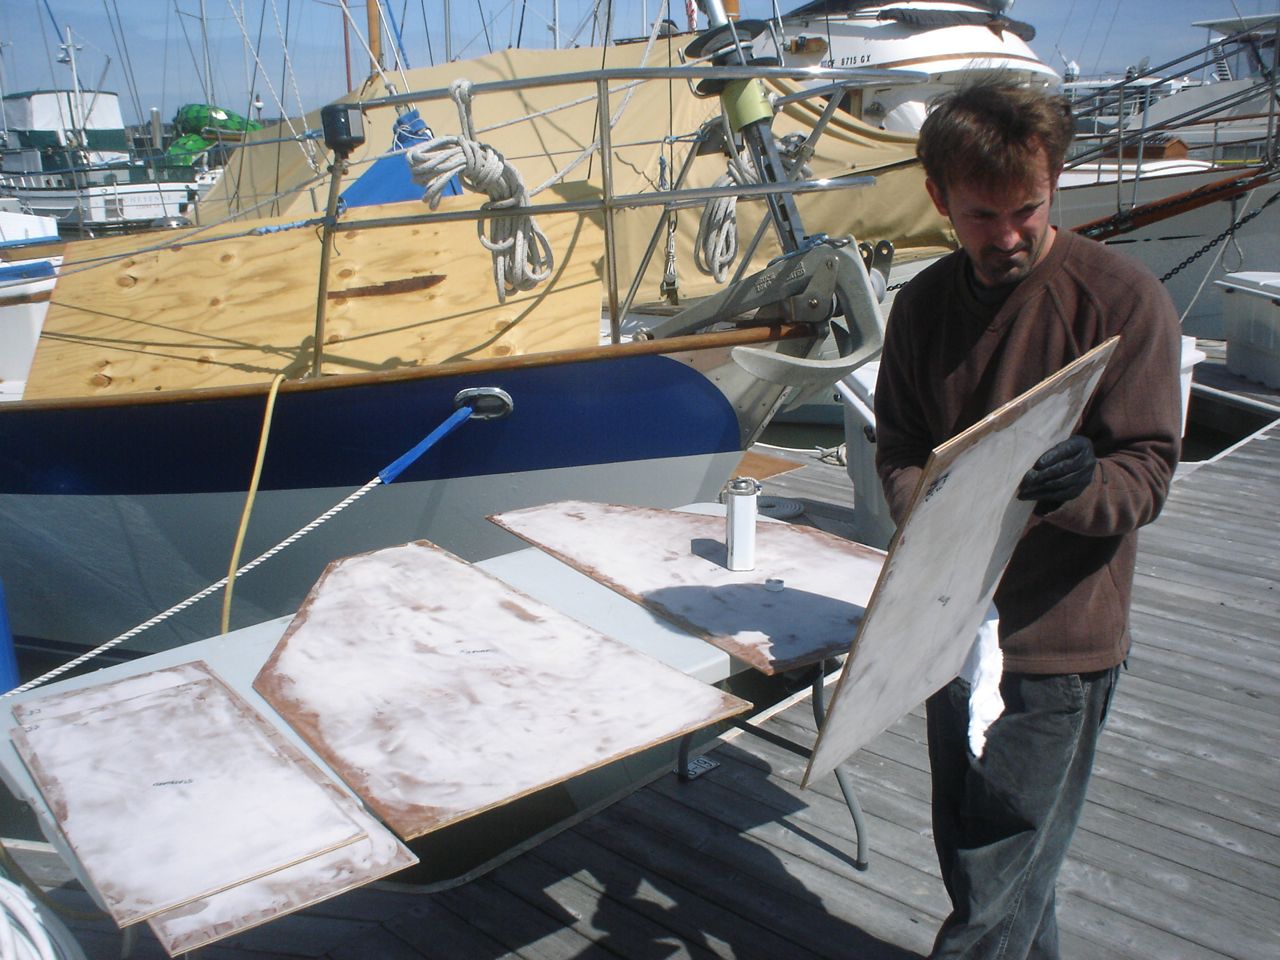
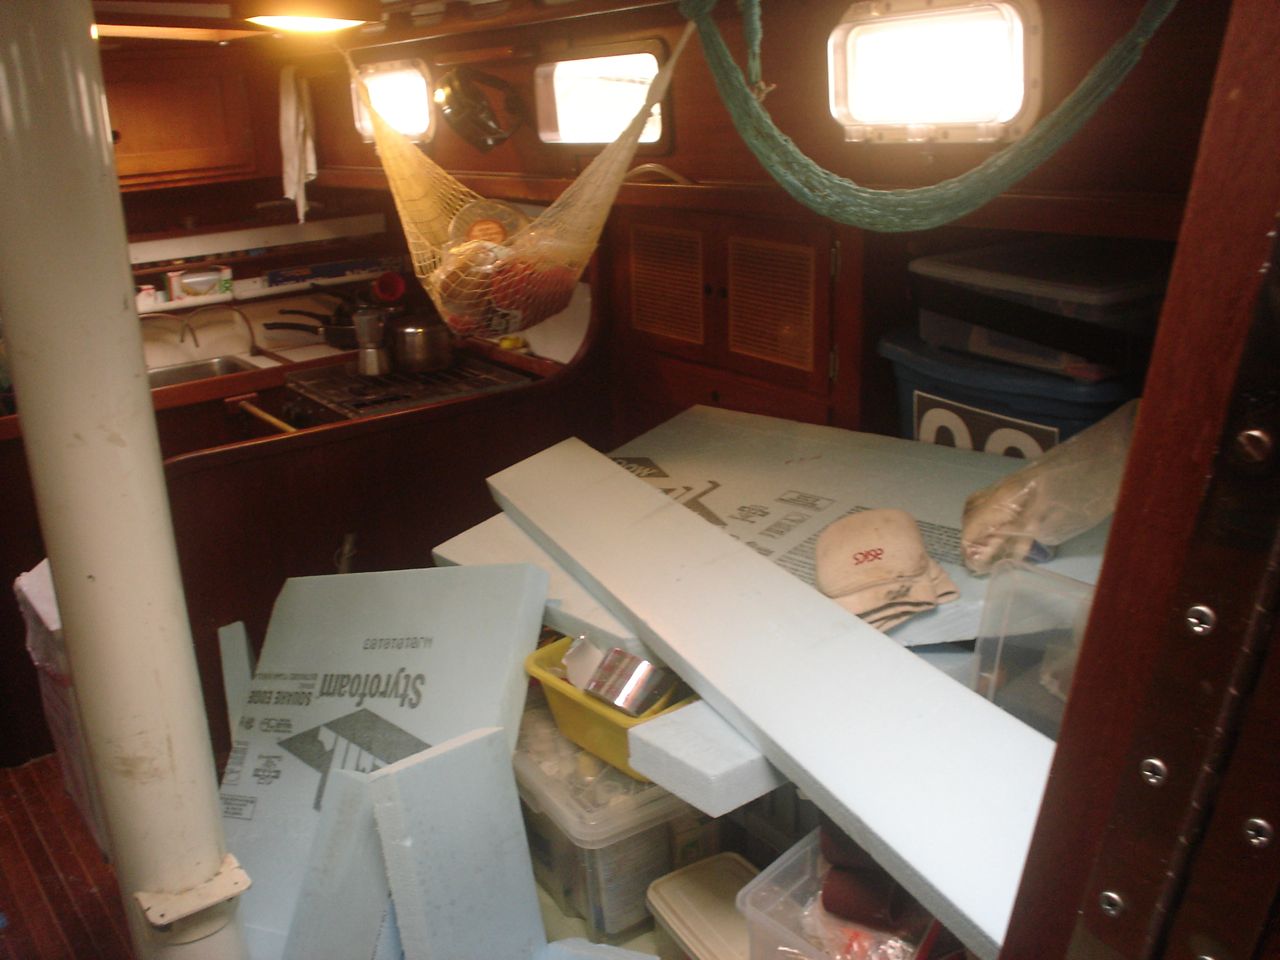
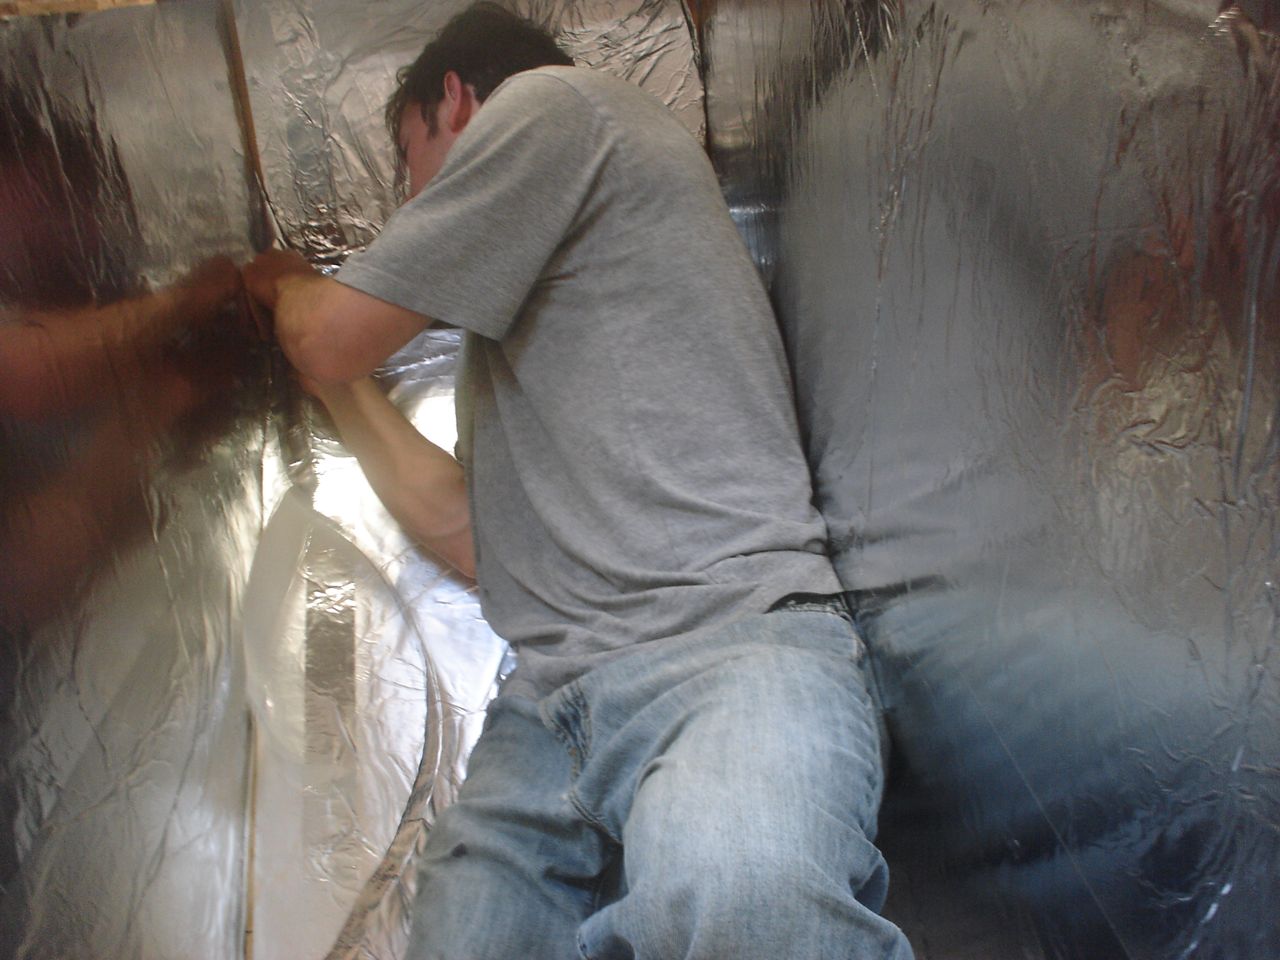
Jonny and I ripped out the old box in one day–the entire thing. The next day I picked up 18 sheets of 2’x4′ Blueboard 2″ thick from Pacific Supply. We lined the inside with a layer of aluminum foil, used spray adhesive to stick it in place. I taped the seams with metal tape. Then we made a huge mess cutting up the foam with the Dozuki saw–pretty easy and quick actually–and pieced most of the insulation in place. We bought two thin sheets of plywood and glassed over them with a few layers of fiberglass, then faired them smooth with quikfair, cut them to fit, and built a box inside the insulation. Jonny glued all the edges together with fillets of thickened epoxy, then we sanded them fair, and painted the inside of the box with two layers of Primekote, an epoxy primer.
That’s as far as we’ve got. I ordered the refrigeration parts from Rparts, and we need to wait to put the evaporator into the box before we put the lid on it and build the hatch for it. So we’re probably 30% done with the job.


Leave a Reply