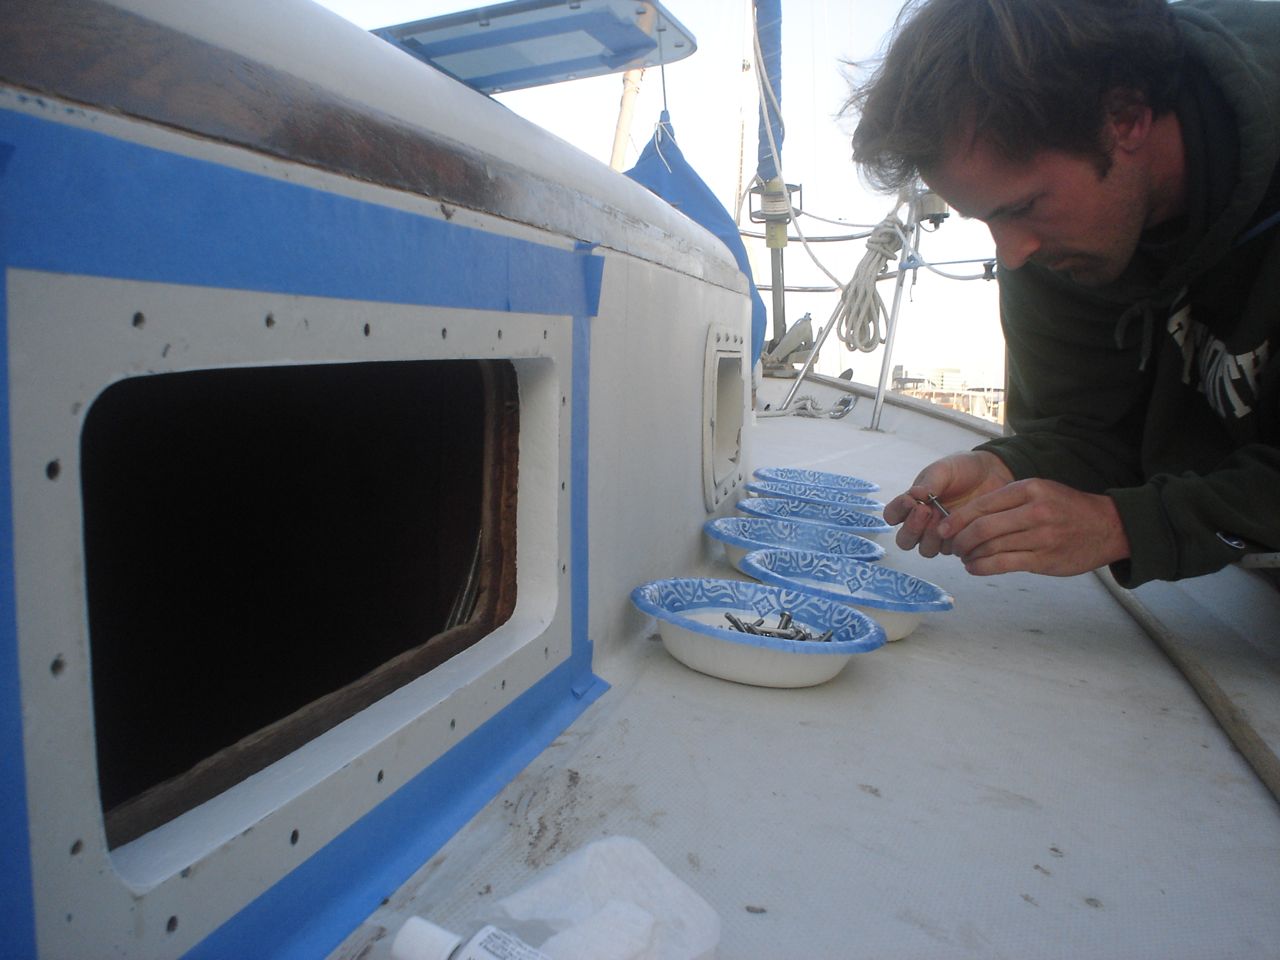
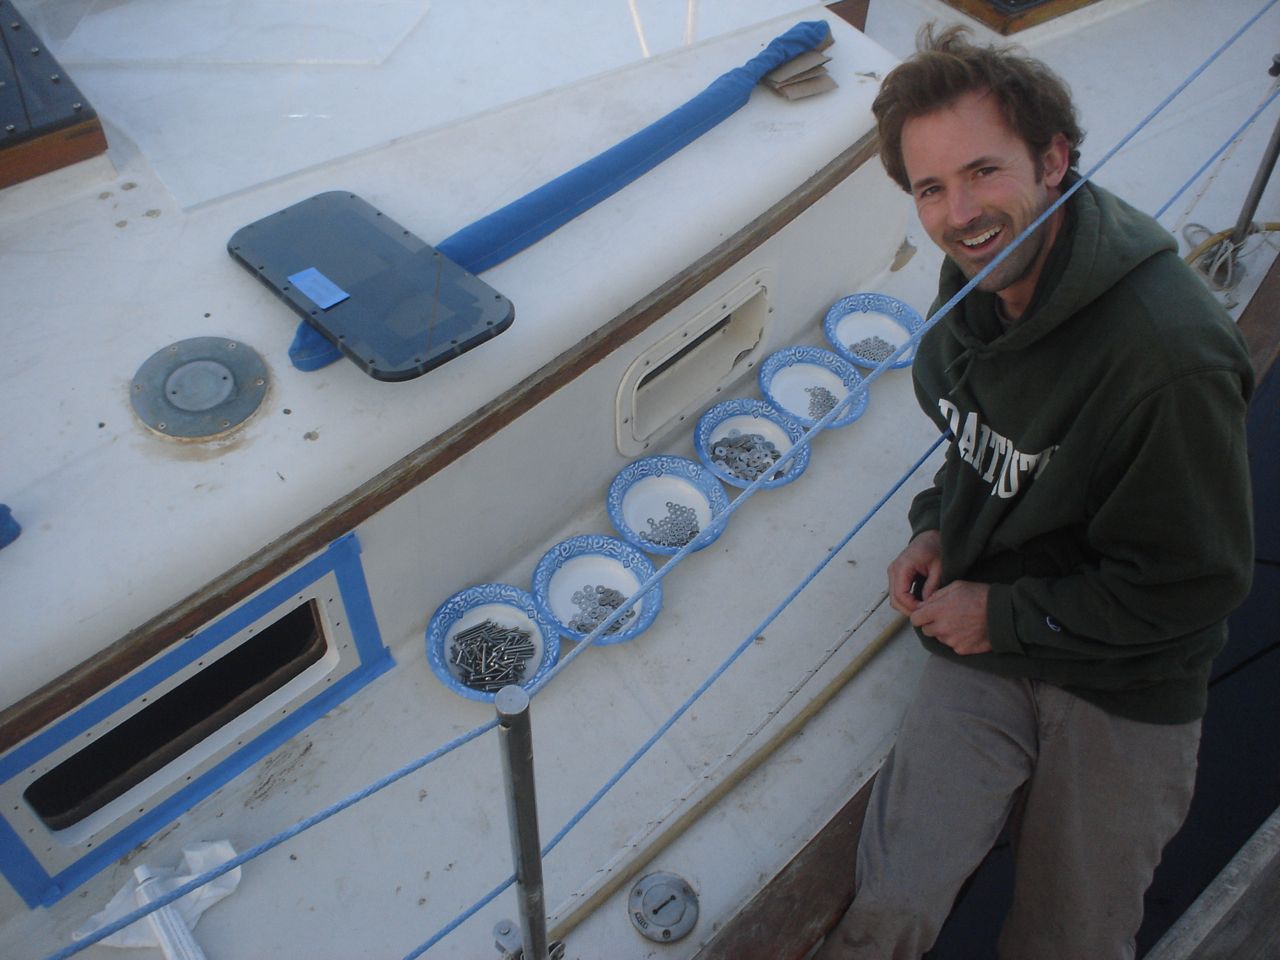
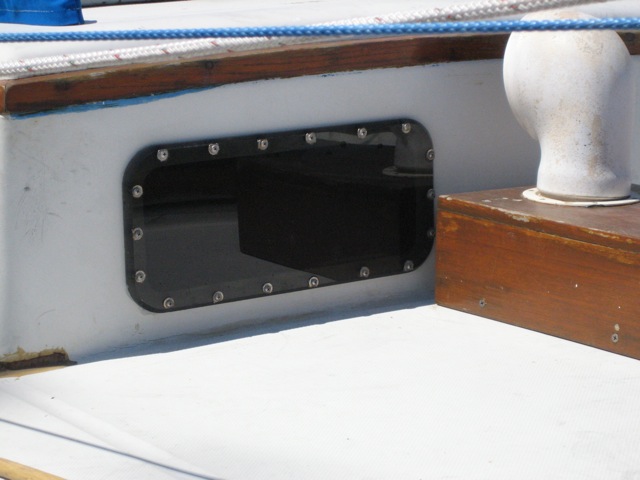
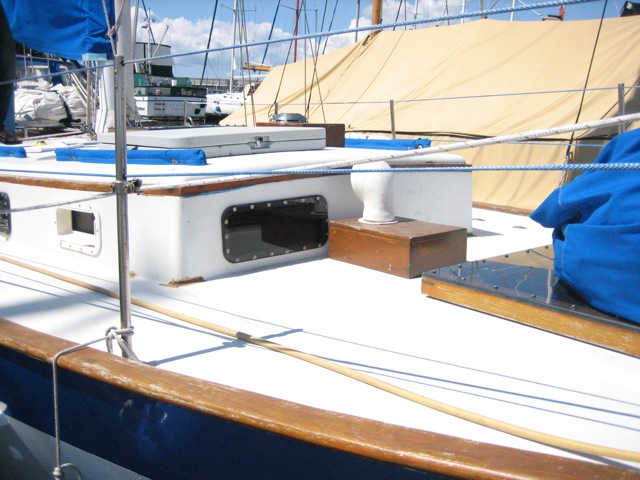
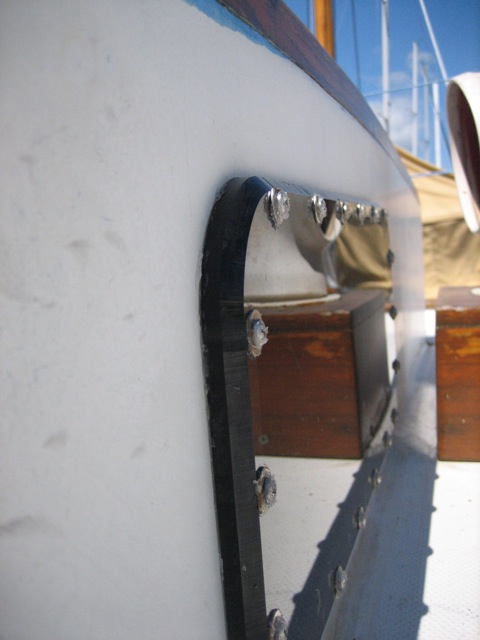
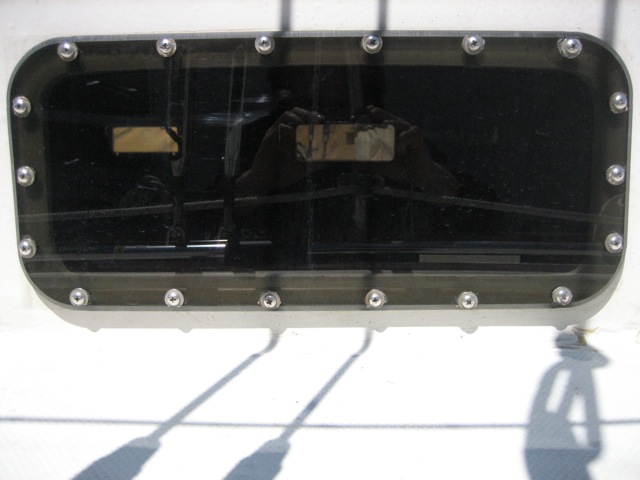
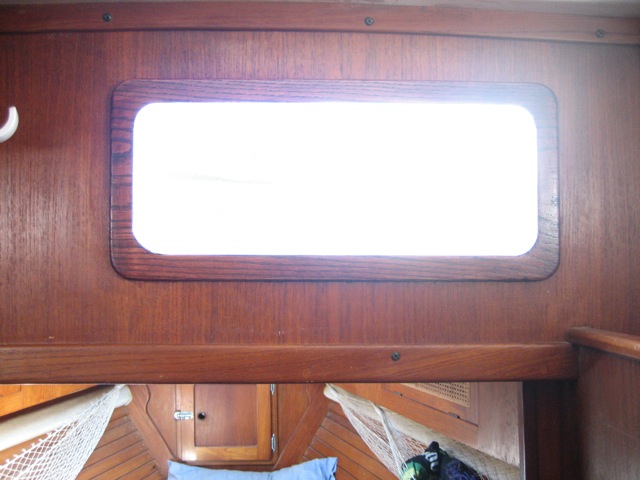
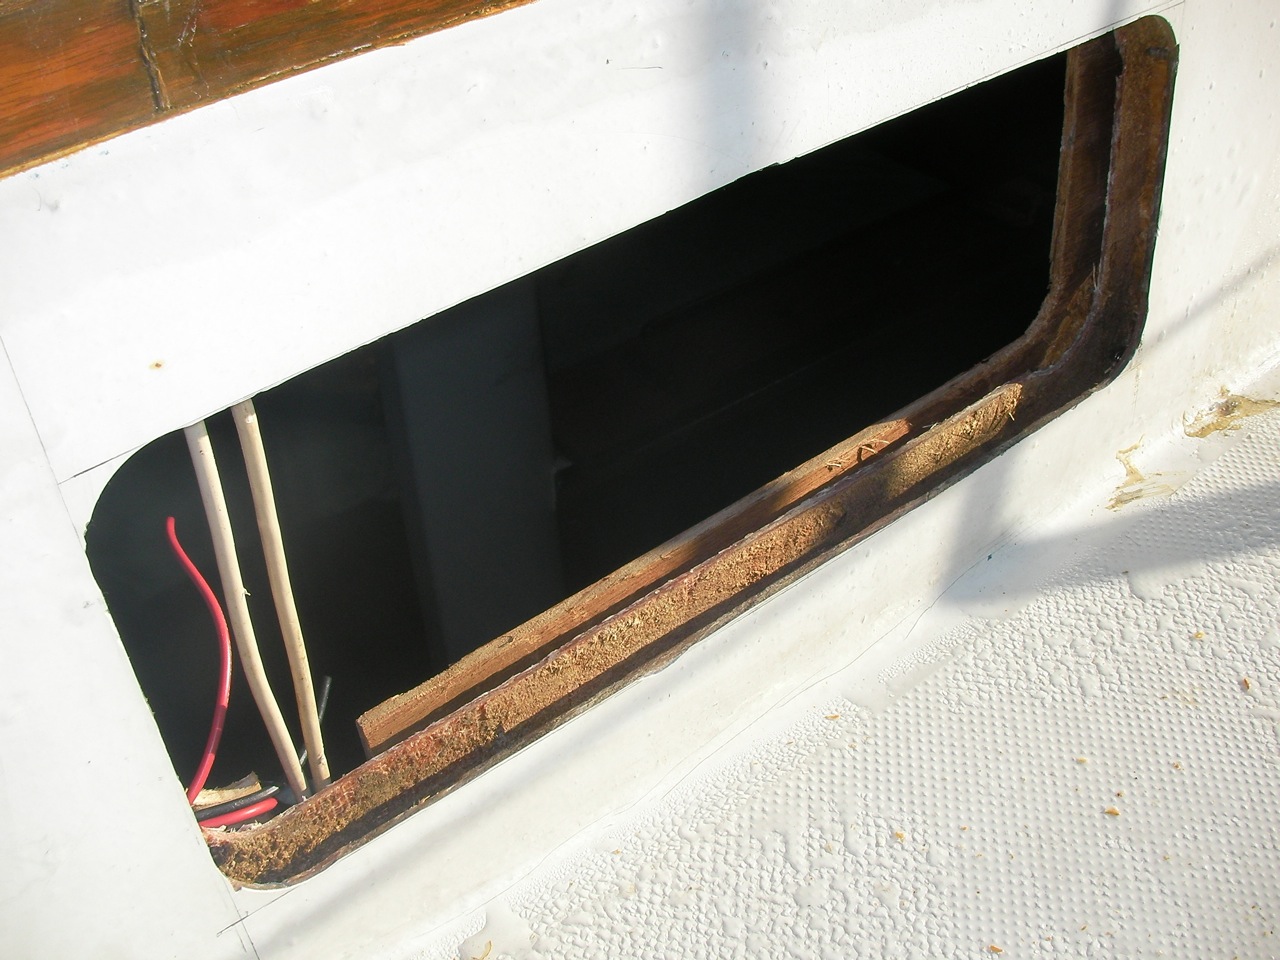
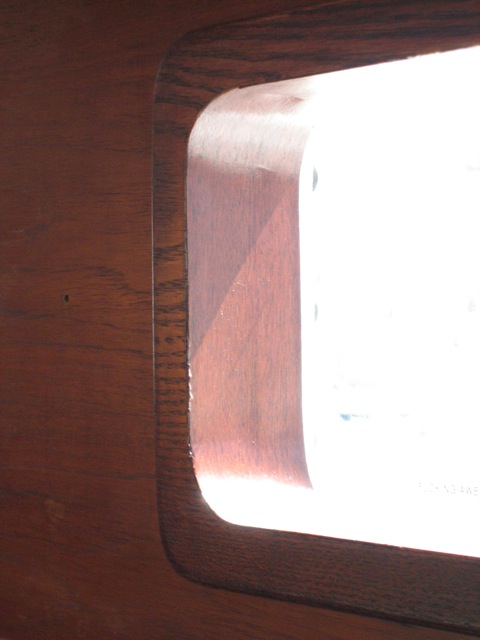
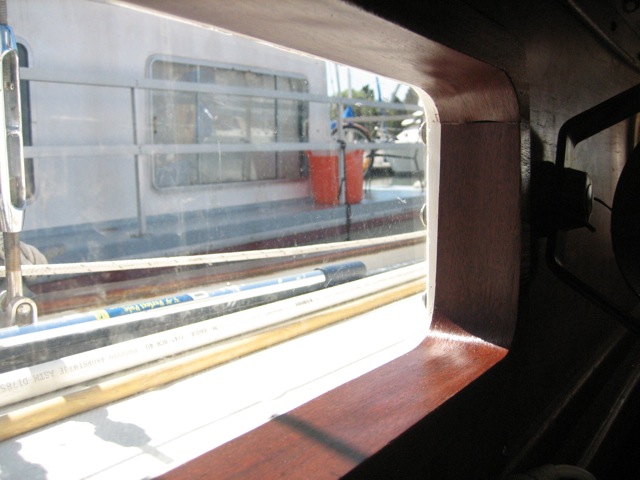
I drew up a pattern and had TAP plastic (we are very fortunate to have one right down the road from us in El Cerrito) make us four 8″ x 18″ portlights out of 1/2″ acrylic, with 2″ radius rounded corners, a half-bevel edge all around, and a ton of screw holes. The portlights overlapped the cabintop by an inch all around, so the actual size of the cutout was 6″ x 16″. We cut the holes in the cabintop using a hole saw followed by the cutoff blade on the grinder followed by the Fein tool. We dug out the balsa core to a 1″ depth all around the cutout, then filled it with thickened epoxy. I stopped by a local lumber yard and collected a brown paper bag of sawdust from under one of their saws, and I used this sawdust as filler for the epoxy–it was a hell of a lot cheaper than the West System stuff. Although I did have to resort to the West System filler for the top gap, because the sawdust stuff wasn’t sticky enough, it would fall out of the top. After the epoxy cured, I ground it off fair, then used Quik Fair to fair it smooth. After the quik fair cured I sanded it smooth, then we put a couple layers of paint on it. We mounted the portlights with #10 machine screws, through-bolted. I had TAP plastics drill the holes in the acrylic oversized, so that there is room for expansion without the acrylic cracking. We mounted the acrylic with a washer (one each bolt) between the acrylic and the cabintop, to leave room for the silicon so it wouldn’t all squeeze out. Finishing the inside–keeping it pretty-was the hardest part. The layers of our coachroof were as follows, from the outside in: fiberglass-balsa core-fiberglass-airgap-veneered trim plywood. The whole thickness was ~2-1/4″. I did the trim in two pieces: first a ring made out of 18″ wide 5/16″ thick plank of white oak that is usually used for flooring. Some great guys at the set building studio at work cut the frame out of it for me, and I never would have been able to keep it looking good myself, so I owe them big time. Then I used 2″ wide mahogany veneer that I bought from MacBeath’s hardwood nearby for the inside surface. I put a pretty dark stain followed by three coats of polyurethane on all of it. The trim ring was glued in place with wood glue, clamped with about 10 a-clamps from home depot. The veneer has glue on the back already; you use an iron to iron the veneer on. The resulting portlights are completely bomber, and still look pretty good on the inside. We could have used fewer bolts, but I don’t regret our design. I would do the same thing again. Jonny has some GREAT videos (1, 2, 3) of the process.


Leave a Reply