Category: Engine

  • Injector Nut

    I (Jon) finished this job approximately April 20th.

    One day we pull into Bundaberg Marina after having motored extensively for the previous four days. The next day we go to leave because the Marina is $54 a night. Ridiculous.

    Unfortunately the engine wouldn’t start. We were in Bundaberg for a week while I tried to diagnose the problem, then made the problem worse, fixed what I made worse, and then with a magic spell and some incantations (mostly four letter words) the original problem of not starting was fixed as the engine roared to life.

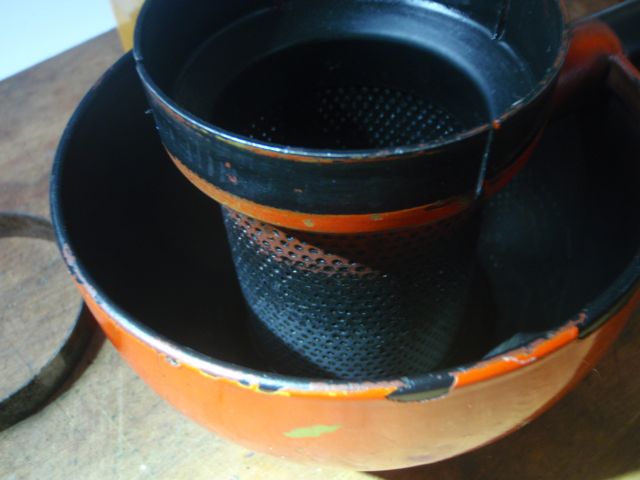
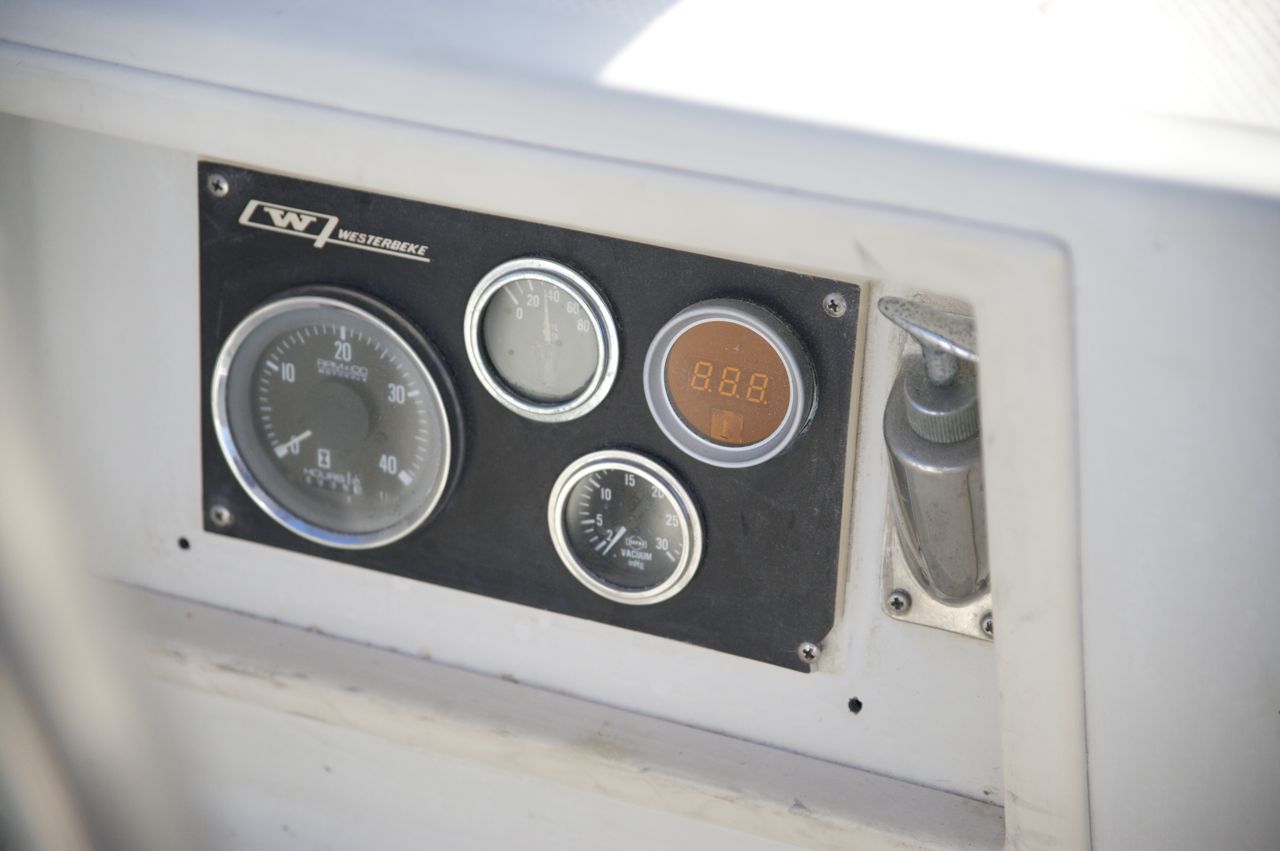
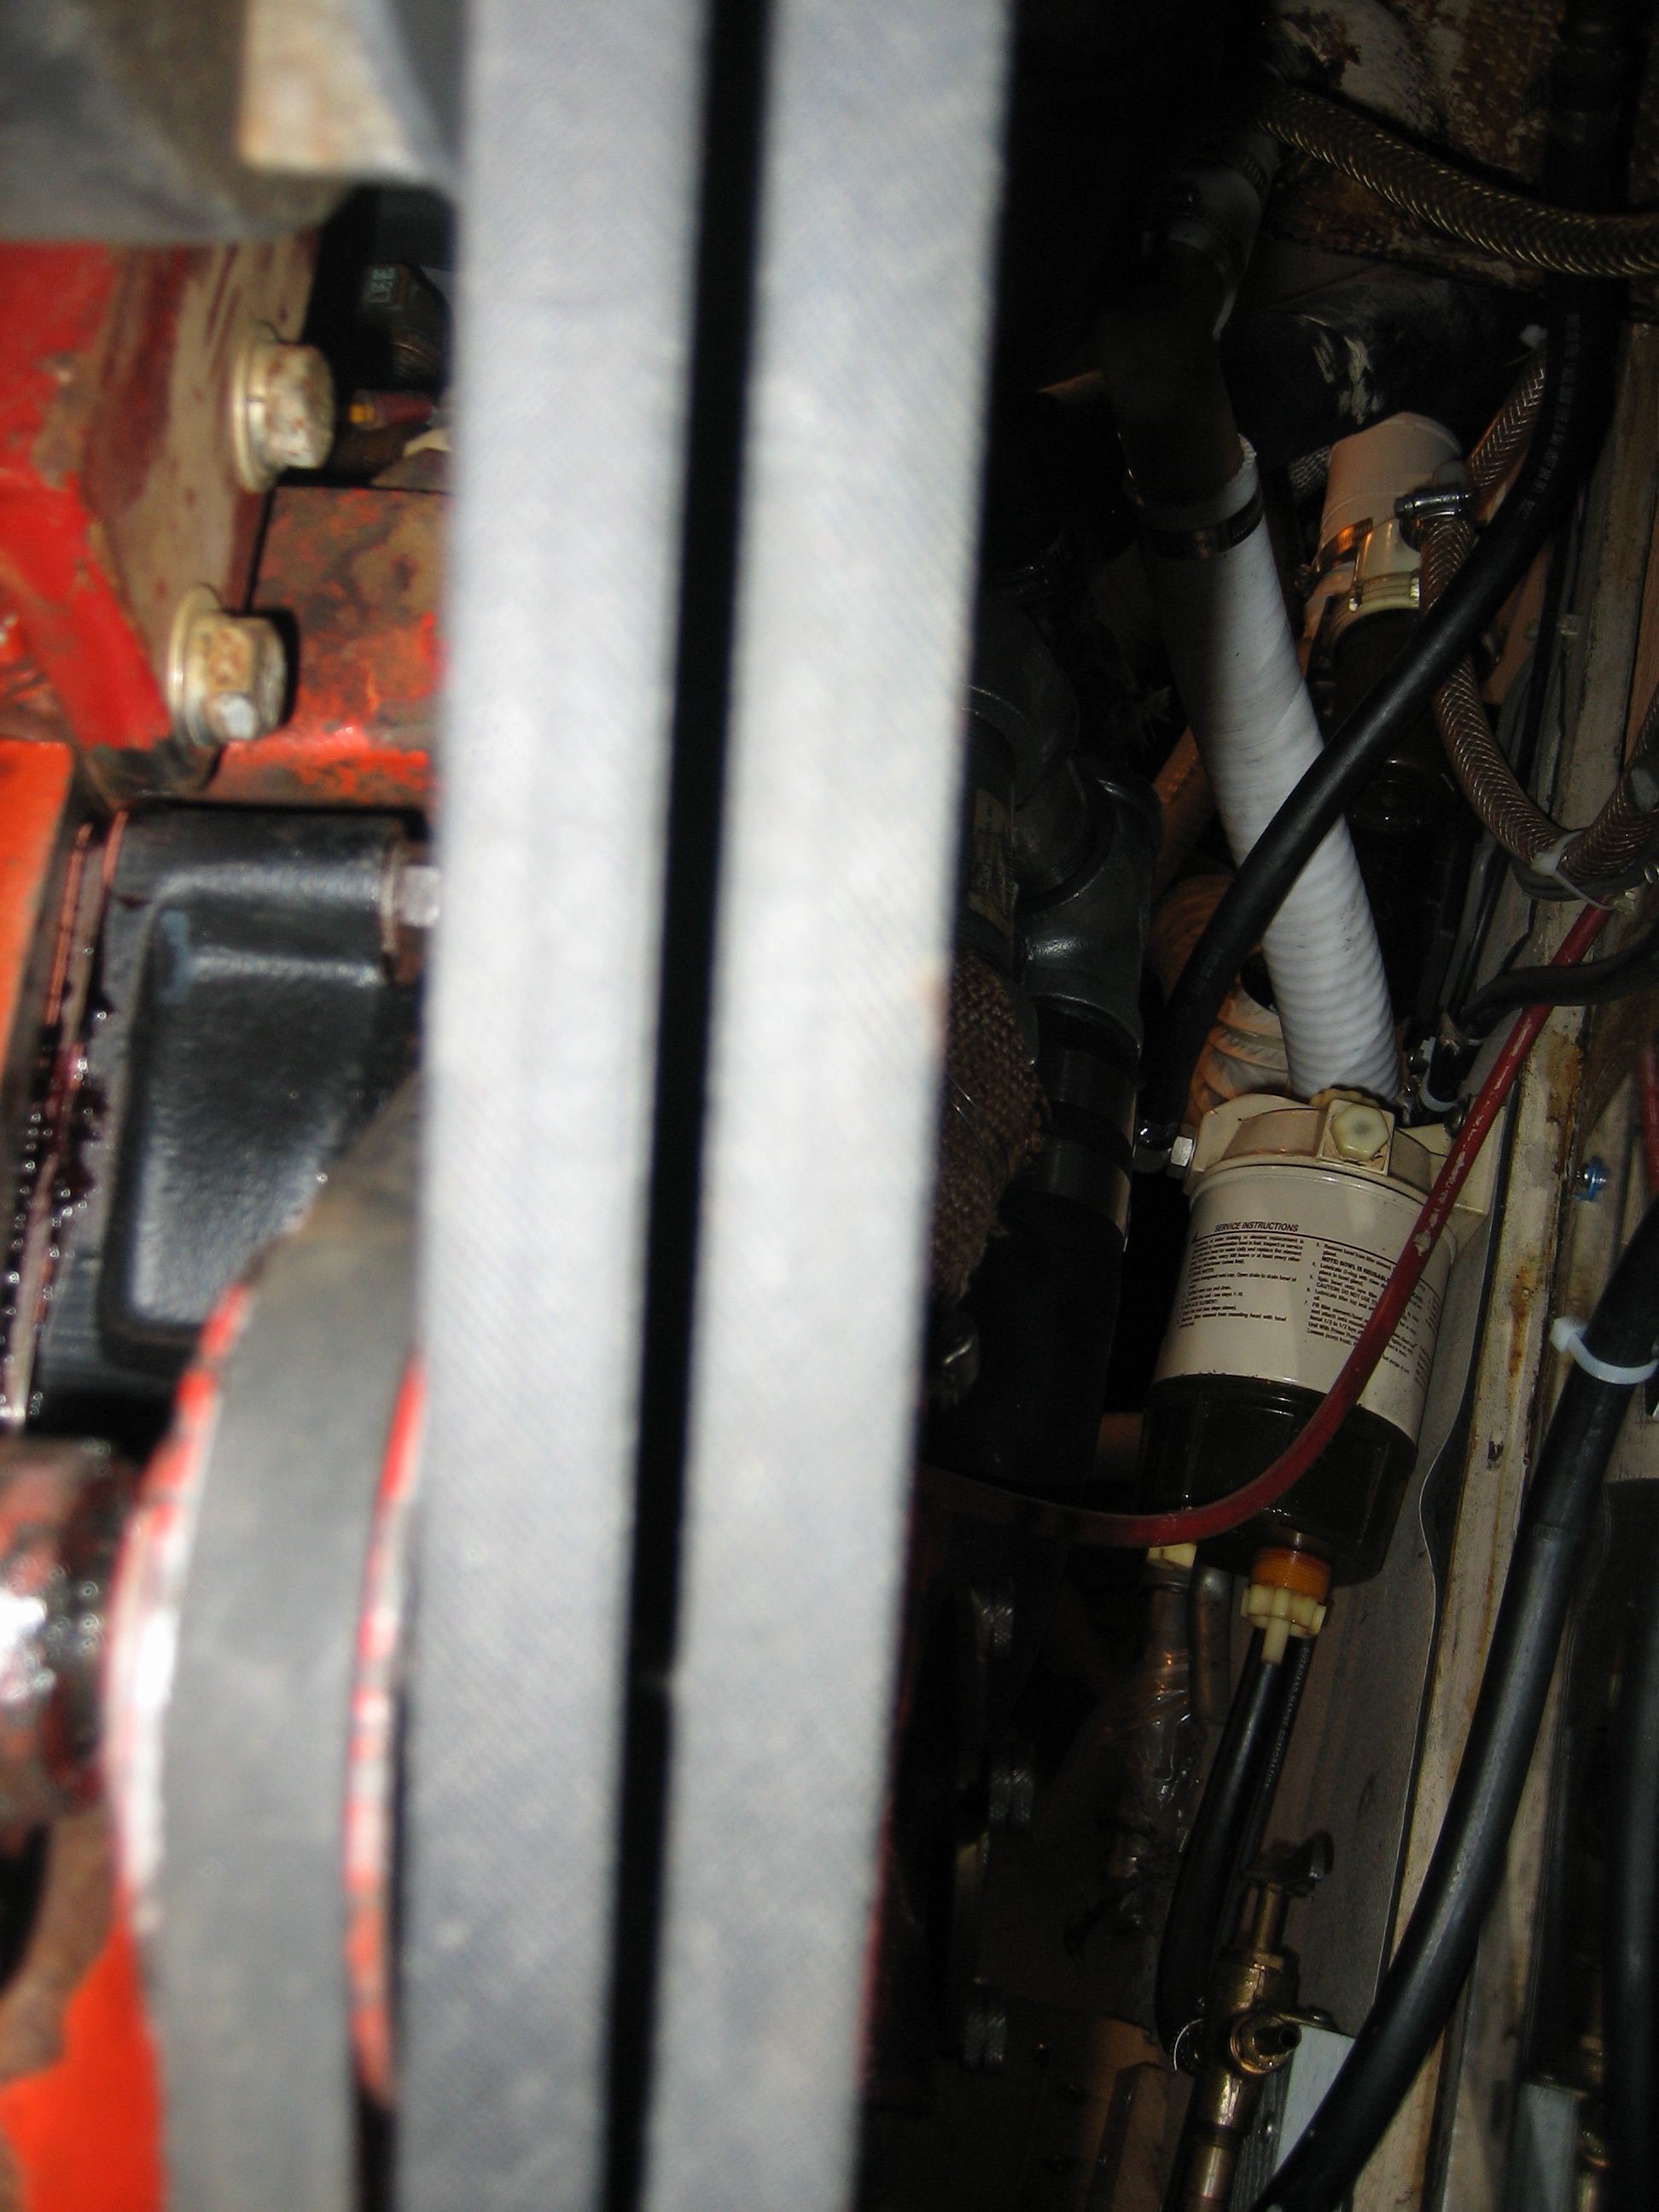
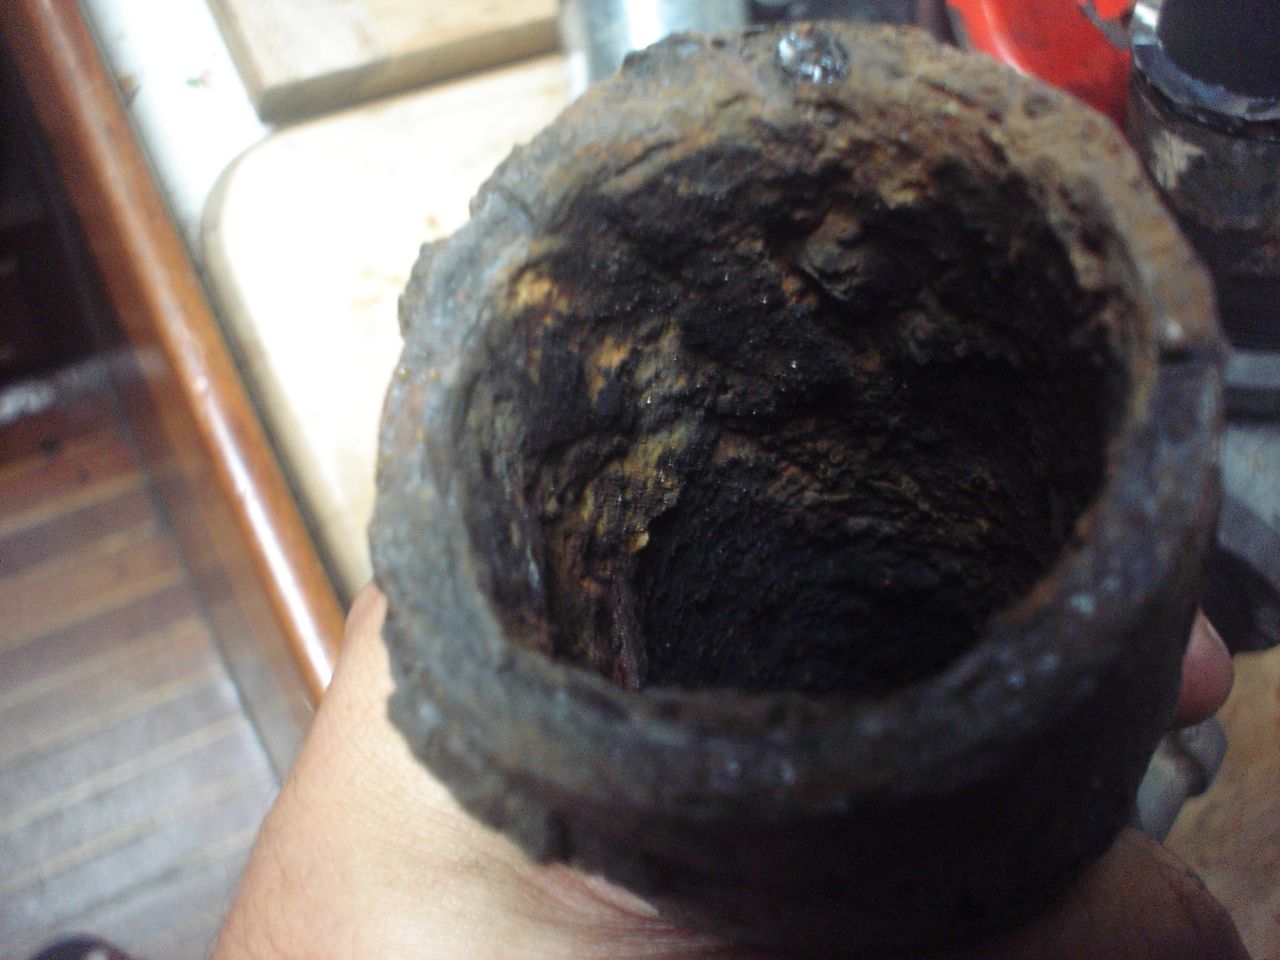
    To try and fix the original problem, I bled the engine repeatedly. I also changed both fuel filters. We change the primary filter whenever the vacuum gauge begins to register, but we haven’t changed the secondary filter in like two years. With regular changes to the primary, ti should rarely, if ever, need to be changed. But since it had been so long, I decided to change it. I asked Matt a question about it, and he was like, don’t you remember, you’re the only person who has done it when you changed it like two years ago.

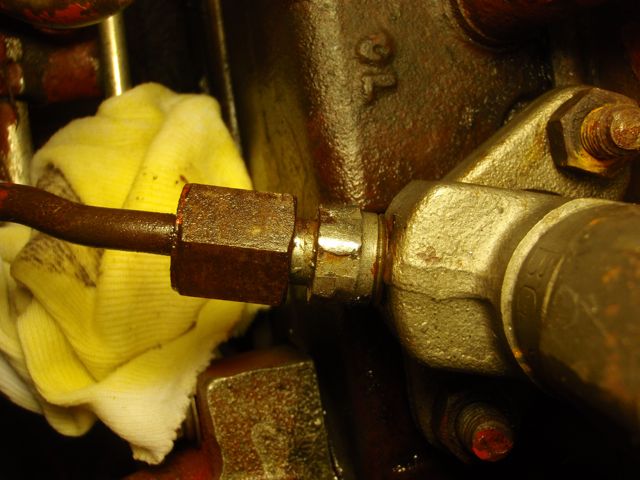
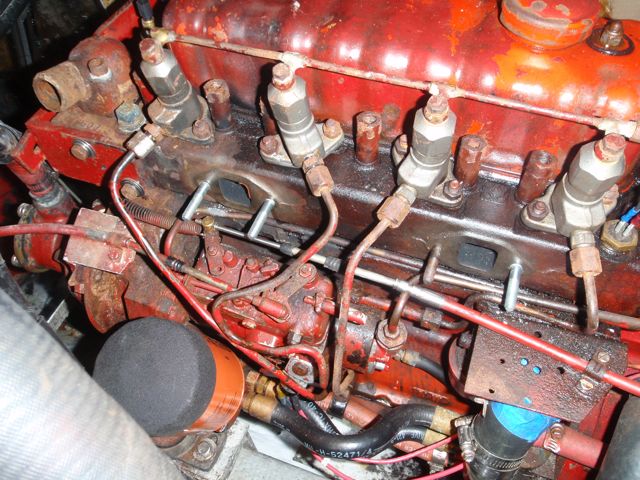
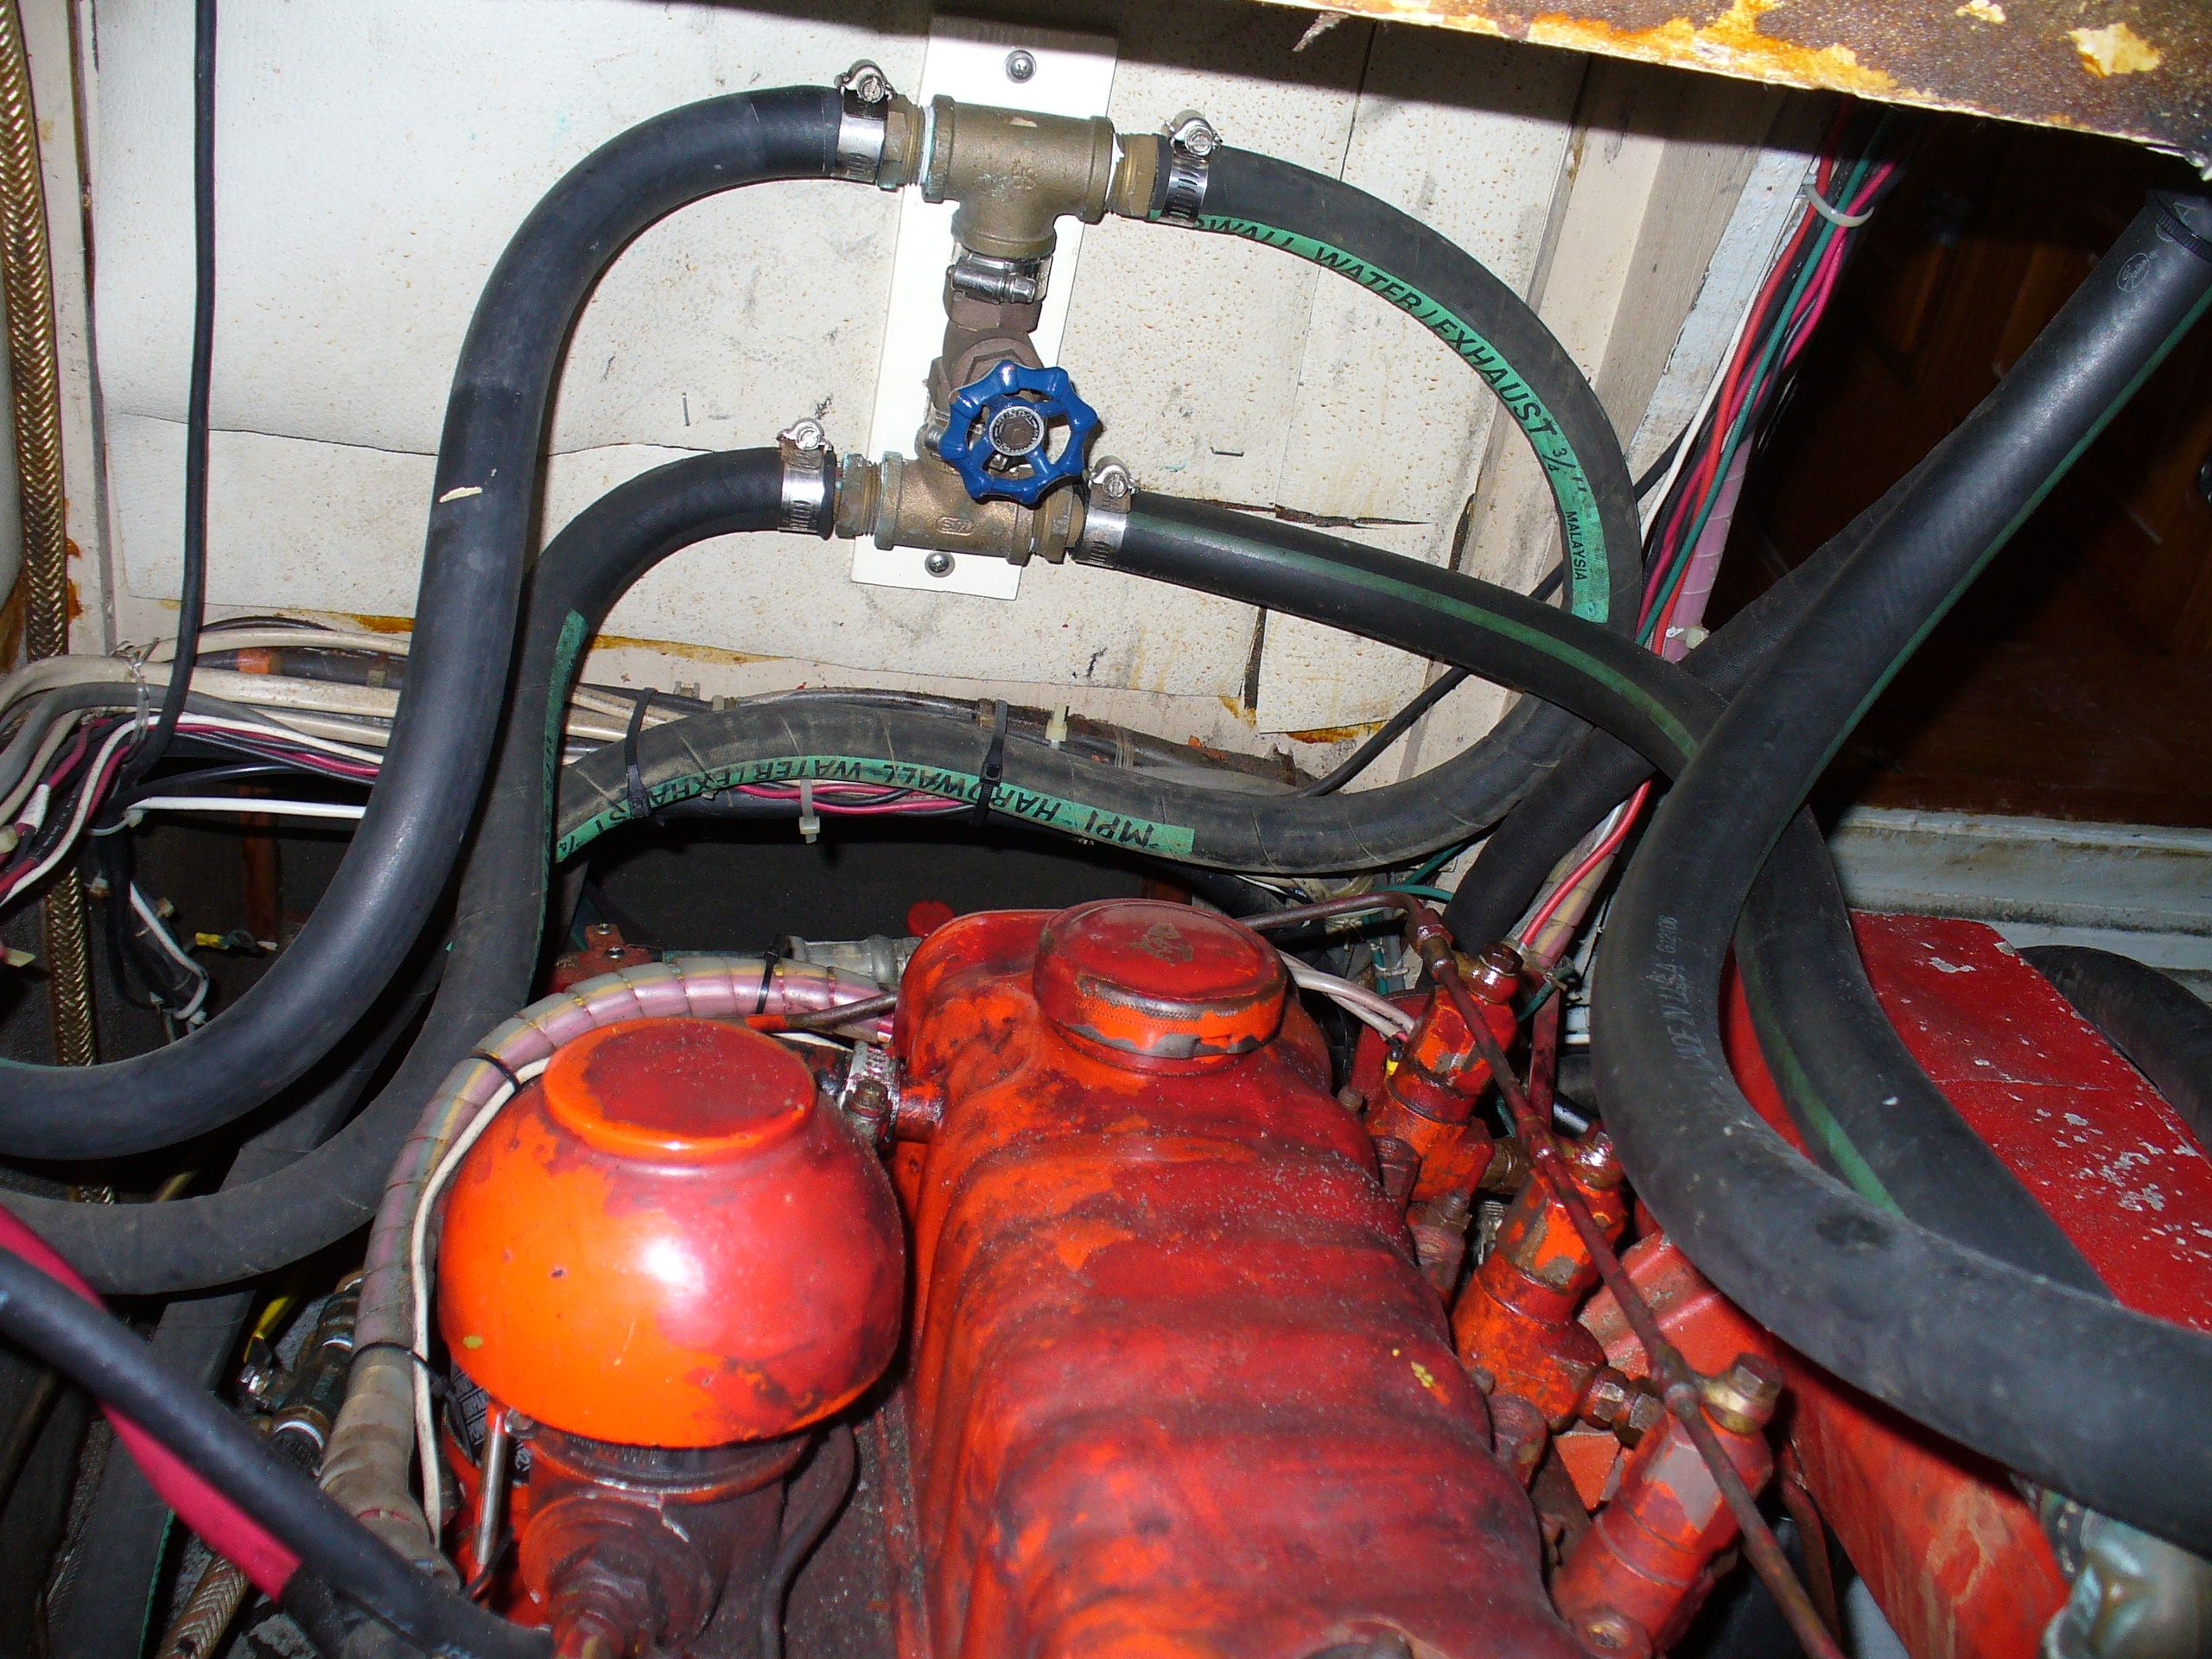
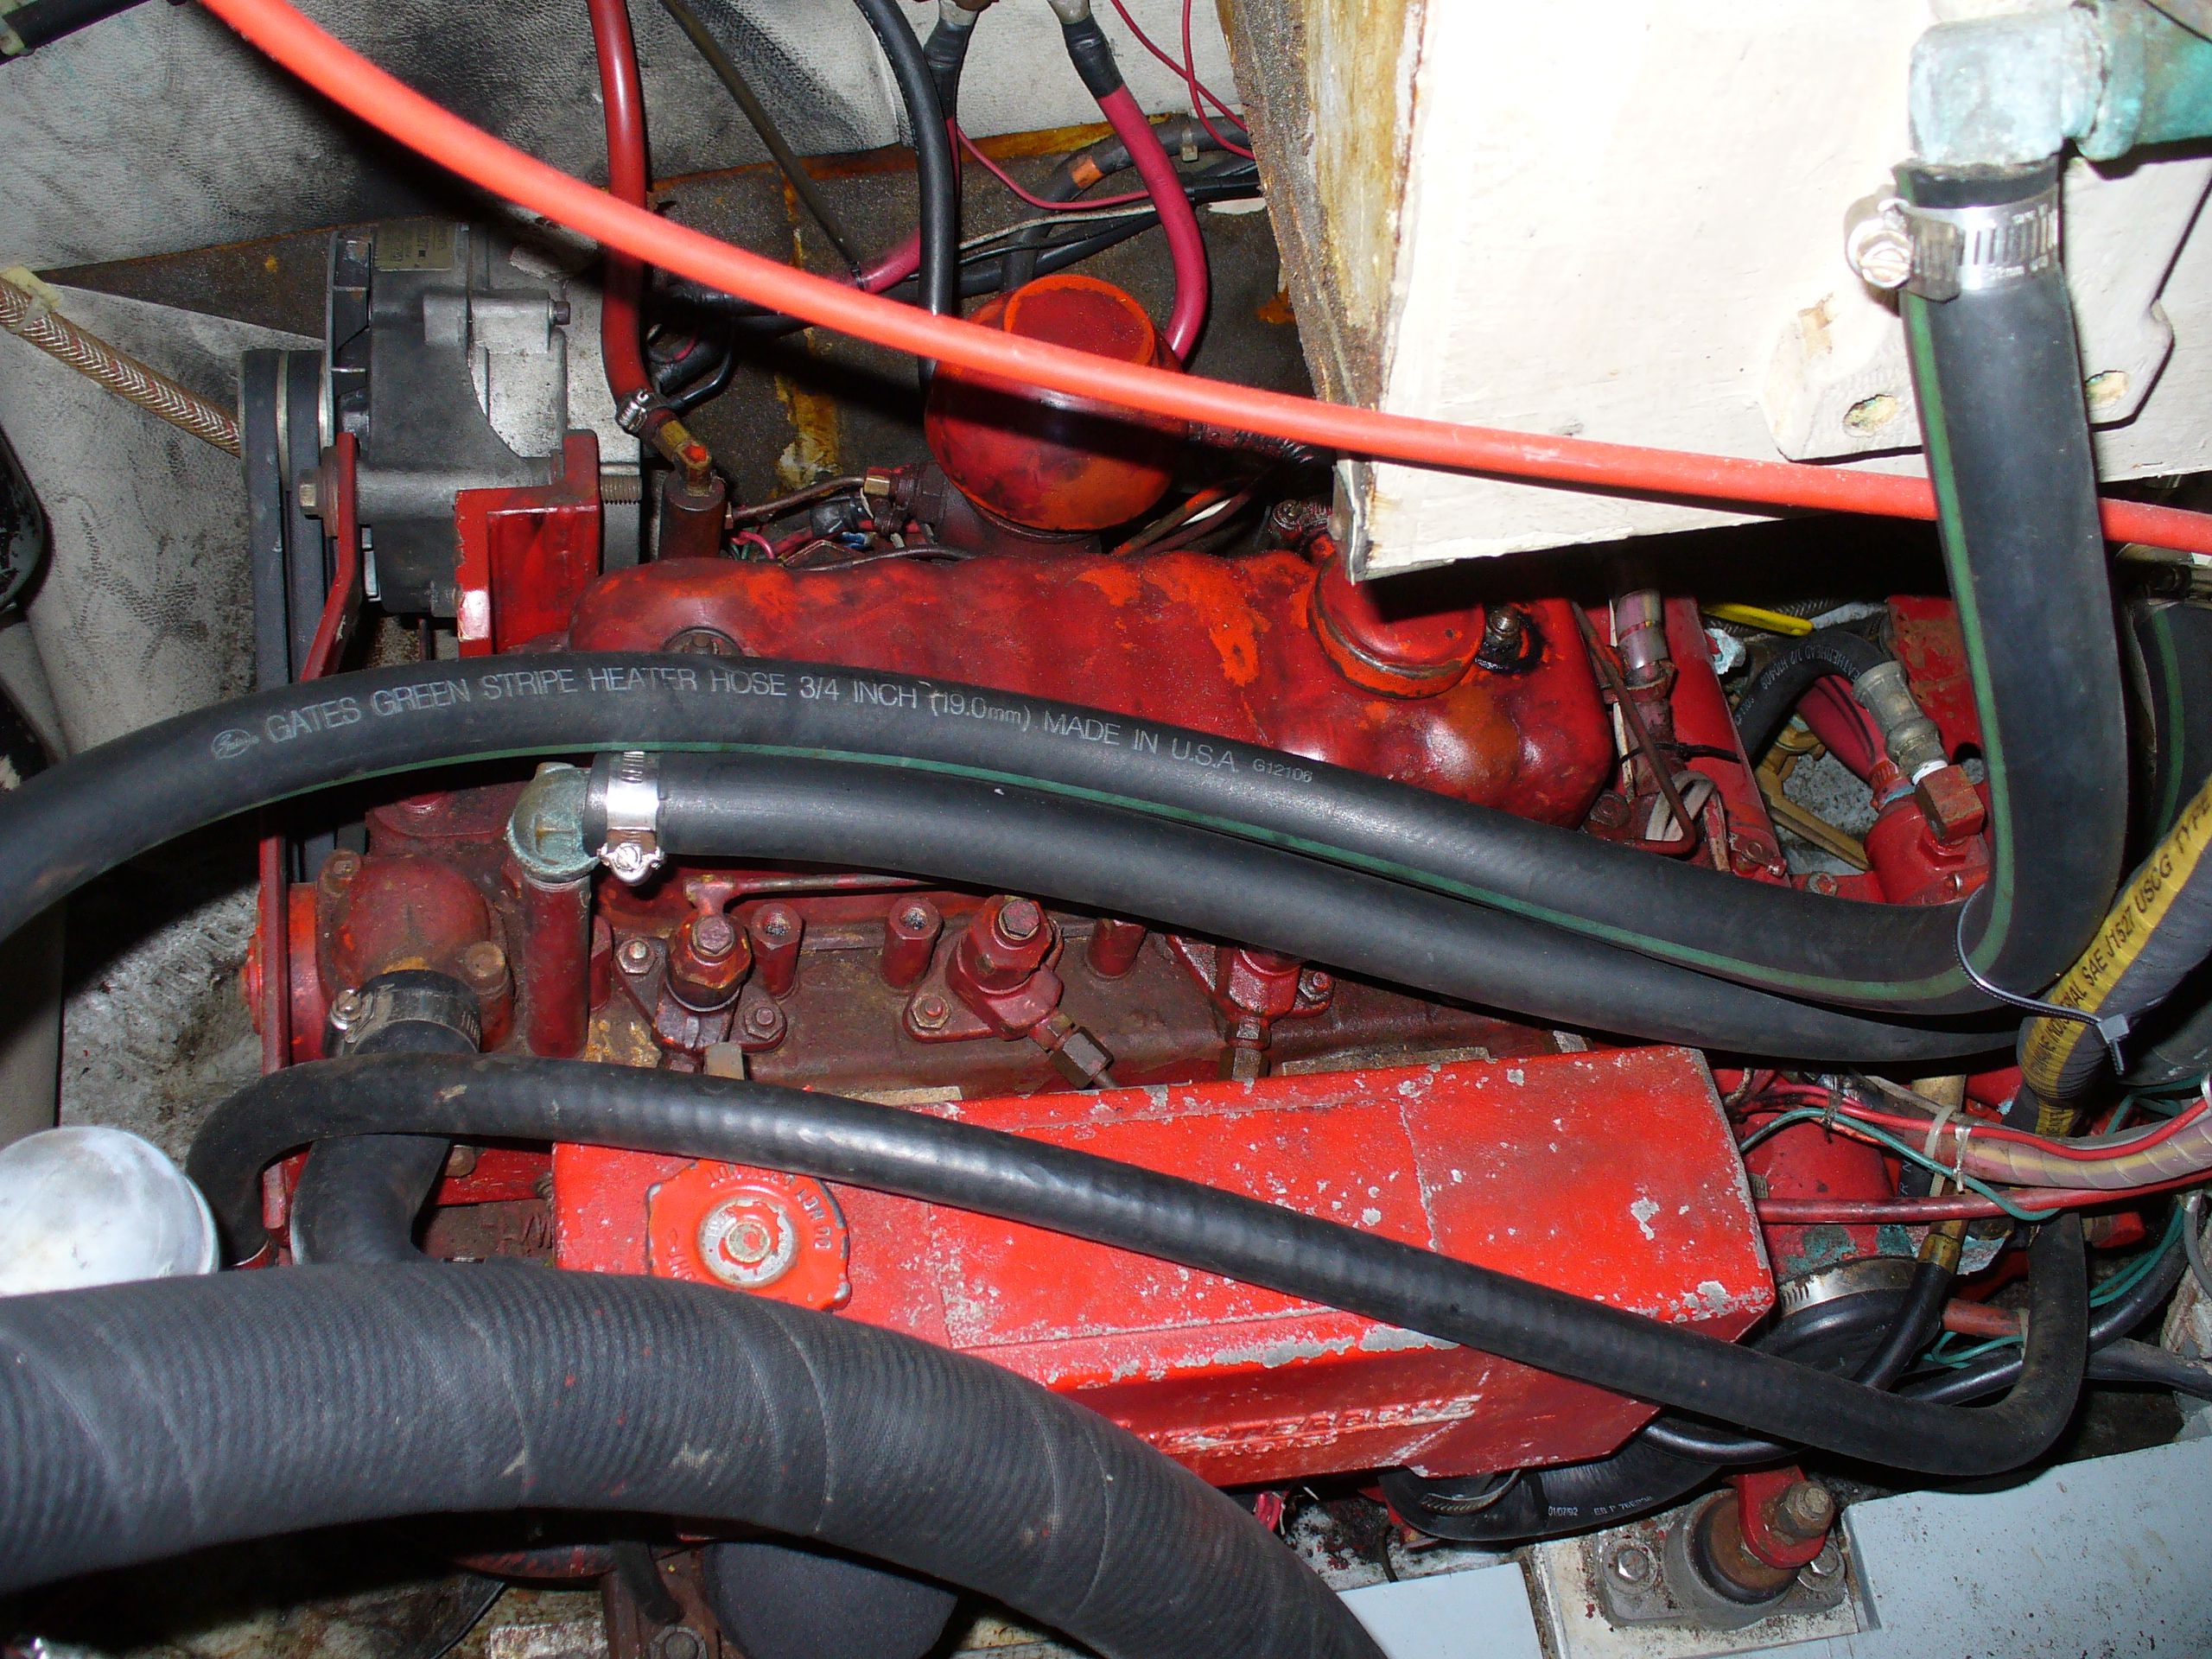
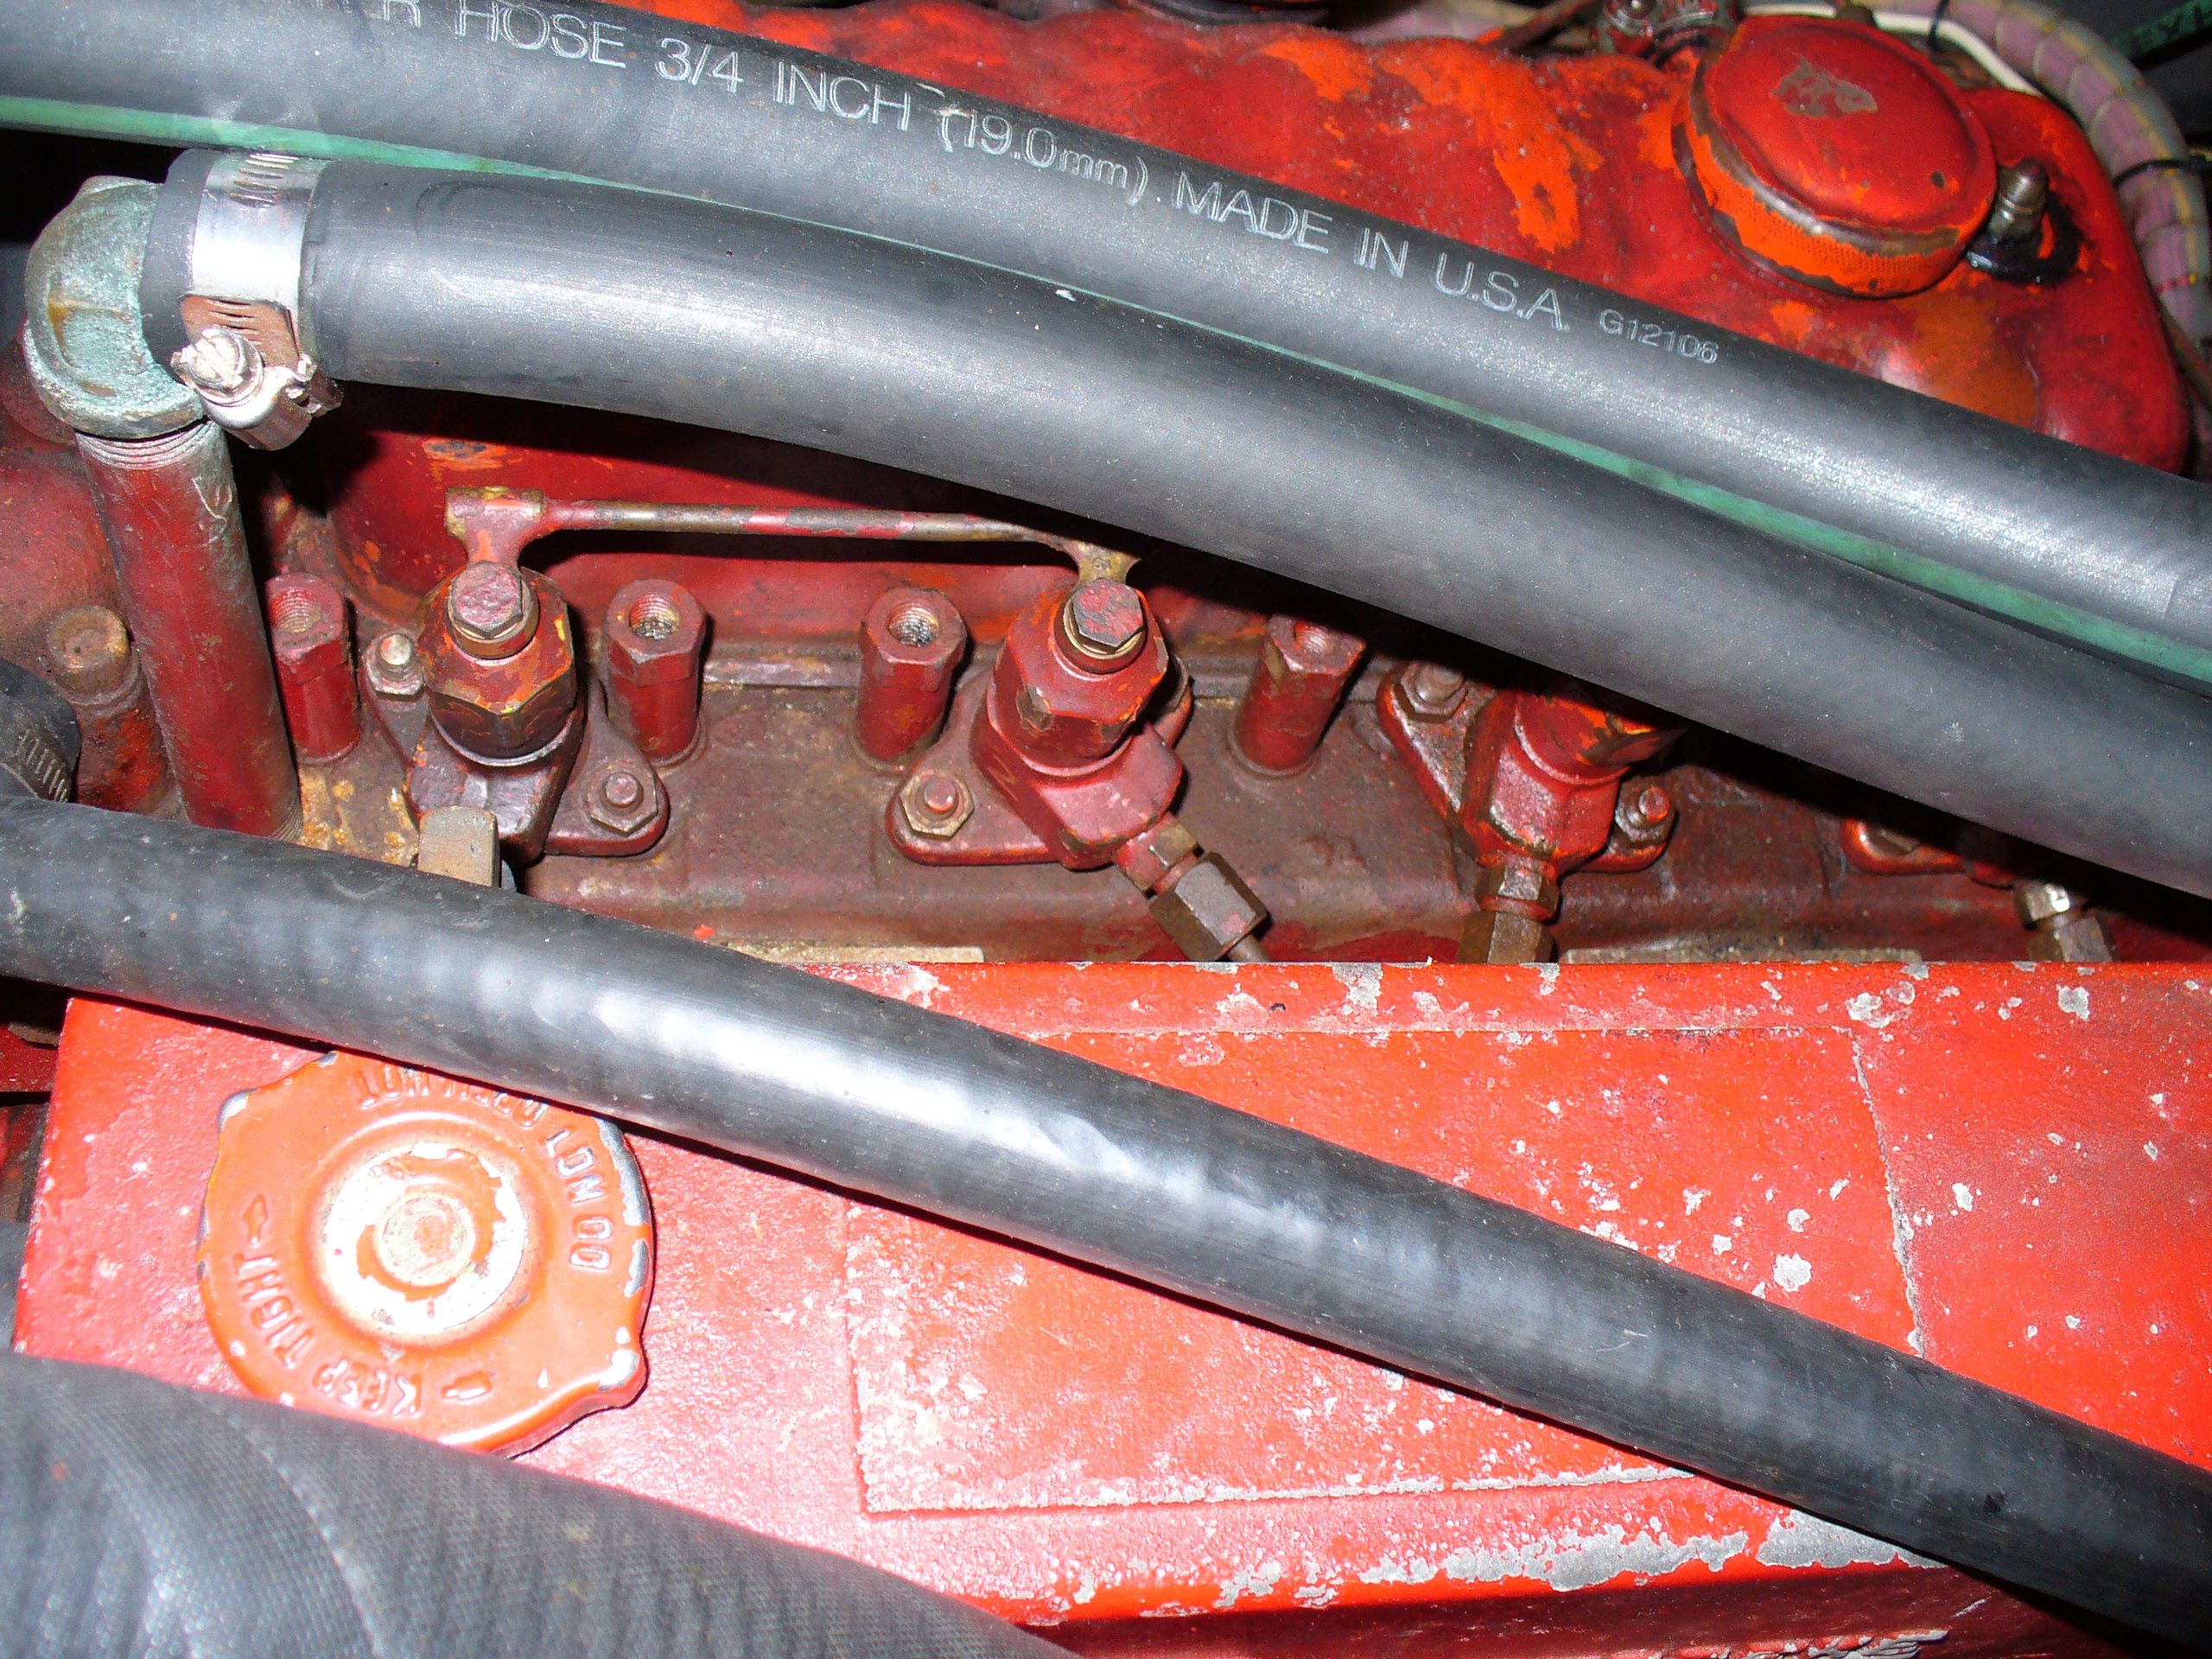
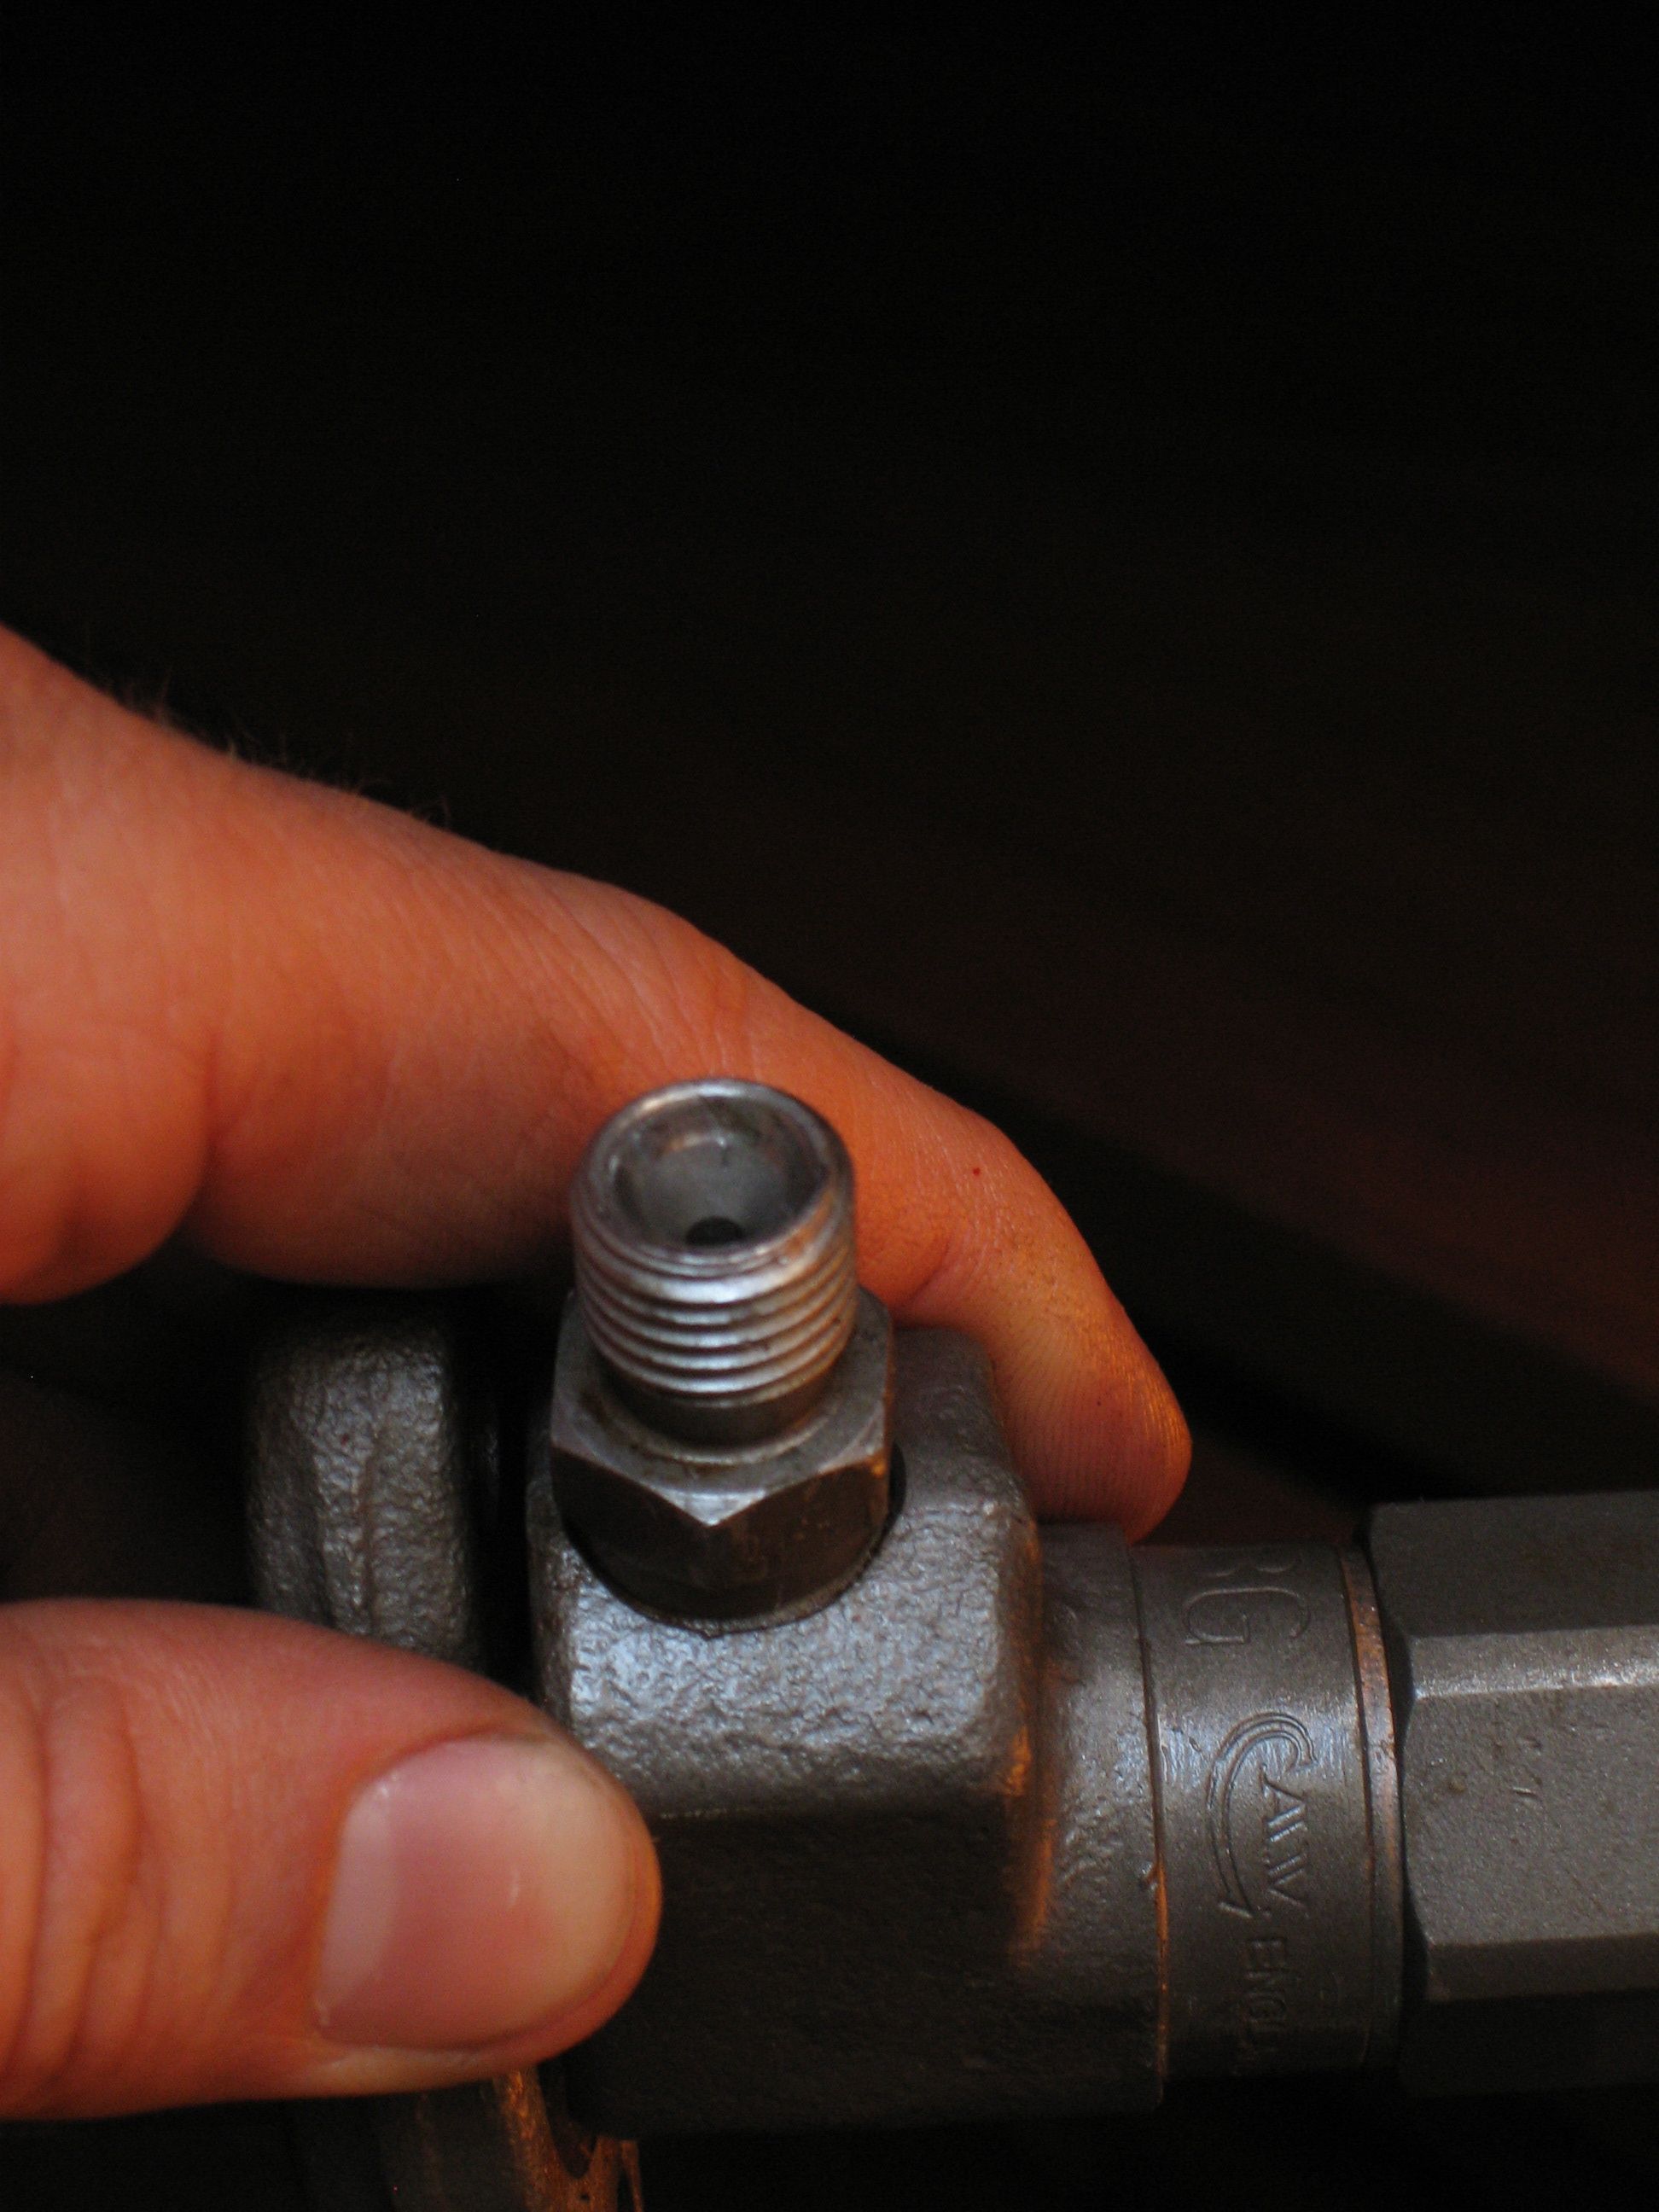
    The problem that I caused was that when trying to crack open the injector nuts to bleed air out of the injector lines, instead of the injector nut turning open, the injector adapter loosened. I subsequently couldn’t get the injector adapter to retighten. I also couldn’t get the injector nut to loosen.

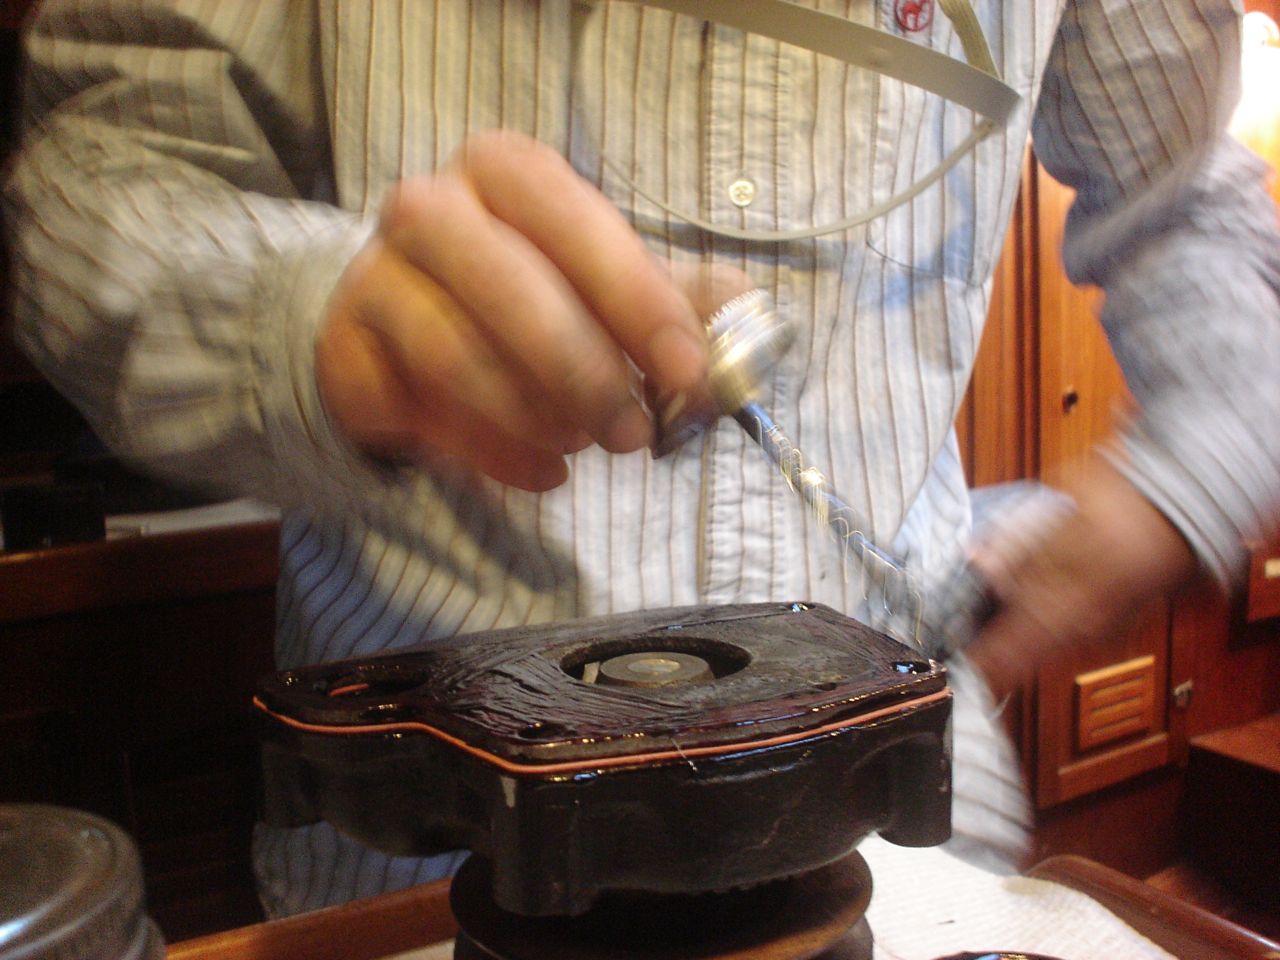
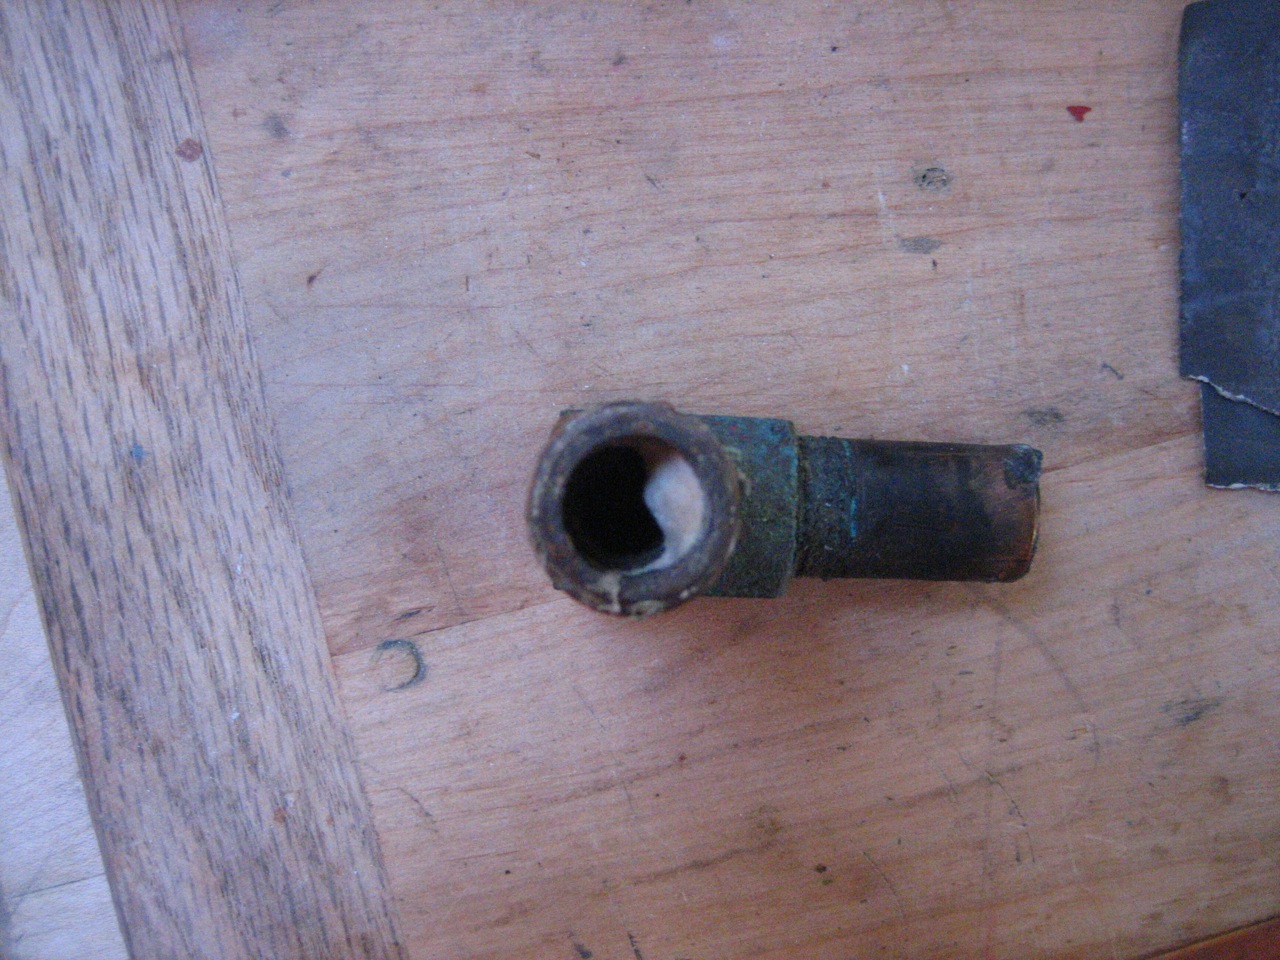
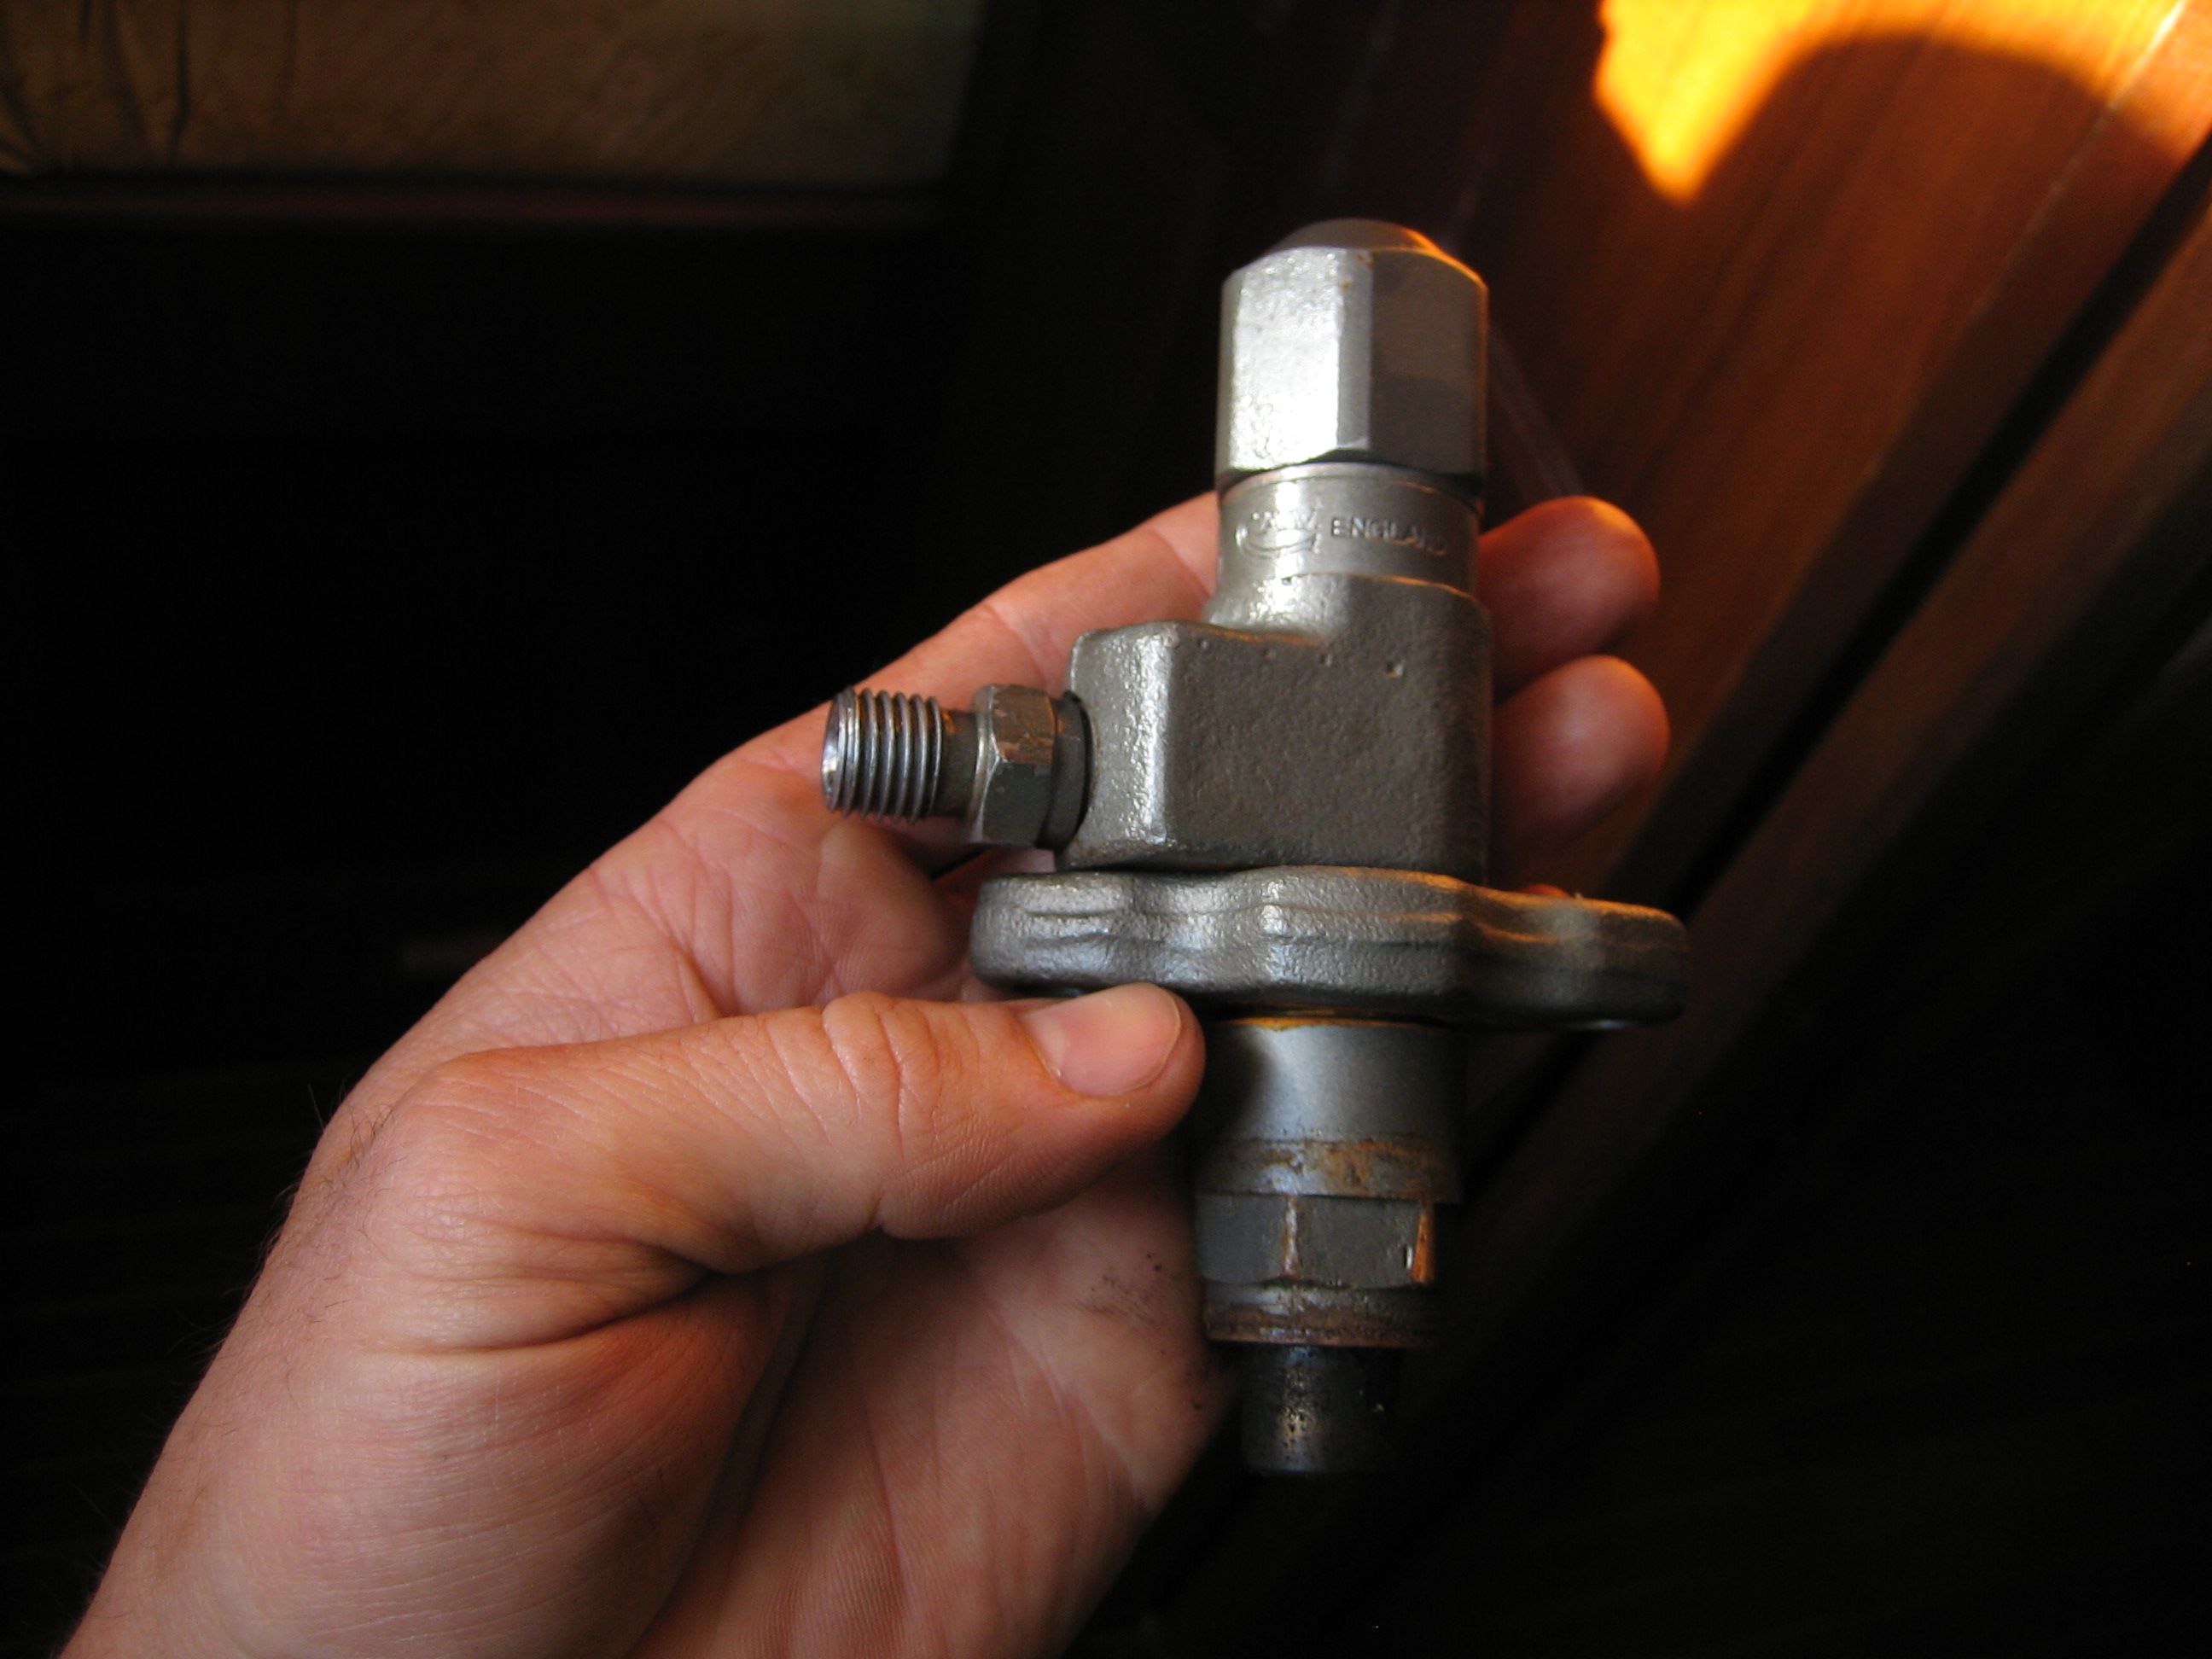
    The fuel line from the injector pump to the injector was obviously getting stressed with all the torquing. So eventually I had to take the injector line off at the fuel injector. This also involved taking the fuel return line off and pulling out the injector from the engine with fuel line still dangling on it. With the line and injector off the engine and sitting nicely on a cutting board I was able to attach a vice grip and a wrench, add a pipe to each handle to lengthen the leverage and yard with all my might on the injector nut. It finally loosened. I screamed in satisfaction.

    The Perkins dealer in Bundaberg informed us after a day of calling around that there is no Perkins 4108 injector nut in all of Australia, but the dealer was able to pull one from another engine that fit.

    With the injector adapter, injector nut and fuel line back together, I put the injector back in and reconnected the fuel line and fuel return line. I tried again to bleed the engine properly, and again, it didn’t start.

    I tried again, It didn’t start. I tried an hour later, it didn’t start. I tried again, it didn’t start. And then an hour later with a few more 4 letter word incantations directed at the engine, myself, the boat, Justin, my ego, everyone who I wasn’t getting along with at the moment because they were ignoring me, the counter person at McDonalds (j/k) and basically the entire world, the engine decided to start.

    The engine has now been running for a month absolutely perfectly so I’m pretty happy about that. I figure I just needed to keep bleeding the engine properly.

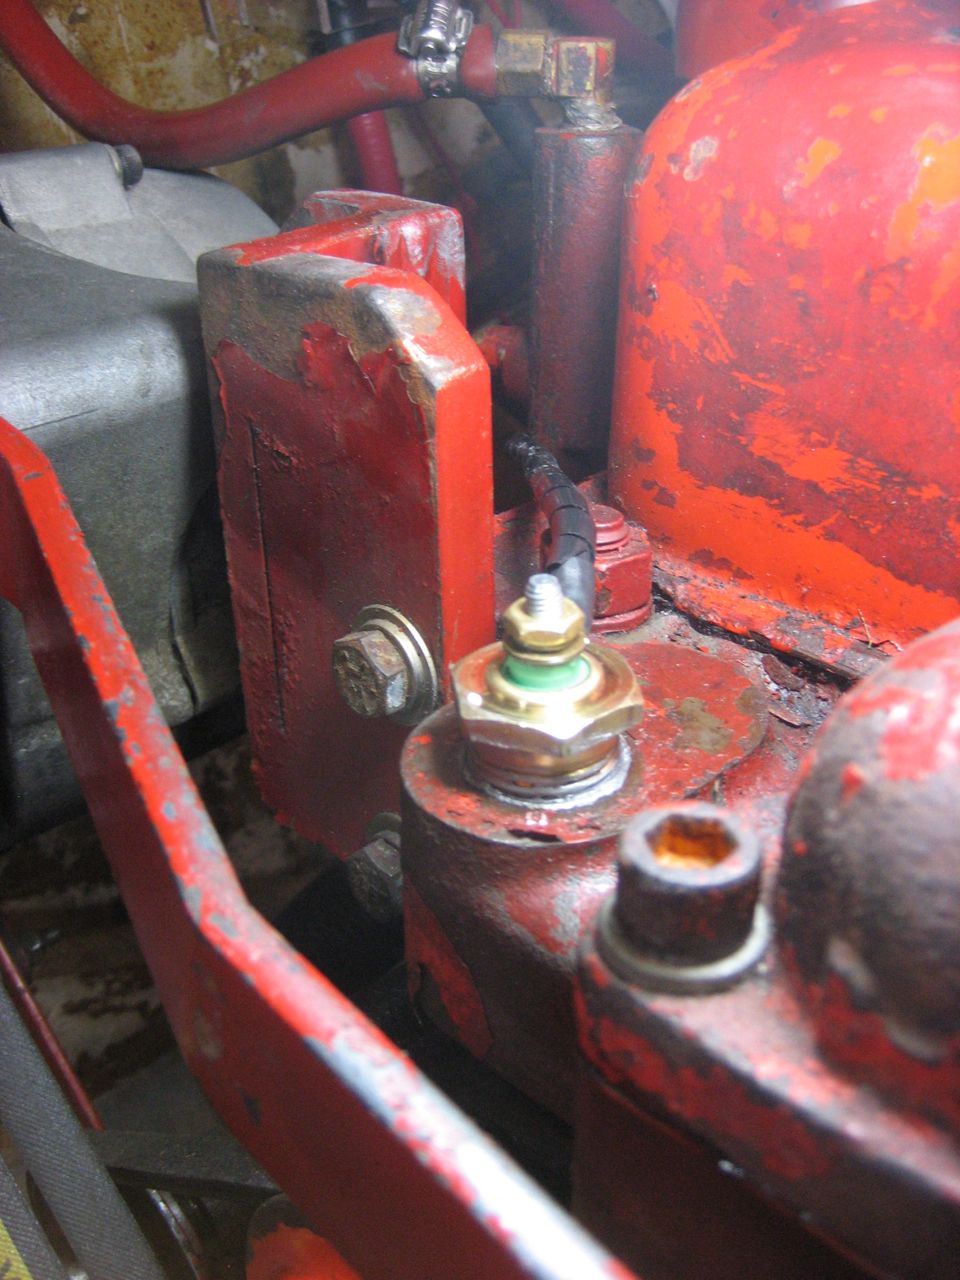
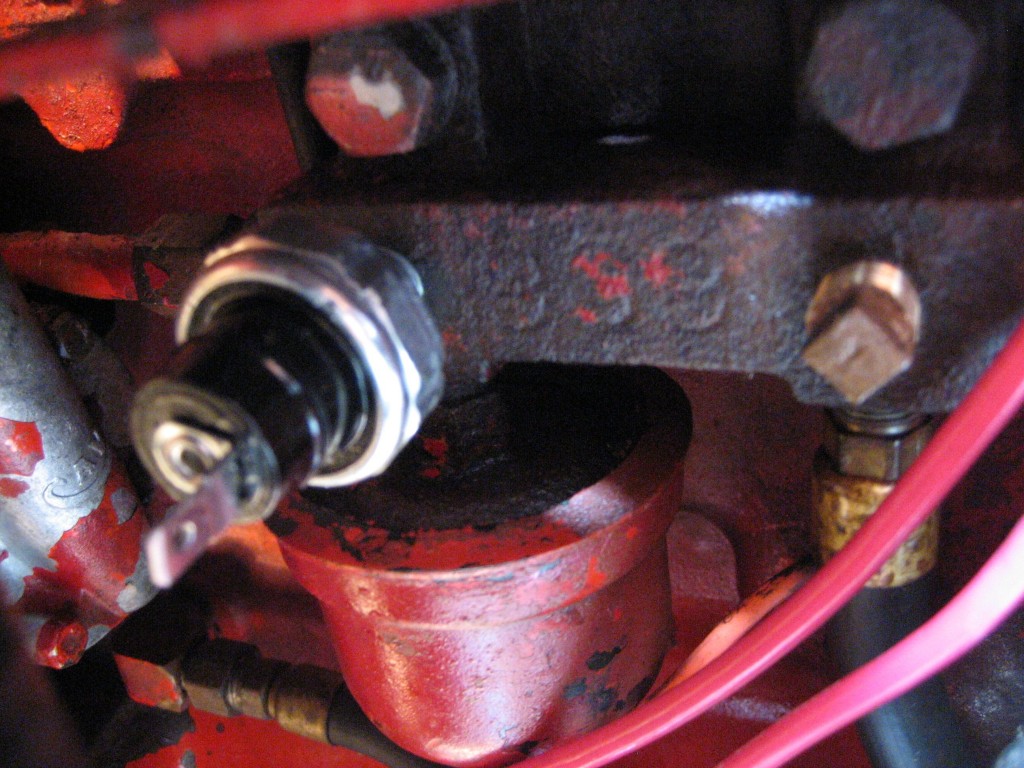
    I also replaced the shitty plastic bleed valve on one of our primary fuel filters with a real metal screw. Fuel used to almost continually ooze from this bleed valve. It no longer does. This was not the entire problem, though may have been contributing to it.

    For another rendition of this story, see the main Syzygy blog here.

  • Miscellaneous Engine Work

    I (Jon) finished these jobs variously on Nov. 25th, Dec. 22nd and March 23rd.

    The oil pressure alarm sensor stopped working so I bought a new one of those, and got it wired up properly. We bought an adjustable pressure sensor. Based on the recommendations from the Valiant Owners Group, the pressure is set higher than what Perkins ships sets their alarms when at the factory. This gives you just a little bit more time to get the engine off if there is a sudden loss of oil pressure.

    The alarm the oil pressure sensor is wired to used to have a time delay function so that it would take about 10 seconds to sound after turning on the switch to start the engine. This allowed you time to try to start the engine. The time delay no longer works, so when you turn the key before starting the engine, the alarm sounds. This is annoying.

    My hope is to add a new switch that operates independently from the current switch key used to turn on the engine. You would turn this on after the engine has started, and then the alarm would sound if while the engine was running the oil pressure dropped dangerously low. We’ll see if that happens.

    I cleaned the air filter. (twice)

    I replaced the zinc in the main heat exchanger. I also checked the zincs in the oil cooler and in the tranny oil cooler. There wasn’t really anything left of the zincs there, but the coolers are too small for a proper zinc, you can only put a tiny nub of zinc in them. Since the whole system is connected, Matt and I decided one zinc in the main heat exchanger would be fine. Since there is only one zinc, we just check that one more frequently.

    I re-attached the leads from the tachometer to the alternator as it wasn’t working. I then rewired it again (April 5th) a couple of months later, as it was only intermittently working. It’s finally working consistently.

    I also bought a new fresh water pump to have as a spare.

    I also re-routed the engine blower hose as high as I could to prevent water from coming in. It had been coming in and dripping very close to various electronics.

  • Exhaust Manifold

    I (Jon) finished these jobs variously on Mar. 9th.

    Forever ago as we were sailing to Tonga, the exhaust manifold sheared two of the four bolt studs that hold the manifold onto the engine. Part 1 of the story is here. Part 2 is here. Much frustration was derived from making a temporary fix. This involved drilling out the stud that had sheered, then drilling out the drill bit that broke while trying to drill out the sheered stud. We then re-tapped the hole with larger threads. Enlarged the hole in the exhaust manifold which bolt passes through to help with alignment. And finally, Matt made up a heavy duty bracket, that while he calls it janky, is probably what kept it from breaking again.

    I now set about to making a more permanent fix. We had helio-coils flown in to Fiji, but never got around to installing them. So that became my job. I drained the coolant and pulled the exhaust manifold off. Doing this on my own was much harder than when Matt and I were both able to fit in the engine room and get four ands on it. But it happened.

    Another bolt had sheered at some point either sometime in the last few months or now when I was talking off the manifold, so I had to drill that out, though it came out much easier than the ones we drilled out in Tonga.

    Then I tapped the holes with the helio-coil tap and inserted the helio-coils. This was easier than I expected. Than I inserted the new studs we ordered. Our temporary fix was using bolts to hold it on, but the factory spec’ed studs should be stronger. There are long studs and short studs you can order. We ordered both because Matt wasn’t sure which were ours. it’s ends up our manifold uses the long studs. There is one old stud still in the engine block, the 2nd one from front of the boat. It was completely seized inside the engine block, which isn’t a terrible thing.

    After this, the exhaust manifold, of course, wouldn’t fit back on. I hadn’t perfectly centered the studs when tapping with the helio-coil kit. (and you unfortunately can’t temporarily mount the manifold and drill and tap through the old holes to make sure  you have perfect alignment. The way the manifold is constructed precludes allowing a drill to get close enough) So I had to enlarge the holes in the exhaust manifold that the studs pass through.

    We also had bought new gaskets for in between the manifold and the engine block, so those were applied. And the gaskets were also slathered with purple Permatex.

    I think that’s about it. Despite that it should be perfectly back to new, I put Matt’s bracket back on, as it seems like there’s no reason why not.

  • two worrisome noises–transmission/prop shaft rotation

    we’re in mexico now and I have a few dozen posts to add and update on this site but I’m trying to get a tan and relax and unwind some from boat work. Anyway, on the way down from san francisco I listened to our transmission making a clacking noise which may or may not be completely normal.

    The audio file I am attaching to this post was recorded while sailing (motor was not running), and the gear shift is in neutral. But it makes the same sounds regardless of whether the gear shift is in forward, neutral, or reverse (it doesn’t seem to make a difference).

    You will hear the whirring of the prop shaft spinning, and then you will hear a clattering/clacking noise that I can pinpoint to be coming from the transmission (not the engine or v-drive).

    Does anyone have any opinion about whether this is normal, or something I should be worried about?

    Now, the second noise is one that I attempted to record, unsuccessfully. It is a deeper vibration that occurs in the prop shaft as we are surfing a bit faster than average. It happens regardless of whether we are motoring, or sailing and the prop is freewheeling. I watch the prop shaft and I see no untoward deflection or vibration, to my eye at least. I suspect the noise has something to do with the cutlass bearing; I do not know what shape the cutlass bearing is in. At what point do I need to worry?

    SANY0236

    update 11/11:

    After sailing across the pacific without developing any problems associated with the noise, I have concluded that it is nothing to be concerned about.  We did make a modification to our procedure, however, which seemed to reduce the amount that the shaft spins: before shutting down the engine each time, we briefly put it in reverse and idle up slightly, for a few seconds, then turn off the engine without taking it out of gear. Honestly, I can’t ascertain the precise effect of this: sometimes the shaft still spins, sometimes not so much, but I don’t think I ever heard the noise again quite as bad as I described above.  In either case, no ill effect has come from it, despite about 15,000 miles of sailing.

  • Replaced Heat Exchanger; FIXED ENGINE OVERHEATING

    Finally!  After replacing nearly everything else in the cooling circuit, I decided the problem must be the heat exchanger, even though we already cleaned it out with muriatic acid.  I bought a new one from Transatlantic Diesel (they know their stuff over there) although I asked for a heat exchanger for a Perkins 4-108 instead of a Westerbeke and so they sent me the right one for the wrong engine (our Westerbeke engine uses a Perkins 4-108 block and so for most purposes it’s really a perkins 4-108).  I called them and they sent me the right one no problem.

    It took only a few hours to put it in.  Afterwards I ran the engine at an idle at the dock, then put it in gear and let it strain against the docklines a bit.  It never got above 185, whereas before it would overheat while sitting at the dock in idle.

    The new heat exchanger is a better design than the old one, as well: the new one has a bolt with metal end caps and a gasket underneath, so that it can be fully dismantled.  The old one had a single rubber endcap, allowing access only to the center of the tubes (one half of the circuit).

    Granted, we won’t know for SURE until we take her out and run it hard, but I’m optimistic that we finally fixed the problem.

    HeatExchangerNew1

  • Replaced engine water temperature gauge and sender

    Not sure if the old gauge and sender were operational or not.  Even if it worked, I hated the old gauge because it had one uncentered tick mark between 180 and 240 degrees, so it was impossible to tell what the actual temperature was.  What good is that?  I only care about the temperature in that range anyway!

    I was under the impression that the gauge and sender have to be matched to each other or else they won’t be accurate.  I still don’t know whether or not this is the case, though I have since discovered that there is a standard for the senders (separate for american and european) so that in theory any american sender should work with an american gauge.  Regardless, I didn’t want to take a chance so I just ordered them as a set from Sherri at Transatlantic Diesel.  When they showed up I was frustrated, because the gauge had the same shitty problem as the original one, and I was disgusted by the idea of replacing our old gauge with one that was equally useless.  So I bought another one, a digital one off the internet that came with its own sender.  Of course when it showed up I discovered that the sender is too small to fit in our 1/2″ npt spot for it on the engine, and even though I have an adaptor that accepted it, it still wouldn’t work because the sensing tip on the sender was too short to protrude through the adaptor plug.  Just figures.  So I borrowed Jim’s thermocouple (Jim’s on Kanga down the dock from us) and set up a jury-rigged little science experiment in the galley, consisting of a pot of water on the stove, with the thermocouple and the sender in it, wired up to the gauge, which was jury-rigged to the back of the electrical panel to give it some power, and then I sat there over the stove, holding the sender in the water in one hand and the thermocouple in the other while the pot of water heated up, and tried not to burn myself as the water got all the way up to boiling.  Crude, but the experiment convinced me that the gauge and sender are compatible.  The gauge appeared to be reading ~8 degrees low, or else only a few degrees low and just lagged behind the response of the thermocouple.  I should have waited to see what it read while the water dropped also (to resolve that question) but I was out of patience and in the middle of a shitty conversation with jonny.  So I am satisfied with that level of accuracy for now, and I’ll use the thermocouple in the holding tank of the engine eventually to check it again.

    So I mounted and wired the temperature gauge into the panel.  Now of course I have to change around my master wiring diagram because it’s pretty different from what it used to be (I had to move around a number of the hot and gnd supplies for the other gauges, since they had been piggybacked onto the old temperature gauge).  But anyway I have faith in the temperature gauge and I’m ready to start the engine back up and see if we still have an overheating problem, or whether either the new cam in the seawater pump or else the new gauge have resolved the issue.

    fyi Gordon May’s info on testing engine gauges is extremely well written and valuable advice.  I have uploaded the pdf “GaugeTesting” to my site, so that it still exists when the original post goes away.

  • Replaced cam in seawater pump

    As mentioned a few posts ago, I pulled the seawater pump off the engine expecting to notice wear on the back plate.  I didn’t find that, but I did notice that the cam appeared worn.  For $50 I got us a new one and installed it.  Haven’t run the engine yet to know if this will help with the overheating.  You tell me, does it look like the old one was that bad?

  • latest engine overheating frustrations

    Possible Reasons for Reduced Capacity Engine Cooling, a list compiled from advice from members of the Valiant Owner’s Group:

    1. prop fouled–try cleaning prop :: recently the diver checked our zincs and confirmed that our prop is not fouled
    2. strainer outside boat clogged; remove hose from sea strainer and see how fast :: did that, sea comes in plenty fast the ocean comes into the boat (should be quite alarmingly fast)
    3. sea strainer could be clogged beneath the basket even though it looks clear–take it off and run something through to check :: the test we performed for #2 should confirm that things are ok
    4. the gasket on the cap of the sea strainer may not be air tight–we might be sucking in air as well as water
    5. oil cooler could be partially plugged with impeller blades
    6. even partial blockage in heat exchanger could cause the problem
    7. cam in seawater pump may be worn out (difficult to tell by looking it it with amateur eye)
    8. impeller might be sheered between hub and blades, even though it looks perfectly fine :: removed impeller to check–it’s ok
    9. gauge might not be properly calibrated; get an infrared thermometer to check
    10. fragments may be lodged in hoses or exit from raw water pump, or heat exchangers; remove hoses and sight down them to double check, try flushing with garden hose
    11. clamps on raw water side might be loose; anything allowing air to be sucked in will mess up the cooling
    12. back plate of raw water pump may be worn out–check to see if there is noticeable wear or grooves where the impeller has worn into the back plate :: checked–looks ok
    13. cooling system may have an air-lock, especially with the hot water heater installation; try bleeding air from petcock on top of heat exchanger (is that high enough to take care of it?) :: removed our hot water heater setup and bled from the top of the heat exchanger (though the header tank is the highest point anyway)
    14. thermostat could be the wrong temp, or not working properly  :: we replaced the thermostat (and checked both the new and old in a pot of boiling water beforehand)
    15. heat exchanger, oil cooler, tranny oil cooler could be scaled up  :: we removed them and thoroughly cleaned them in a bath of muriatic acid)

    The last time we went out (two weekends ago) the engine reached 180 on the gauge within 10 minutes, and was reading 230 around 20 minutes.  We were lightly motoring, barely above an idle.  Water was coming out of the engine exhaust (enough, I can’t tell).  I used the infrared thermometer on various spots of the engine.  The housing over the thermostat read ~190, the head next to the temperature sender read ~190, most all the spots on the head read ~190.  A spot next to the #1 fuel injector read 220.  I took this as a sign of overheating, though I’m not sure how to interpret the data.  The exhaust pipe (galvanized elbow) read 240.

    I pulled off the seawater pump (again) to see if the back plate had any wear.  Doesn’t appear to.  Though it does look like the cam has some wear, and I found a salt deposit partially blocking one of the fittings.  So I ordered a new temp gauge, sender, cam for the seawater pump, and heat exchanger from Sherry at TA diesel.

  • Installed Oil Transfer Pump


    Changing the oil on the engine was unnacceptably difficult–you had to insert a small diameter tubing down into the dipstick tube (on the hard to reach side of the engine) and then pump it all out by hand.  Because the tubing had to be so thin to fit down the dipstick tube, it pumped super slow and hard, and was a tedious, laborious job. 

    You don’t want it to be so hard to change the oil, or you won’t ever do it when you should.

    My dad bought me an oil transfer pump for christmas, and we plumbed it into the drain plug fitting in the bottom of the oil pan.  It was challenging to piece together all the fittings in the tight space under the oil pan. 

    The first time we used it confirmed all of our efforts–you pump out the old oil, then stick the end of the hose in the new oil and pump the new oil right back in the same way.  Simple, clean, quick, easy.

  • more engine overheating problems


    damn it we just can’t seem to catch a break when it comes to the engine overheating.  We went out for a fireworks show and on the way back we started overheating.  Fortunately, idling down to 3 knots boatspeed kept the temp under 200 so we were able to get home.  

    Clearly, we have reduced cooling capacity.  A complete failure of the cooling system would be much easier to fix–it would be far easier to find the problem.  This reduced capacity could be cause by any number of things. 

    I took some video of the water coming out of the exhaust, so I could hopefully get someone to tell me whether it looks satisfactory or not.  Of course, when we’re actually underway this probably changes (I know at times the dribble coming from the anti-siphon vent disappears). 

    It could be something to do with our water heater plumbing.  I’ve heard terms like “airlock”, and heard plenty of stuff about needing to bleed from the highest point, but I don’t understand what is up with our setup.  Here are some shots for people to look at:

    The Valiant Owner’s Group had tons of great suggestions, which I compiled:

    1. prop fouled–try cleaning prop
    2. strainer outside boat clogged; remove hose from sea strainer and see how fast the ocean comes into the boat (should be quite alarmingly fast)
    3. sea strainer could be clogged beneath the basket even though it looks clear–take it off and run something through to check
    4. the gasket on the cap of the sea strainer may not be air tight–we might be sucking in air as well as water
    5. oil cooler could be partially plugged
    6. even partial blockage in heat exchanger could cause the problem
    7. cam in seawater pump may be worn out (difficult to tell by looking it it with amateur eye)
    8. impeller might be sheered between hub and blades, even though it looks perfectly fine
    9. gauge might not be properly calibrated; get an infrared thermometer to check
    10. fragments may be lodged in hoses or exit from raw water pump, or heat exchangers; remove hoses and sight down them to double check, try flushing with garden hose
    11. clamps on raw water side might be loose; anything allowing air to be sucked in will mess up the cooling
    12. back plate of raw water pump may be worn out–check to see if there is noticeable wear or grooves where the impeller has worn into the back plate
    13. cooling system may have an air-lock, especially with the hot water heater installation; try bleeding air from petcock on top of heat exchanger (is that high enough to take care of it?)

    things we already checked
    -thermostat could be the wrong temp, or not working properly
    -heat exchanger, oil cooler, tranny oil cooler could be scaled up

    The next thing to do is run down this list I guess.  Really excited about that.


  • Fixed rubbing belt (needlessly mucked with water pump, then shimmed alternator)

    The problem: the alternator belt was rubbing on the idler pulley.  This is a strange problem to have, because I never noticed it before, and we didn’t really change anything.  Except that we replaced the water pump–so maybe the pulley on the new water pump wasn’t as close to the engine as it was on the old water pump?  Then I started worrying that I hadn’t pressed the pulley far enough onto the pump–I recall it seeming like it was a millimeter farther on the old pump, and since this was the only thing we changed, I assumed this must be the problem.

    So jonny pulled the pump off the engine again, and I took it down to the Tech Shop with me this time (last time I tediously managed to pull it off with a vice, but it was definitely the wrong way to do it, and now I have a tech shop membership anyway).  I pressed the pulley farther on–too far in fact, it stopped being able to turn–then I used a puller to pull it off just enough so it would turn freely.  So I am positive that I have the pulley as far on the pump as it will go.  I gained MAYBE a millimeter out of it.

    Then we had to laboriously scrape and clean off all the old gasket material (well secured with permatex!), buy new gaskets, and reinstall the pump.

    After doing all that, the belts still rubbed.  So then I took off the alternator and added a couple of washers to shim it farther out, and then finally the problem was solved.  I don’t believe that I messed up the belt alignment through my actions; if anything, it looks like the alternator belts line up better with the added shims (though it is extremely difficult to tell by eyeballing it).

  • Replaced oil pressure switch, capped vestigial oil hose

    One of the terminals on the oil pressure switch that triggers the low pressure alarm broke off.  The oil switch is mounted to a little manifold; also mounted to this manifold was a foot long hose that served no purpose.  I took it off and capped the hole with a bronze stopper (before I did, I called Sherri at Transatlantic Diesel to double check–too often we take something off that we don’t understand only to later realize that there was a good reason for it).

    (image shows new switch without wires attached; bronze square headed plug is to the right)

  • Found, fixed three diesel leaks

    For two months we have had a frustrating diesel leak, just enough to cause the engine to lose its prime after sitting for a day.  We can start it back up right away after running it, no problem.  But wait a day, and we had to bleed the system again.

    Pete thought that the fuel switch located on the injector pump was leaking, so Jon replaced that.  Didn’t fix the problem, though I think it was part of the problem.

    An injector started leaking from around the nut on the feed line.  I discovered a tiny scratch on the surface of the nipple of the injector, undoubtedly created by some errant shard of metal when we put the injectors back in.  I removed the injector and took it to Diamond Diesel in Oakland and they replaced the piece for free (I had them all rebuilt just a few months ago).  This was definitely part of the problem, but it still didn’t fix our priming issue.

    I decided that the fuel manifold to which the fuel switch is mounted was leaking, because it didn’t have a copper washer to seal it properly (no idea why).  Took it off and added a copper washer.  Leaking stopped, engine doesn’t lose its prime now.

  • Overhauled cooling system (replaced hoses, exhaust fittings)

    The engine has been overheating when pushed hard, so I was thinking that it was a reduced cooling capacity rather than an outright problem.  I started by replacing the seawater hoses from the through-hull to the strainer and strainer to the v-drive.  Jon replaced the hose from the pump to the heat exchanger, I replaced the hoses from the heat exchanger to the anti-siphon fitting and anti-siphon fitting to the exaust elbow.  Jon soaked the heat exchanger, oil cooler, and transmission oil cooler in muriatic acid.  I replaced the impeller when I added the speedseal cover.  I soaked the anti-siphon fitting in muriatic acid. There was no way of telling how corroded the exhaust fittings were without taking them apart.  In order to take it apart we had to cut it off with the grinder, so then we had to replace it regardless of the condition. I pieced together all the necessary fittings out of galvanized steel from a great hardware store over in Alameda called Pagano’s (it’s close to Svendsens, so convenient).  One of the guys at Svendsen’s warned me that it might kill us to use galvanized (as opposed to bronze or stainless), and I know that the galvanized coating is dangerous when it gets hot enough to burn off, but a) I doubt it gets hot enough  b) the previous fittings were galvanized c) I’m not paying $300 for bronze fittings for our exhaust elbow.  We can’t afford to be cancer free!

  • Cleaned heat exchanger (soaked in acid)

    Our engine overheats after we run it for a while (not right away), indicating reduced (not absent) cooling capacity.  The sea water strainer is clean, we scrubbed the bottom to make sure the strainer mounted over the through-hull is clear, and replaced the impeller.  The next step for us is to replace clogged hoses and clean the transmission oil cooler, engine oil cooler, and heat exchanger.  I purchased muriatic acid at a local hardware store and jon did the deed of removing the heat exchanger, flushing with water, then soaking in acid, and flushing with water.  He could tell that it made a difference just by looking at it.  He is currently working on the hoses and other elements, so I can’t report on the result yet.

  • Mounted mirror aft of engine

    I picked up a piece of 24″ x 20″ mirrored acrylic from TAP plastics for $15, cut it with a fine-toothed blade on the jig saw (still managed to fracture off the corner at the end–that stuff is a pain to work with) and mounted it with four wood screws to the bulkhead behind the engine.  Our engine faces aft (we have a v-drive), and the belts and pulleys are less than 6 inches from that bulkhead, which makes it extremely difficult to see and to work on.  This mirror changes that!  I’m very pleased with myself.  I just hope it doesn’t warp from the heat, or get scratched in under a month . . . we’ll see, but man if it holds up I will be bragging about it for some time.

  • Replaced water pump

    After replacing the thermostat housing gasket, we discovered a second, more serious leak from the water pump.  The water pumps are designed to leak through a weep hole to indicate when the bearing is going bad, thereby inspiring you to replace it (before it fails and something worse happens). Fortunately, the previous owners had left us a brand new one as a spare in one of the buckets.  It was easy enough pulling it off the front of the engine, especially with the new mirror I installed on the bulkhead.  However, the new pump needed the pulley from the old one, and it was NOT easy getting the pulley off the old or onto the new.  The pulley has four threaded holes on the front of it, to use with a puller.  The puller is placed against the center shaft, and two bolts are threaded into the holes, pulling the pulley off the shaft.  Well we didn’t have a puller, and couldn’t find a reasonably priced one nearby, so with the help of a good friend Pete we managed to finally jury-rig a puller out of a sturdy door hinge–really we just needed a stout piece of metal that wouldn’t bend, and it was a fantastic bonus that the holes just happened to match up to the holes on the pulley.  It didn’t go onto the new one easily, either.  It needed to slide on 2.4cm, or something exact like that, and I managed to get the first 1.4cm with a hammer and a block of wood (no banging directly on the cast metal, or you’ll crack it).  To get the rest of the way, I ended up buying a small vice from Ashby Lumber nearby.  I was wanting a vice for the boat anyway, so when I realized this could be the tool I sprung for it.  It STILL was a bitch to get on there–I ended up bending the handle of the vice slightly (now I know why every vice on the farm has a bent handle).

  • Compression tested engine

    Did it dry on each cylinder.  Then put a capful of oil into each cylinder and retested.  This allows you to determine how much of the reduction in compression is a result of “blowby”–gases escaping past the rings on the cylinder–rather than gas escaping around inlet or exhaust valves, or a blown head gasket.

    The results:
    Dry
    #1 480
    #2 400
    #3 420
    #4 480

    Wet
    #1 540
    #2 580
    #3 480
    #4 530

    This signifies to me that we’re getting some blowby.  I don’t yet know how to interpret the absolute numbers.

    Update 5/27/11:

    The engine has run flawlessly since writing this post, with the exception of air in the fuel lines which is unrelated to the internal condition of the engine.  It always starts right up and sounds great.  Many people have told me not to worry about the compression numbers if the engine is running well.  So I won’t.

  • Replace raw water intake hoses

    (referring to the hoses from seacock to strainer, and strainer to v-drive) The old ones were looking somewhat dry and cracked on the outside, and the hose clamps all around were heavily corroded.  All new now.

  • Adjusted valve clearances

    Pete showed me how to adjust the valves.  All of them were within a thousandth or so of where they were supposed to be, anyway (which is .012), so this job will not have made much of a difference.  It was a valuable experience, however, to help de-mystify the engine.