Boy was this a task.
First, we chipped all the resin out of the bilge. When the boat was built in ’78 the factory poured a ton of resin into the bilge to smooth it and seal it and even it out. This was a well-intentioned but ultimately poor decision. Over the 30 years since, the resin had cracked and come unbonded from the underlying fiberglass in many places, allowing water (and more recently, our leaking diesel fuel) to penetrate underneath and hang out, doing god knows what to our keelbolts and other bilge paraphernalia. Anyway, it was nasty and not cool, and we decided to fix it. It took about 50 hours of labor, split between all of us, to chip out the resin chunks and then chip it down relatively smooth for painting purposes.
Then Jon laboriously cleaned the engine with simple green, brushes, toothbrushes, and a hose, letting the gunk drain into the bilge. As the bilge level rose, he would pump it out into large bins already in the cart on the dock, using our manual bilge pump with a hose run out a portlight. Once the bins were full, jonny and jon would cart them up to the restrooms to be inserted into the city sewer system (we were very conscious not to dispose of it into the marina water). After finishing the engine, he scrubbed and cleaned the entire bilge.
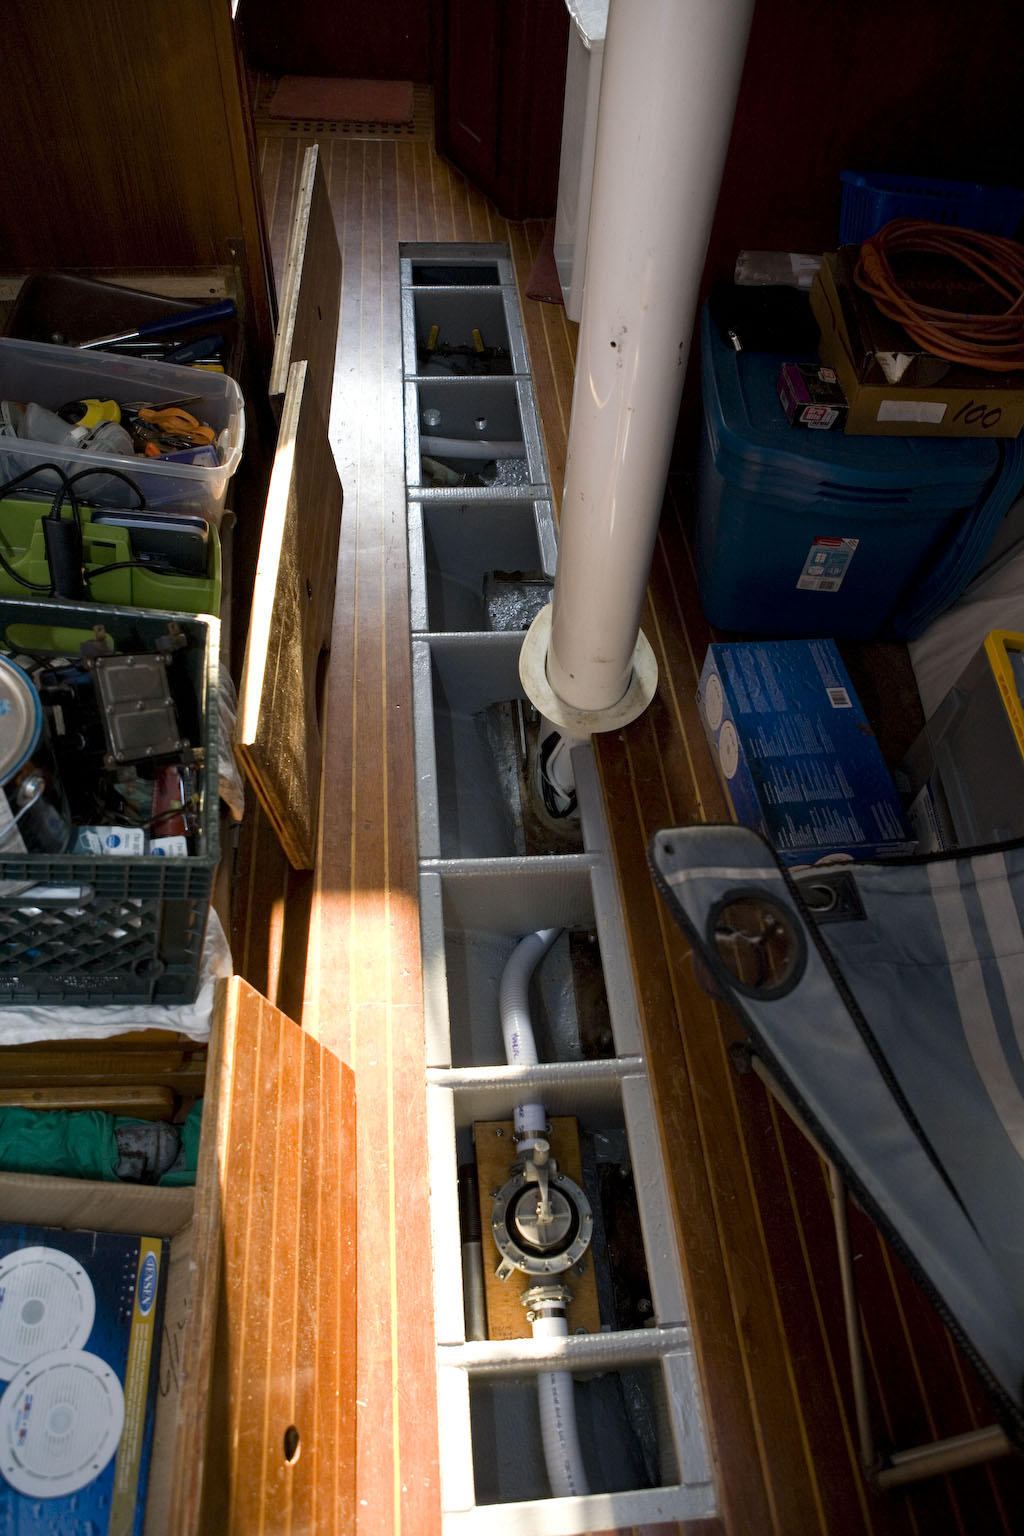
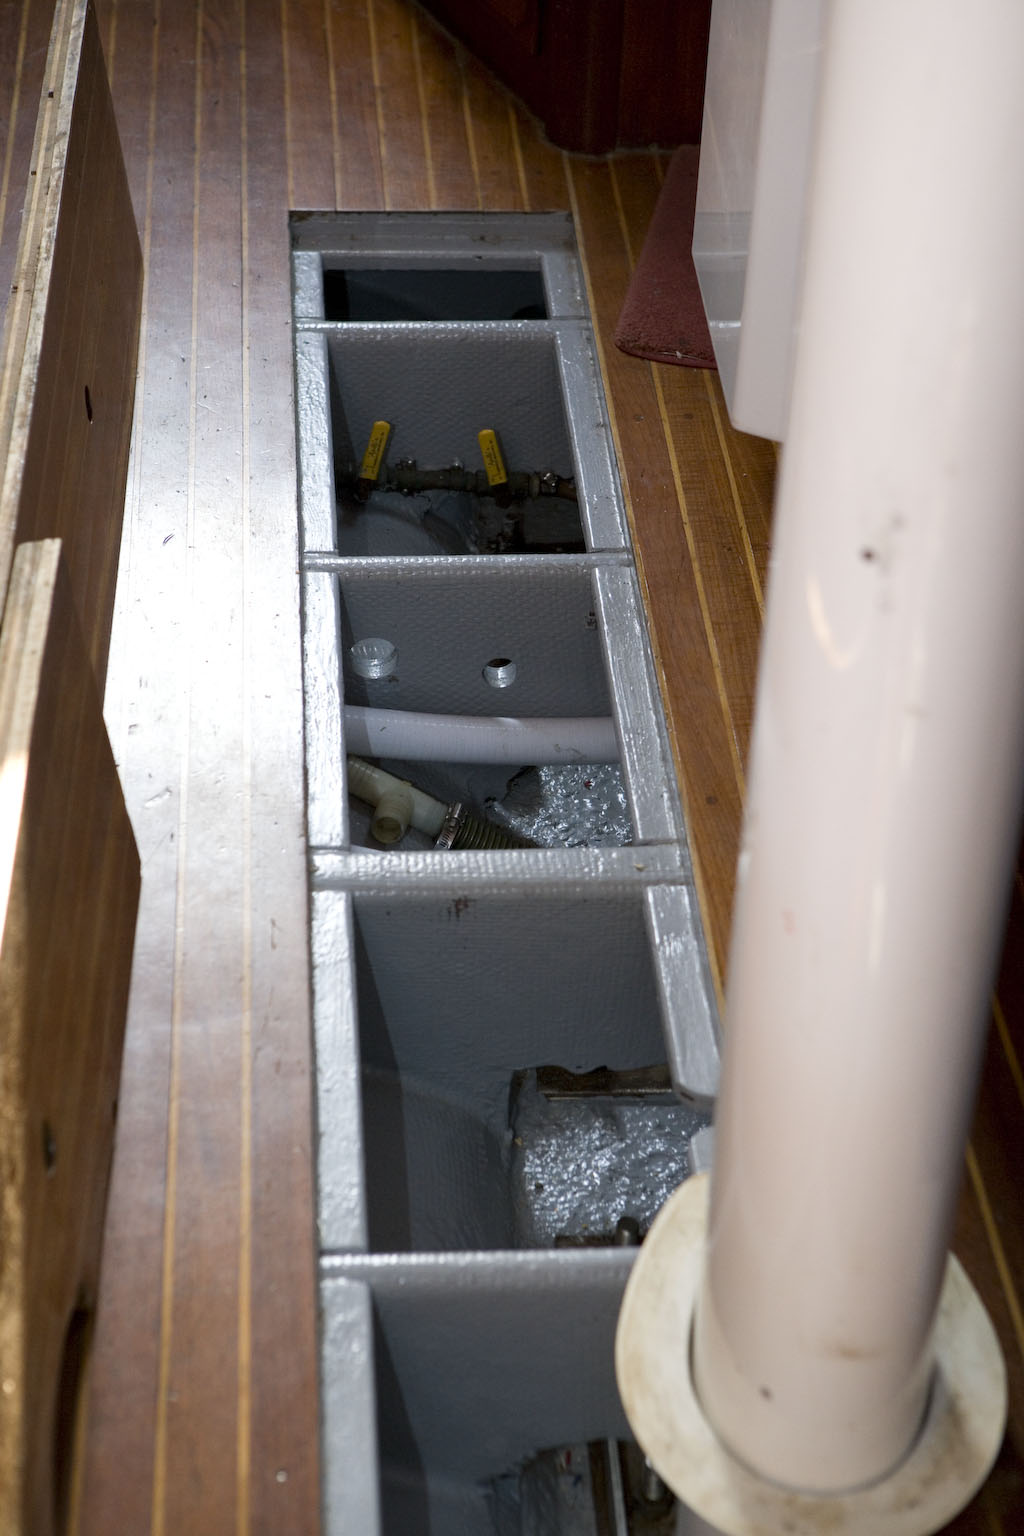
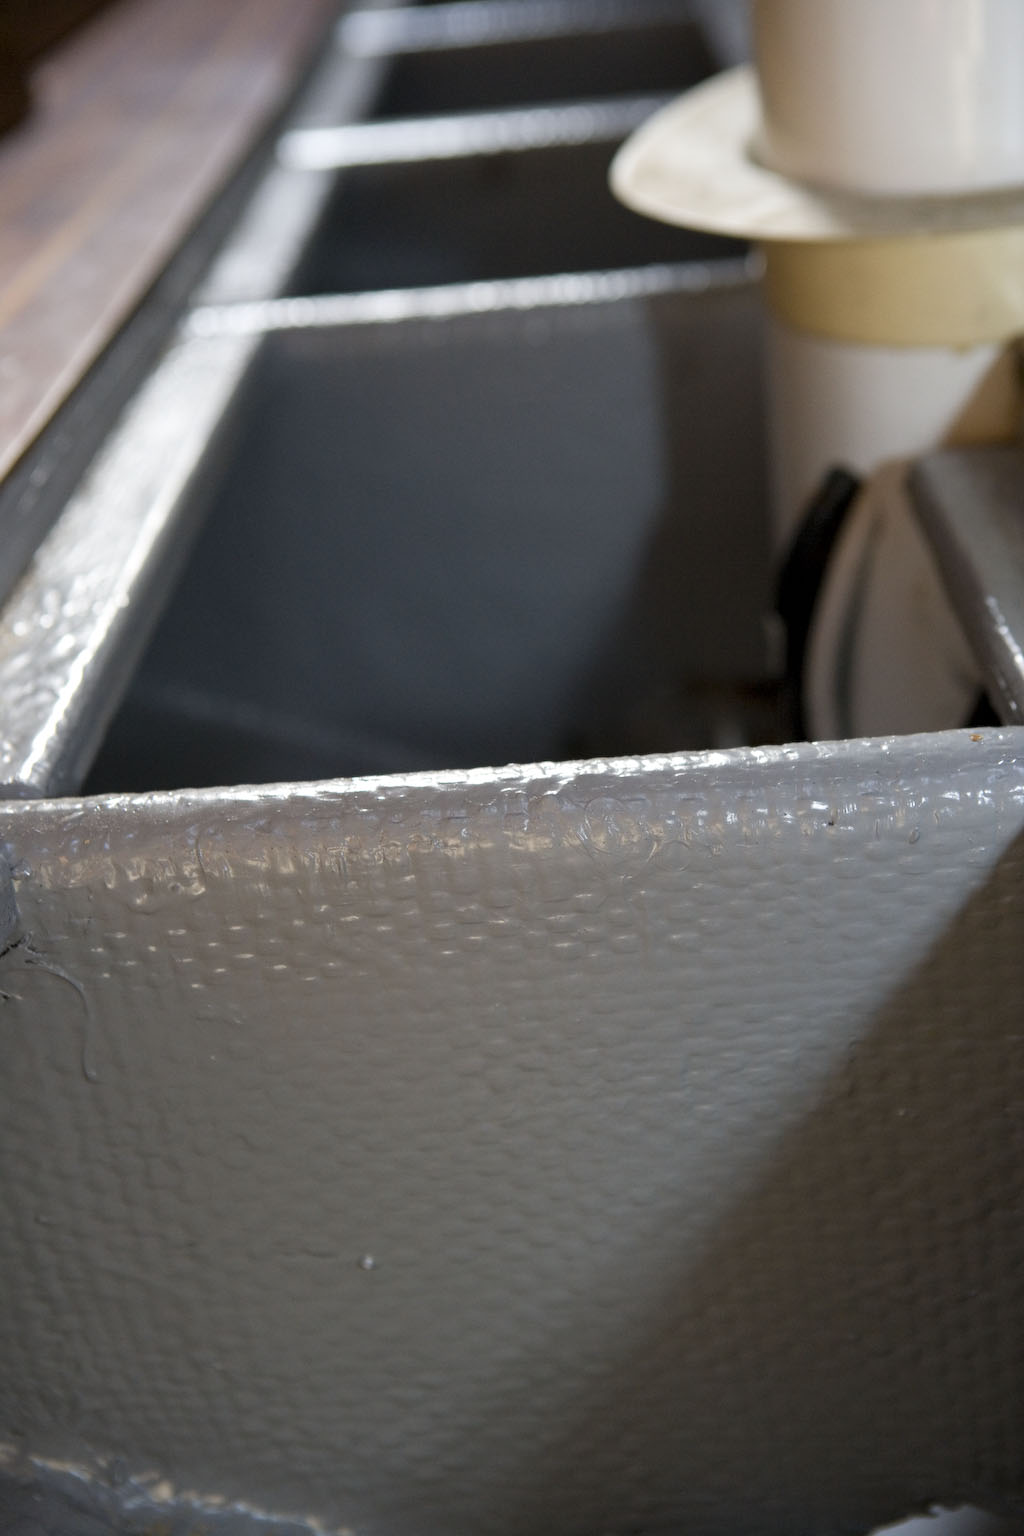
Finally, all three of us spent most of a day painting the bilge with a Sherwin-Williams “Seaguard” two-part epoxy paint. The stuff is thick as hell, and I hope that it will stick forever and ever and never flake off. The fumes were potent and we probably took a year off our lives by breathing it in such closed quarters.
It looks fantastic, and it makes us all proud. It wasn’t the most critical project, but I’m glad we spent the time and money to do it. It’s now a pleasure to do the bilge wiring and plumbing and other various work down below.


Leave a Reply