Well, we didn’t do it. Diamond Diesel in Oakland did it, and did an excellent job with quick turnaround for $80/injector. And when I took them in they let me watch as they tested them for free (and I could see exactly why they needed to be rebuilt).
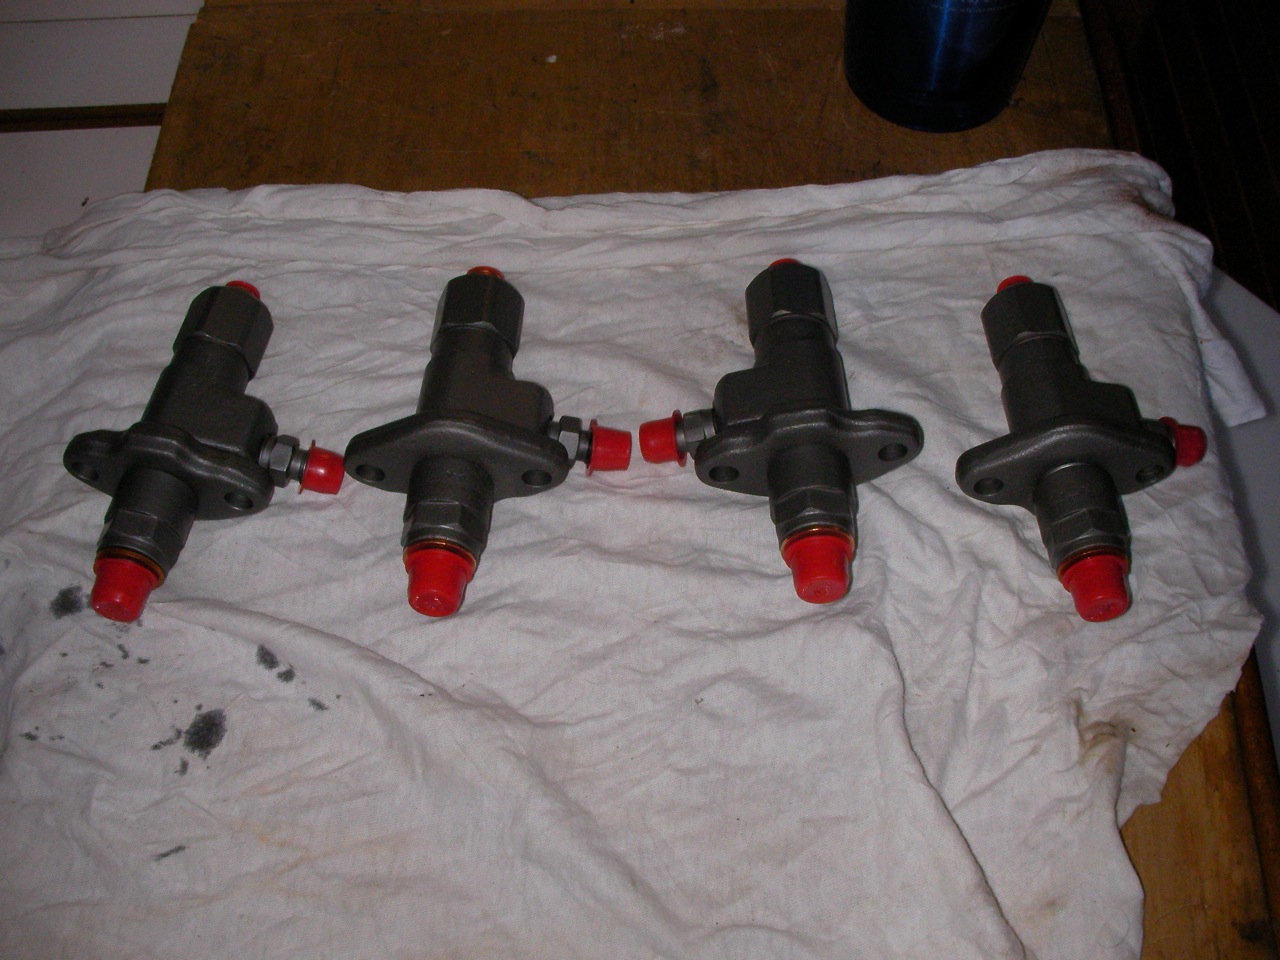
Well, we didn’t do it. Diamond Diesel in Oakland did it, and did an excellent job with quick turnaround for $80/injector. And when I took them in they let me watch as they tested them for free (and I could see exactly why they needed to be rebuilt).
Finally replaced (I should say “installed” because nothing was left of the old one) the zinc in the heat exchanger. I’m ashamed that it took us this long, since we may have contributed to the disintegration of our heat exchanger, but all I can say is that we’ve been heavily occupied with other things.
There is a zinc in the seawater side of our heat exchanger (on the side).
There is a drain plug in the coolant side of our heat exchanger (on top).
There was a drain plug in the bottom of our oil cooler; I replaced it with a threaded plug that holds a zinc.
There is a drain plug in the transmission oil cooler. I would like to replace this with a threaded plug that will accept a zinc.
The stock cover requires you to replace the gasket everytime you pull off the cover (and it frequently leaks anyway), so in effect you are encouraged never to take a look at your impeller unless something goes wrong. Problem with this is that when something goes wrong with your impeller, seawater stops circulating and your engine overheats, very possibly resulting in expensive damage. The speedseal cover is engineered with an o-ring in a groove; no gasket is necessary. They supply it with hand screws, so that you can get it on and off in a hurry. I think it cost about $80. I can’t tell you yet whether it was worth it (not until something happens).
We should have done this sooner because it’s important, but we’ve been busy with other tasks.
Since it is constantly circulating warm salt water, the heat exchanger is prone to corrosion. It is also really expensive ($500 for a new one). In the side of the thing is a plug, and a pencil-looking piece of zinc is threaded into this plug. I replaced both the zinc and the plug (the old plug’s threads were all gummed up).
The oil cooler has what looks like a plug for a zinc on the bottom of it. However, when I pulled it off I discovered that it is just designed to be a plug–there are no threads on the inside to which you can attach a zinc. However, my bright idea was to buy a replacement plug, threaded, so that I could add a zinc to the oil cooler as well. So this I did.
We overheated the engine on the way back into the marina a week ago–the gauge pegged out at 230 and we had to run it in that state for a few minutes until we were safely in the slip. I was mad at myself when we discovered that the cause was low coolant. On saturday morning Jon and I put some coolant in and traced the leak to the gasket under the thermostat housing. A pretty significant leak. So we pulled it off to replace the gasket, and while we were at it we replaced a hose and flushed the coolant system really well (used a commercial coolant system cleaner also). It was gunky and nasty, so getting it clean and fresh was satisfying.
While we were at it we replaced the thermostat. We tested the old and new side by side in a pot of water (heated it till they opened) and noted that the new one reacted much more quickly than the old one. They both seemed to open/close in the same range of ~165 degrees F, though it was interesting to see the range over which they opened more or less, etc.
We used a gasket from Perkins (didn’t make out own) and put Permatex sealant (the purple stuff) on both metal surfaces before installing it
We decided to use propylene glycol instead of ethylene glycol. Ethylene is the normal stuff that everyone uses (same thing in cars), but it happens to be extremely poisonous and bad for the environment. The propylene glycol in comparison is super safe, and can even be discarded safely into the ocean (it is neither toxic nor harmful to marine life). It has similar performance, but I believe it is slightly more expensive. It’s not hard to find–we got ours at Kragen (marketed for RV camping safe-for-children applications).
So far our seal hasn’t leaked, and the engine seems to be running at acceptable temperatures.
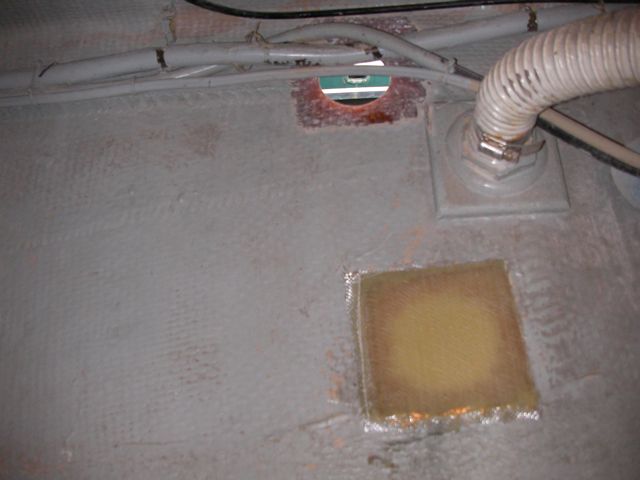
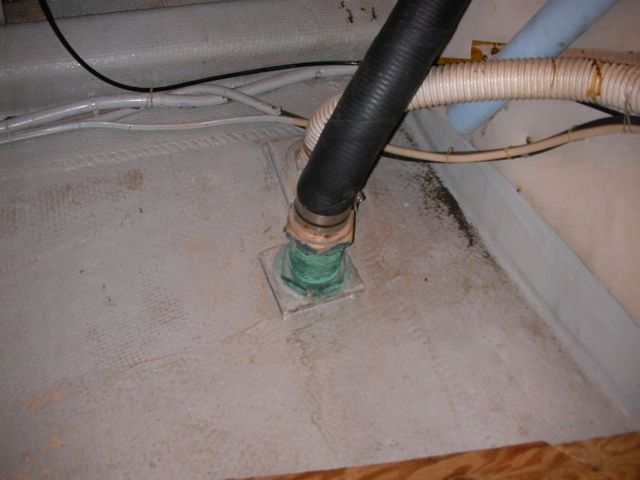
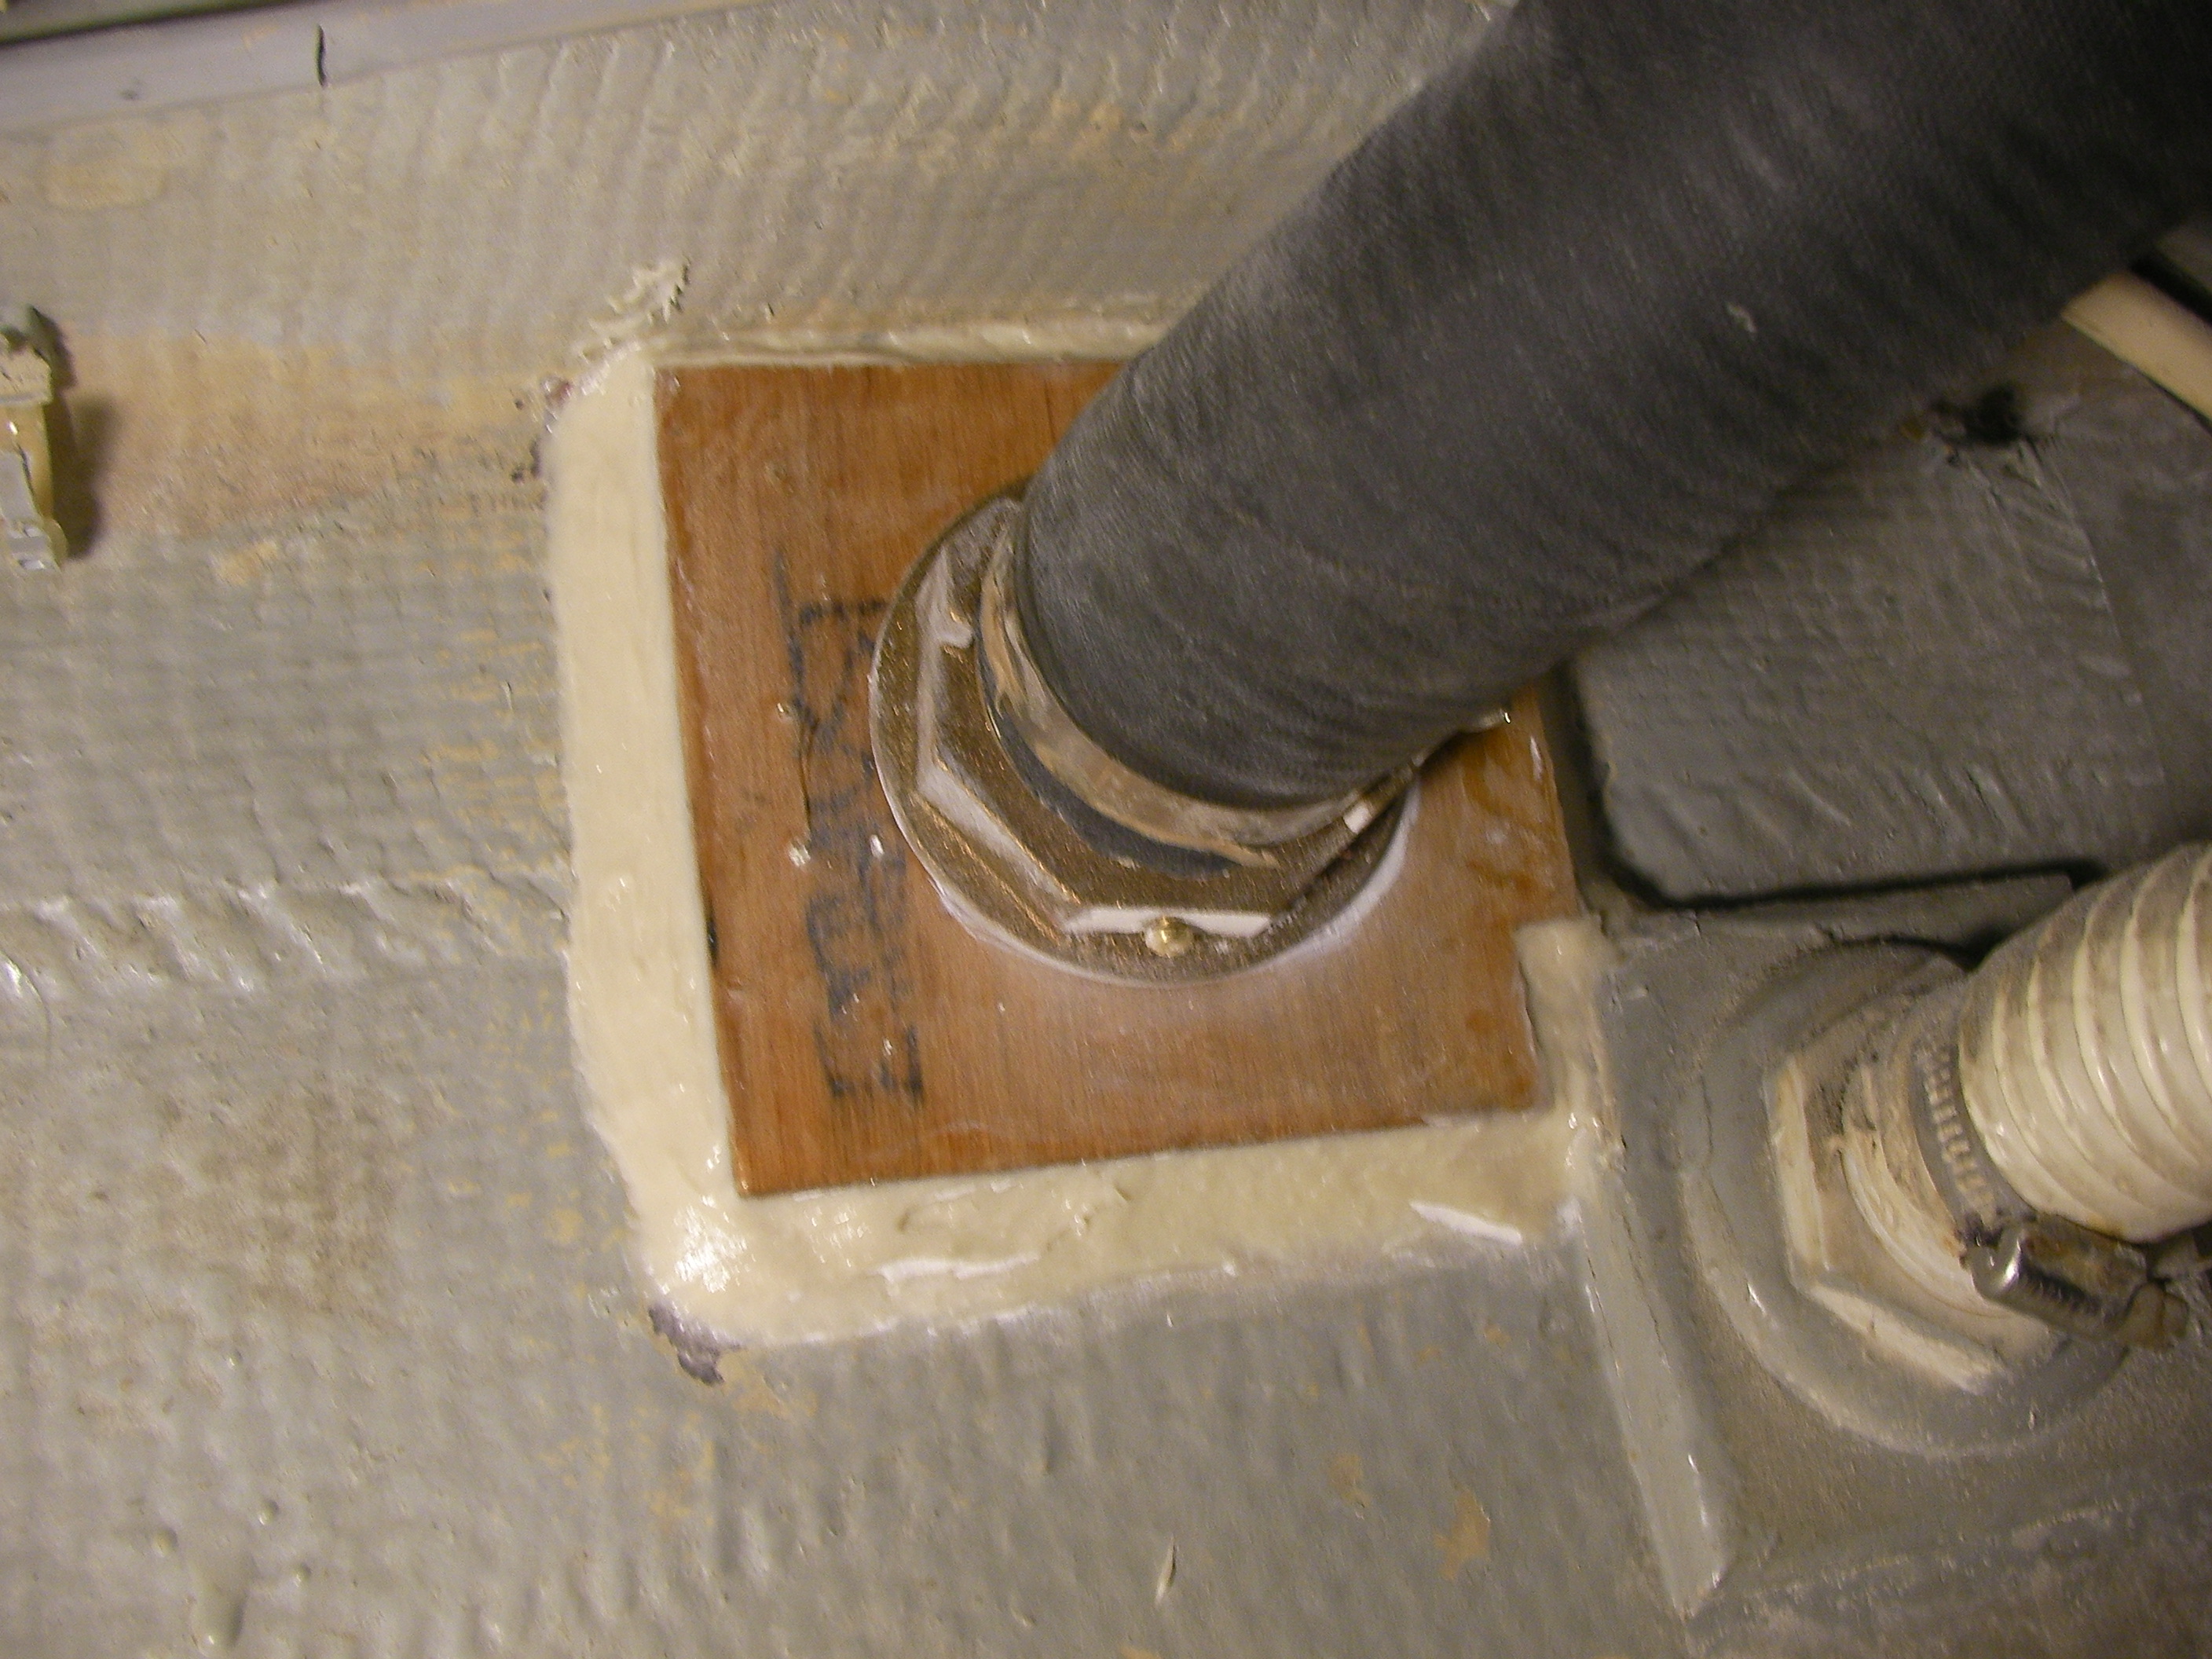
The through-hull was a few inches below the waterline. The exhaust through-hull should never be below the waterline, for two reasons: 1) you need to be able to see that water is coming out of the exhaust, to be sure that raw water is cycling through the cooling circuit 2) there is greatly increased possibility of seawater backing up the exhaust and flooding the engine–which is a bad bad thing to do to an engine
We moved the engine exhaust through-hull up above the waterline a few inches, and glassed over the old hole. The old engine through-hull had a janky fitting to connect to the hose, which was prevented from leaking solely from excess 5200. So we found a through-hull threaded on the bottom for the nut, with barbs at the top for the hose. It’s above the waterline now so we elected not to put a seacock on it.

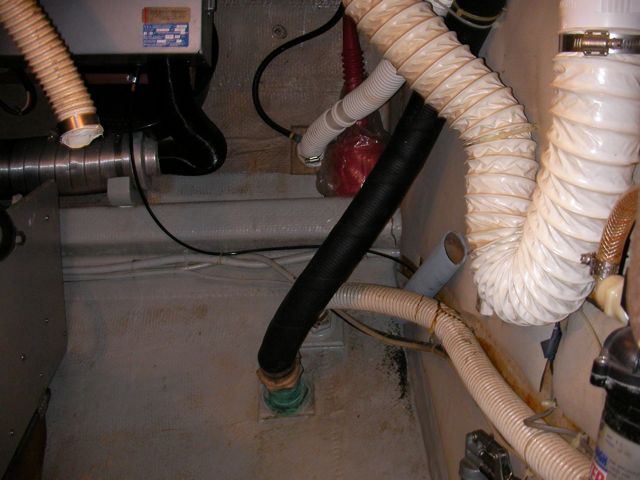
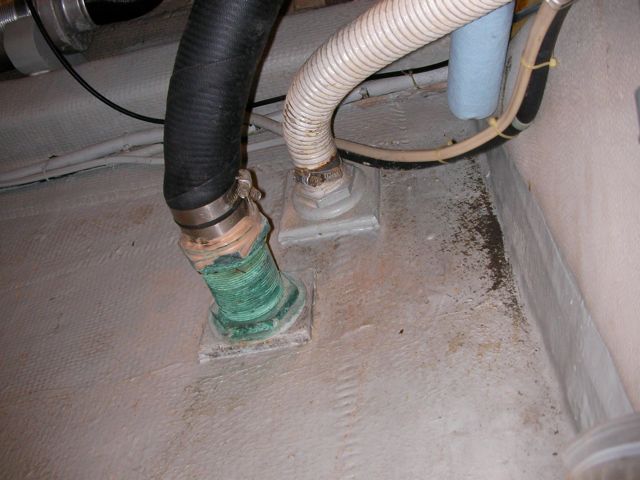

When we did the sea trial, the shaft seal leaked.
We have a PSS shaft seal, which is a purely mechanical seal that doesn’t require any sort of packing as in a traditional packing gland. It consists of a stainless collar that is pressed against a graphite fitting. The idea is that it’s slippery, sealed, and doesn’t heat up. Here’s a diagram from the excellent “How Boat Things Work” by Wing.
On the sea trial the shaft seal leaked slightly at an idle, and more so as the engine was brought up to operating speed. During the xmas work trip Jon tackled this job. Loosen the set screws, slide the collar up, figure out how to reach in there to clean it, push the collar back down, tighten, easy. The only tricky thing is that after many years, the rubber bellows loses it’s elasticity, so we were clueless as to how tight was tight enough. We just pushed the collar as tight as we could and locked it down. When we ran the boat in february, it didn’t leak.