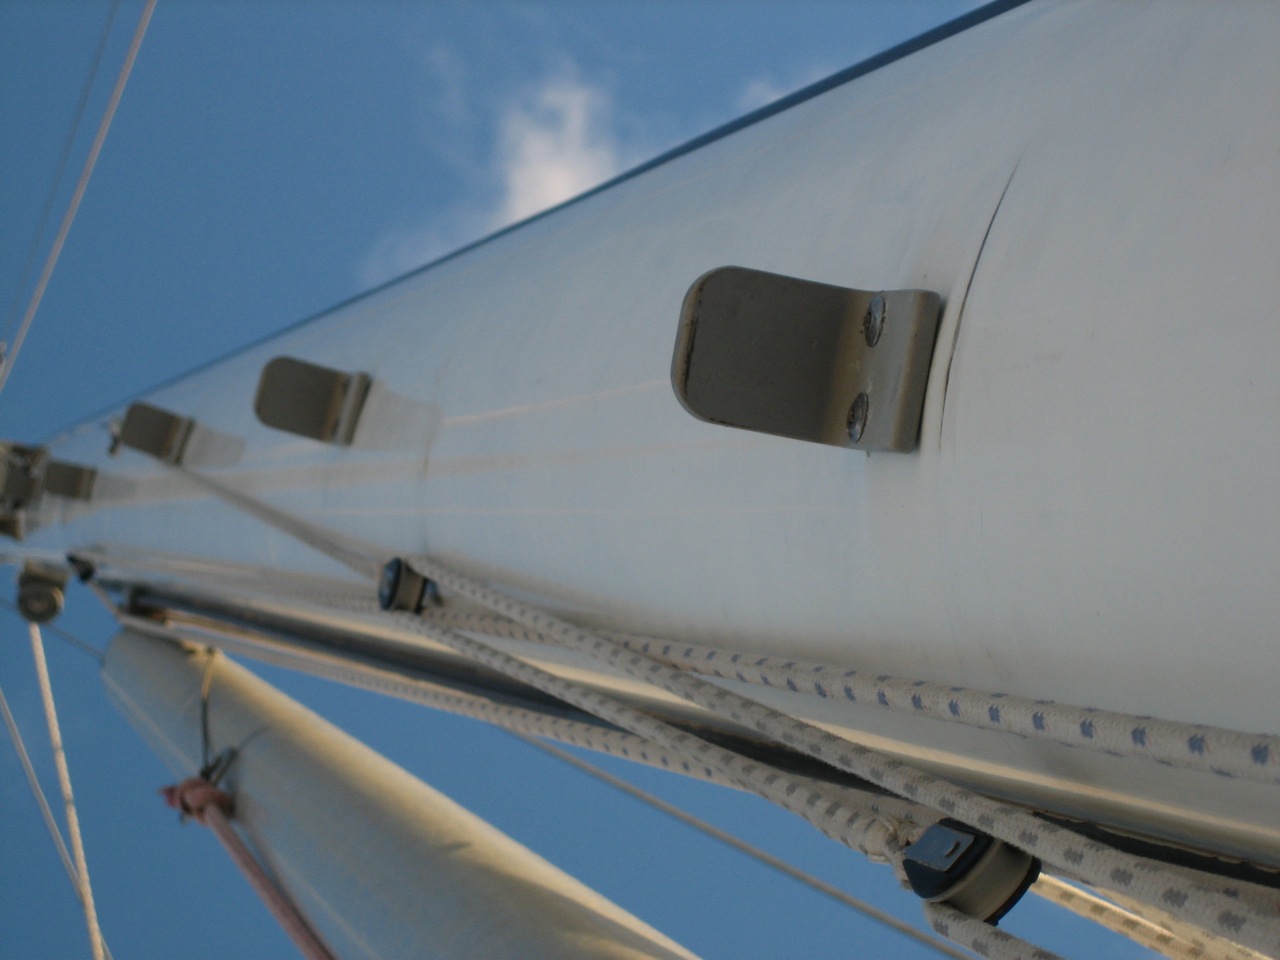
I designed some super simple mast steps for us. I didn’t like the popular commercially available options: the folding steps are too much of a hassle, too complicated, and too much money, and the stirrup kind are too large and bulky (fouling lines) and also too expensive. All three of us are climbers, so we wanted just a small “L” just large enough for secure purchase, with rounded corners to let lines easily pass by. I asked a sailing machinist John Ryan for advice and help, and got a ton. John Ryan graciously improved the design and fabricated them, far more perfectly than we ever expected (from choice of aluminum alloy, to the tumbling to remove all edges, to the clear anodize finish, and even the rivets, drill bit size, and pattern to follow for drilling the holes!), and jonny installed them. Well they’re all in now and the end result is stellar–everything that we wanted. It is fast and easy to climb to the top of the mast, fun even. Everyone who sees them wants their own, too!
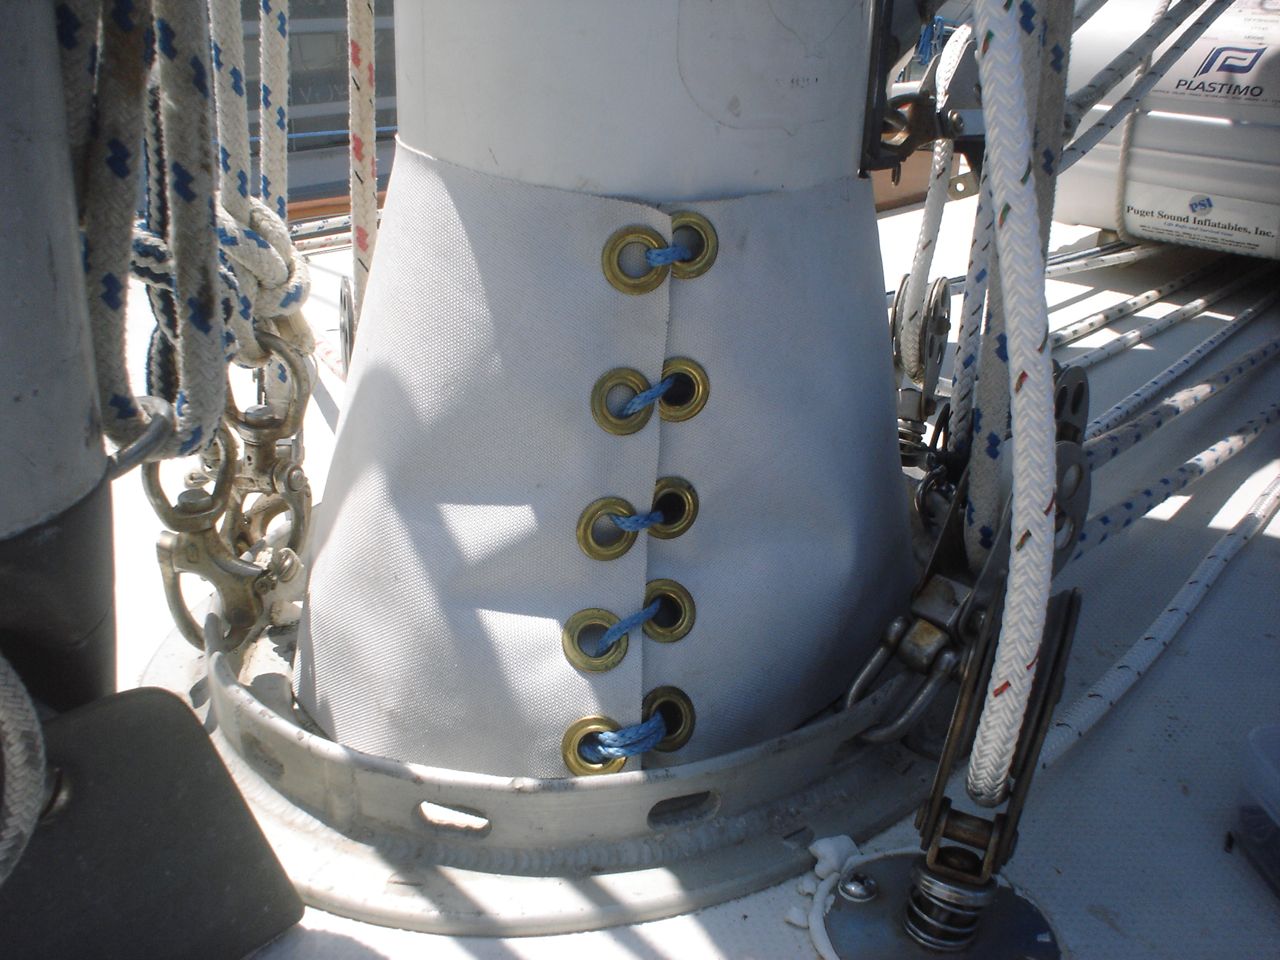
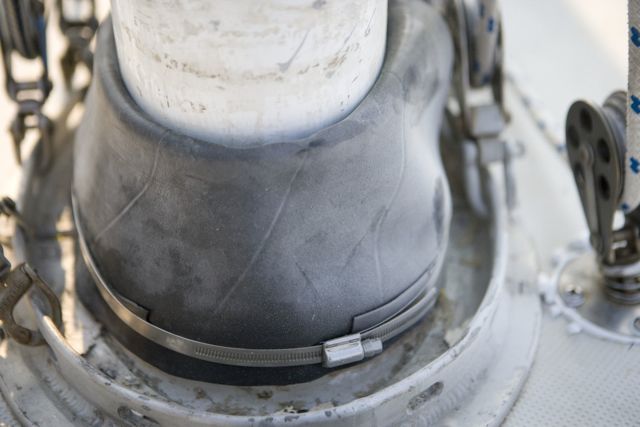
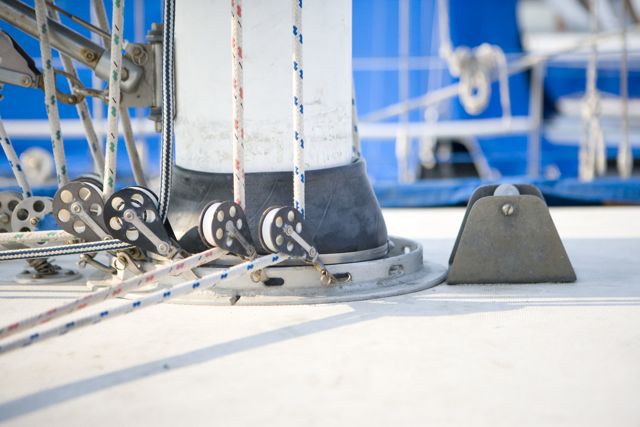
It took us a few weeks after the mast was stepped to finish the job. First we needed to tune the mast in the boat. To start with, the mast was rotated slightly; not aligned with the centerline of the boat. Jon went up to the spreaders with a tape measure and we tried to measure from the spreader tips to the backstay to assess the rotation, but it became clear that the method wasn’t working. So instead Jon went into the bilge and eyeballed the shape of the mast on the step (which is perfectly contoured to the mast base) while I used the disconnected upper shroud to wrench the mast around. It was somewhat disconcerting to be rotating the whole mast without much control. After we got it rotationally aligned, Jon went back up the mast to the top, and we measured from the top to the chainplate on each side, and I painstakingly adjust the uppers (all other shrouds slack) until we got the exact same measurement on each side. So then it was centered at the very bottom of the mast and the very top, but at the deck it was deflected to port by 3/4″. Fortunately, when we pushed on the mast at the deck it readily flexed, so we bowlined a line around the mast, led it through the jib fairlead and back to a winch, and a small amount of force pulled the mast into precise alignment. Then we used a pound of modeling clay, obtained at our local Michaels, to create a floor for the spartite. In truth we didn’t use spartite, but rather the generic McMaster-Carr equivalent (part no: 8644K18) for half the price (on the excellent advice of Bryan Genez). It is a “flexible urethane casting compound”. We used two one-quart containers, $32.33 each, and it was the perfect amount. A momentary digression: the original shape of our mast partners was not conducive to a spartite application so we modified it. The shape of the valiant mast partner is an inverted cone–if the spartite is applied without modifying the partners, the plug will never come out of the boat when the mast is pulled–it will have to be cut out, negating half the benefit of using spartite in the first place. I corrected this by filling in the void area with epoxy thickened with high-density filler (thick like peanut butter), to make the internal surface of the partner vertical and smooth. In retrospect I wish I had even formed it into a slightly upward shaped cone, just to be sure that it will come out easily, but I think it will be ok. Pouring the spartite was fun (mostly because it was easy). We let it set for about 4 days before removing the line that was centering the mast and tightening the other shrouds. Then we constructed a mast boot from a thick tire inner tube. We followed the instructions in one of the books I have, offshore passage-making tips by bill seifert. It involves two large hose clamps and some rubber glue. Cheap, easy, and effective. As a final touch, Jonny made a canvas cover for the rubber boot to protect it from the sun (sorry there’s no picture of this).
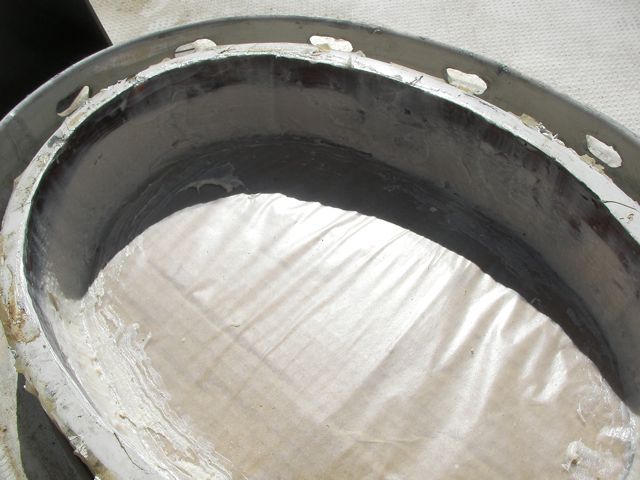
cardboard to provide bottom edge for epoxy fairing
detail of fairing the mast partner with thickened epoxy
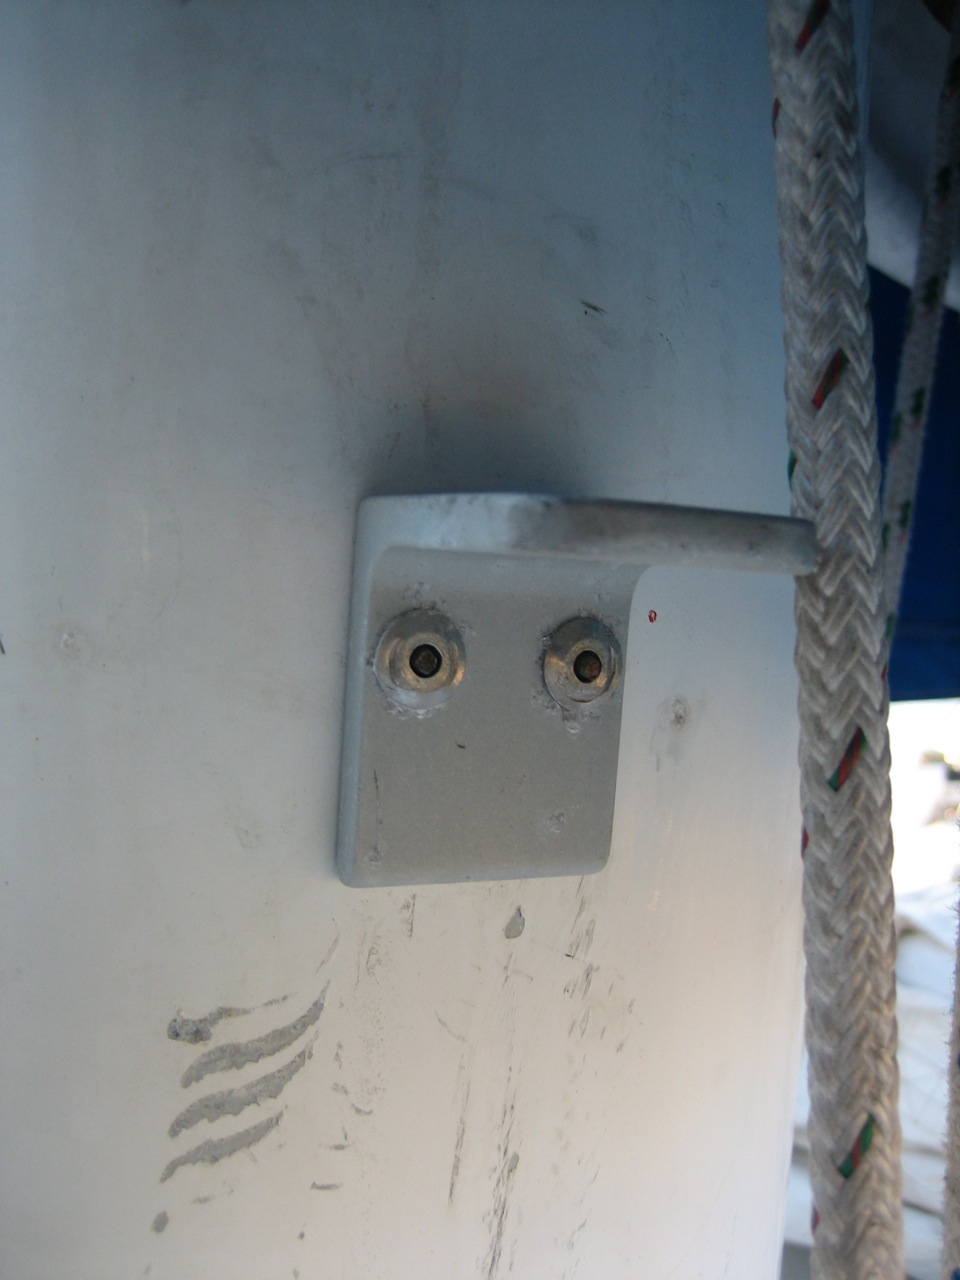
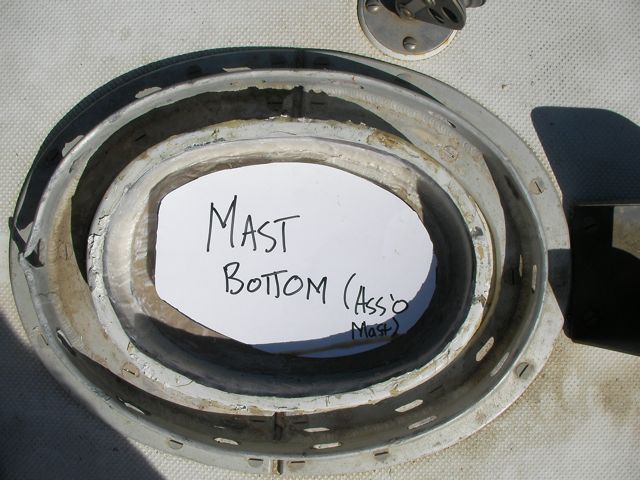
The old hole was on the port side, which is the inaccessible side of the mast in the bilge. Jonny drilled a new hole on the starboard side; the edges were filed nicely to create a soft edge for the wiring to exit.
The old drainage at the base of the mast was a single hole, approximately 1/8″ in diameter, about 2″ above the base of the mast. This was corroded and plugged when we pulled the mast, and the base was filled with dirt and aluminum corrosion. Jonny used a cutoff blade on the grinder to create a narrow slot from the base, reaching up to the old hole. This should do the job much better.