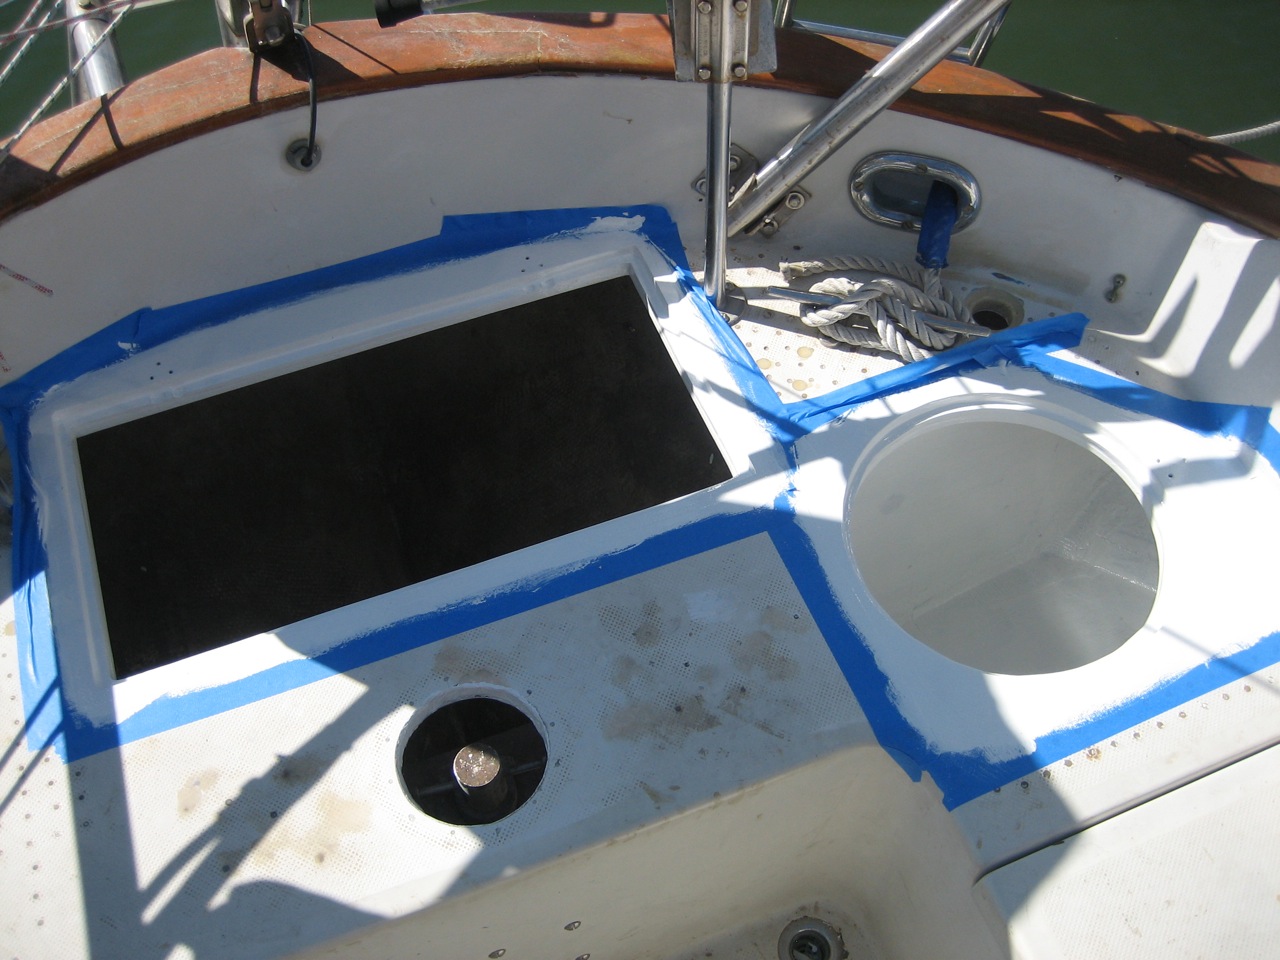
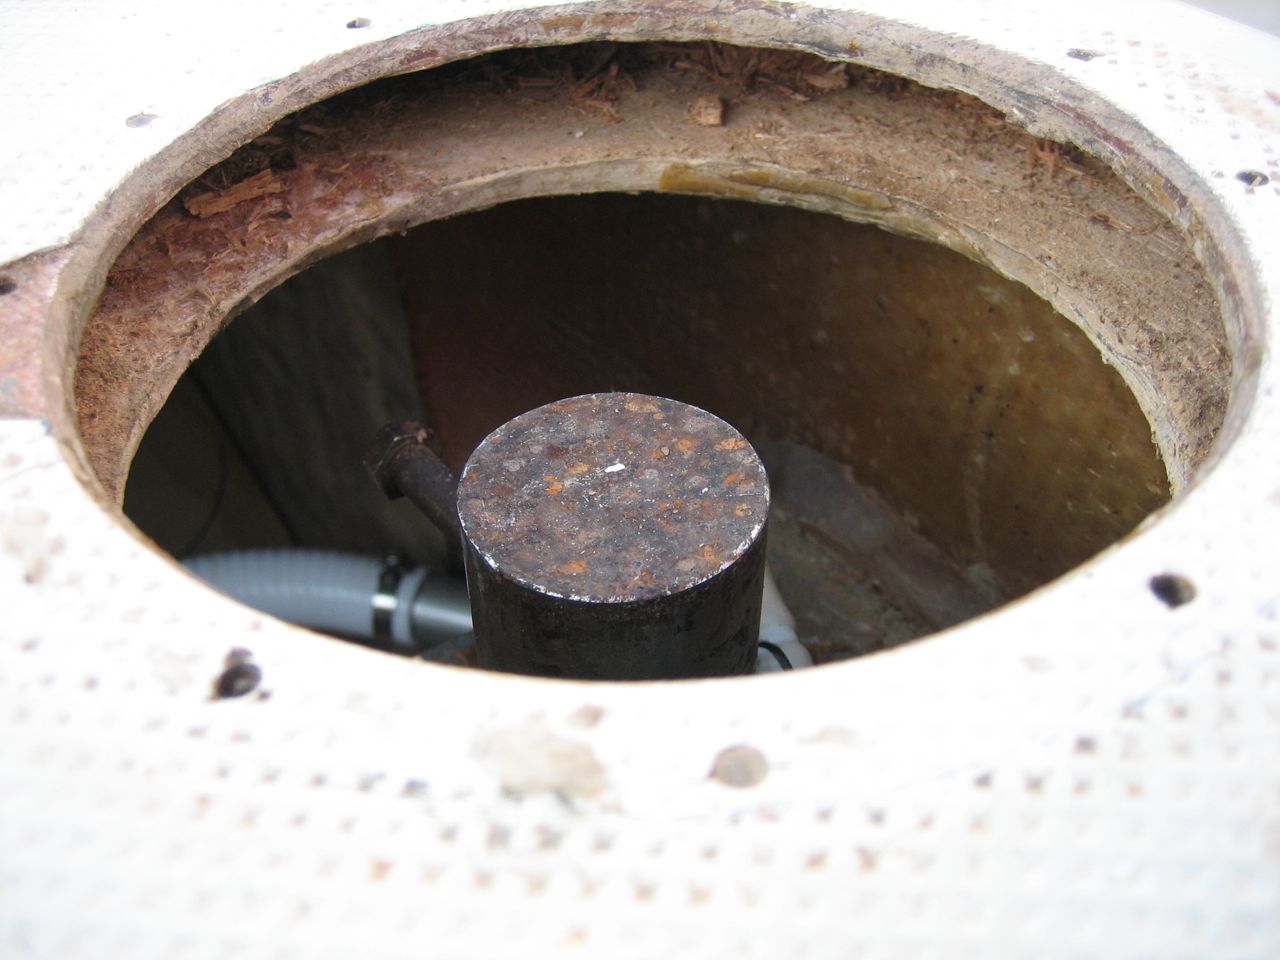
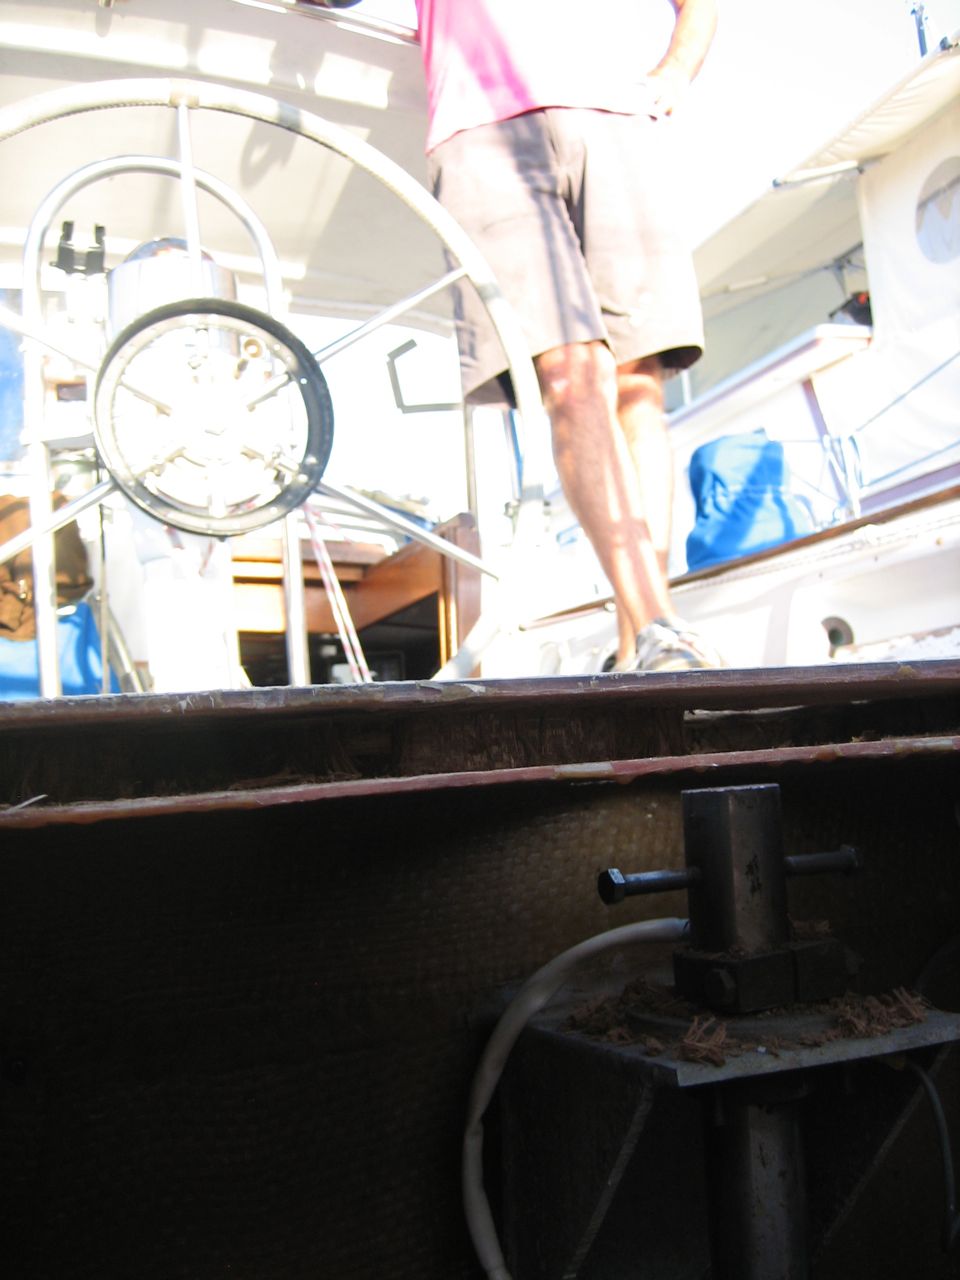
The old propane locker was a fiberglass box mounted in the middle of the stern. It protruded 5″ above the level of the seat, and was suspended in the enormous space of the lazarette, rendering the space unusable and the seat unseatable.
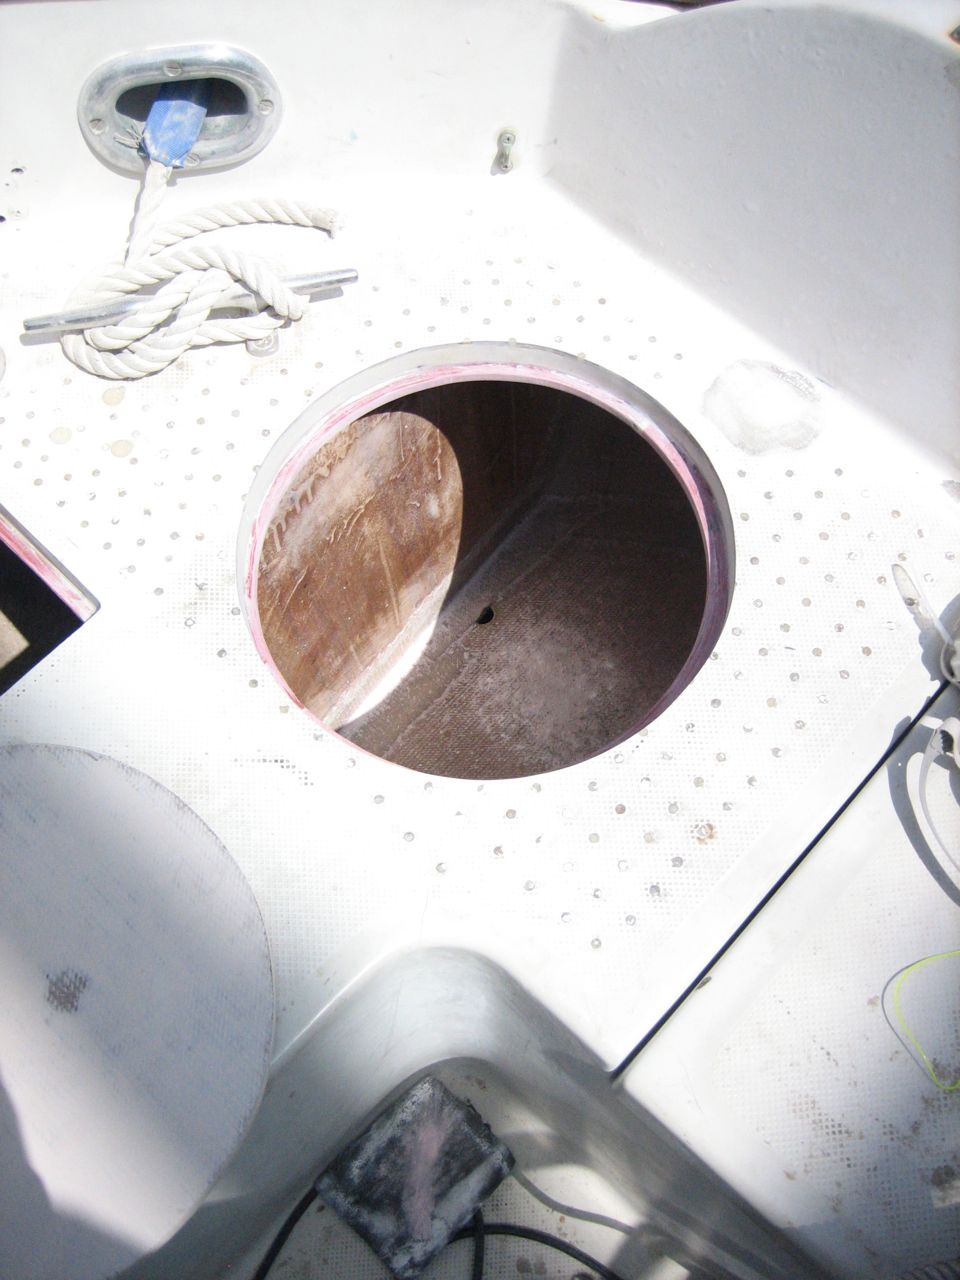
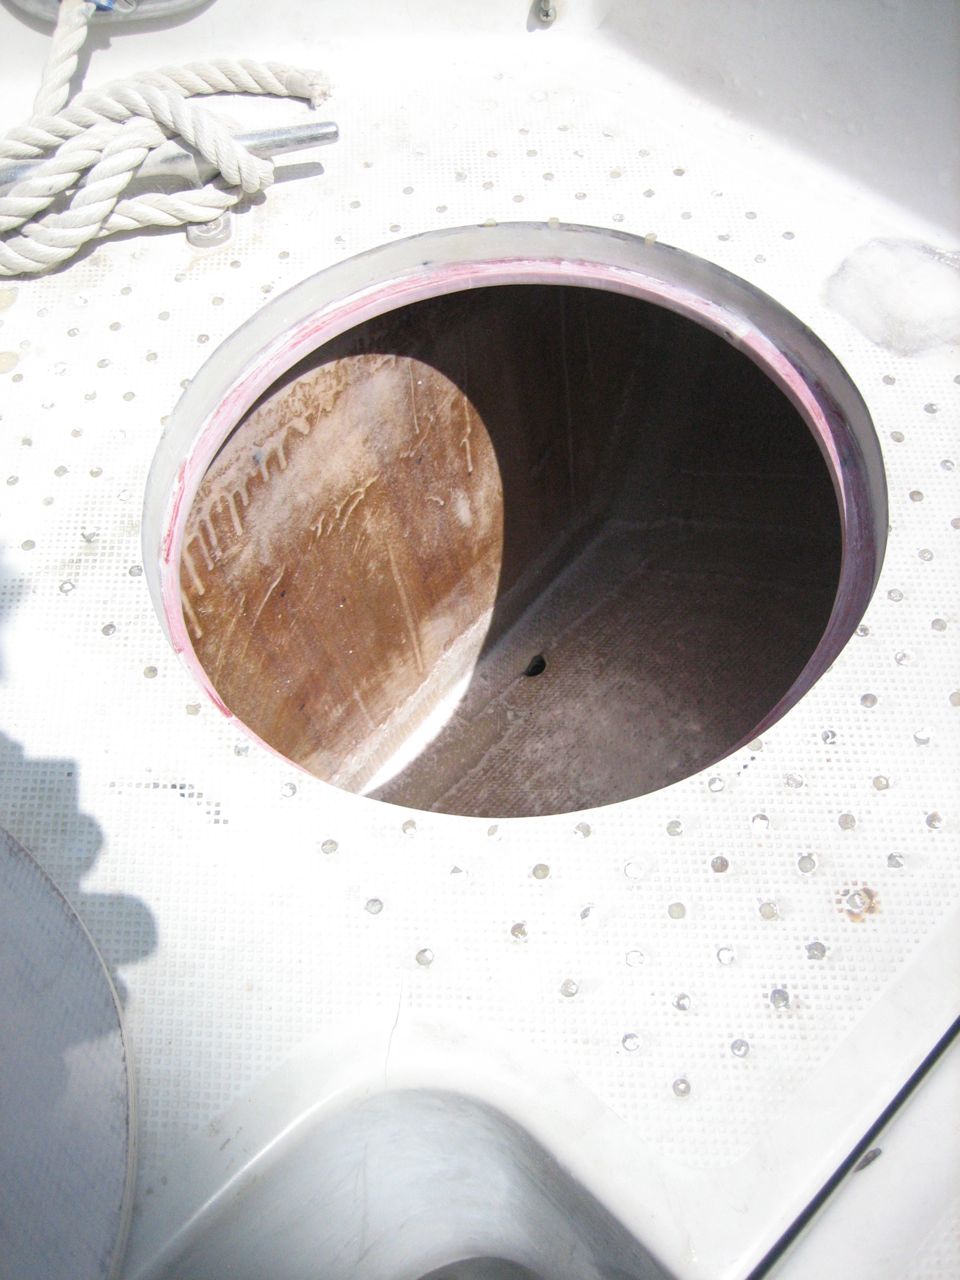
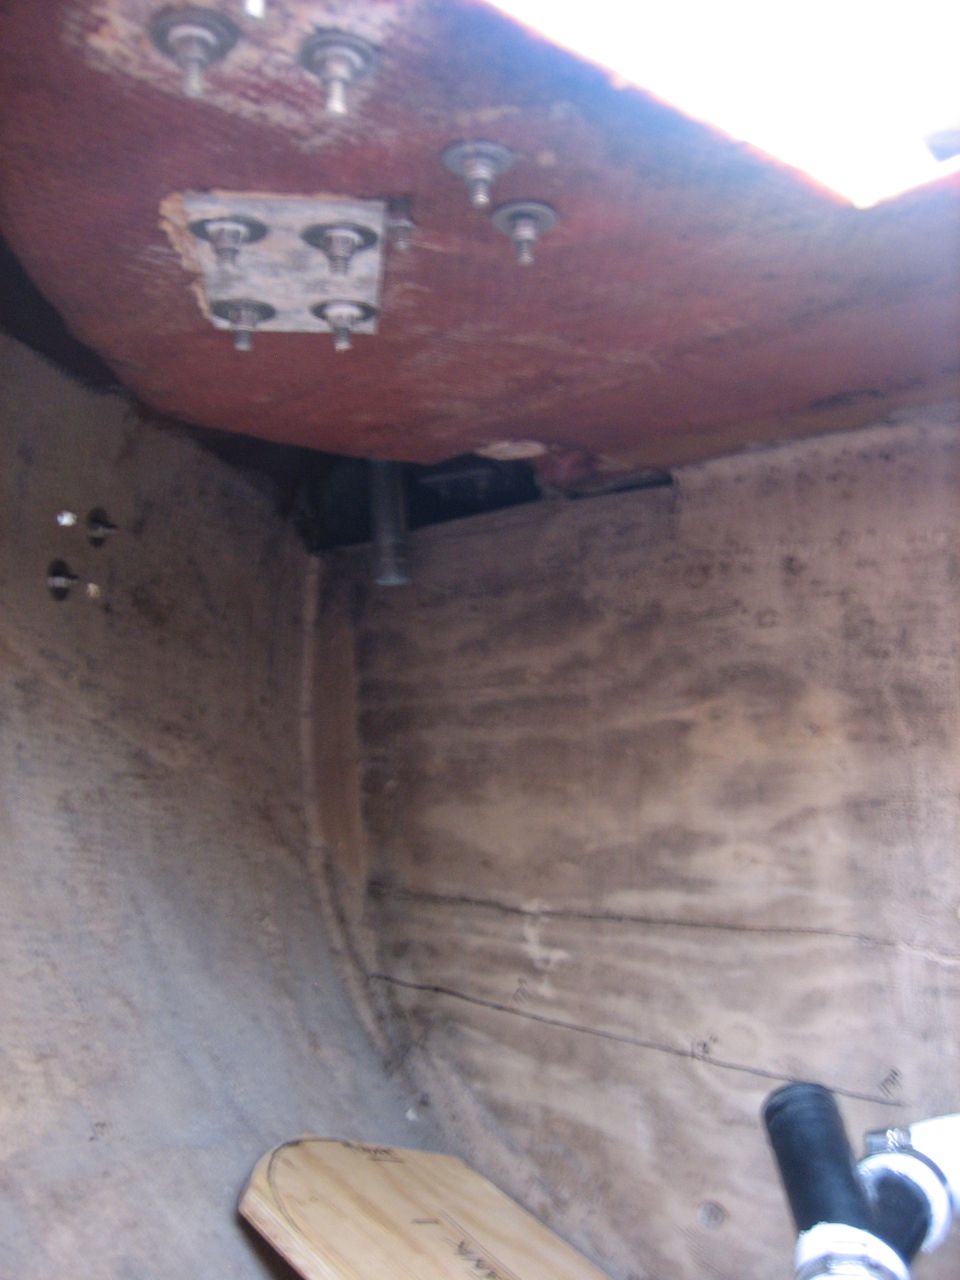
We decided to remove the old propane locker, build a new one tucked into the corner as much as possible, and put flush fitting hatches over the lazarette and propane locker. The job ended up being the biggest so far undertaken on the boat, and isn’t yet finished. Of the many unforeseen hurdles, we discovered that we needed to move and/or reroute all three of the scupper drains on the port side, to accomodate the new propane locker (not to mention close the old propane drain and install a new one). So this job alone required 4 new through-hulls and two new scupper drains on deck.
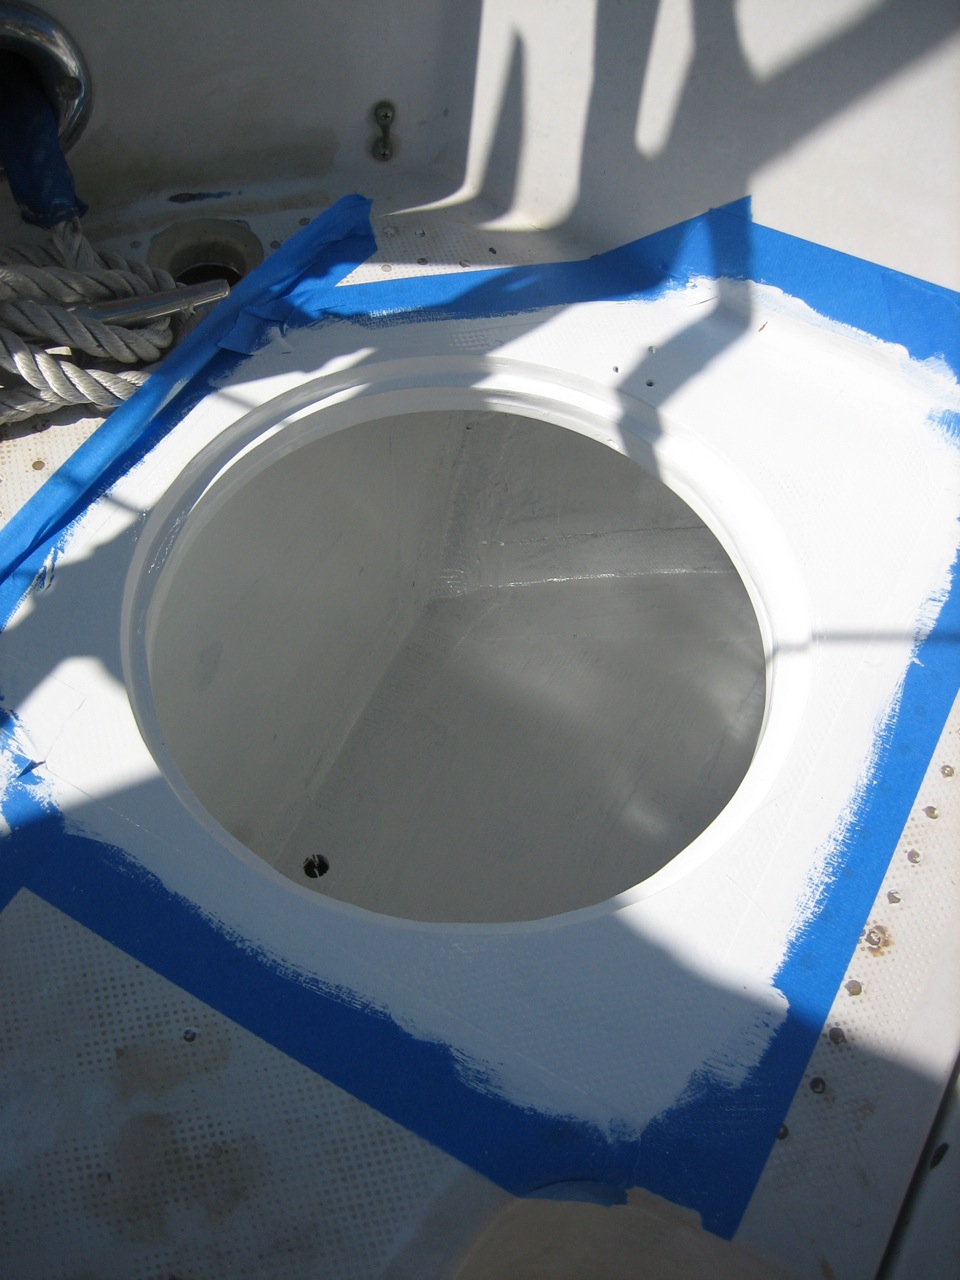
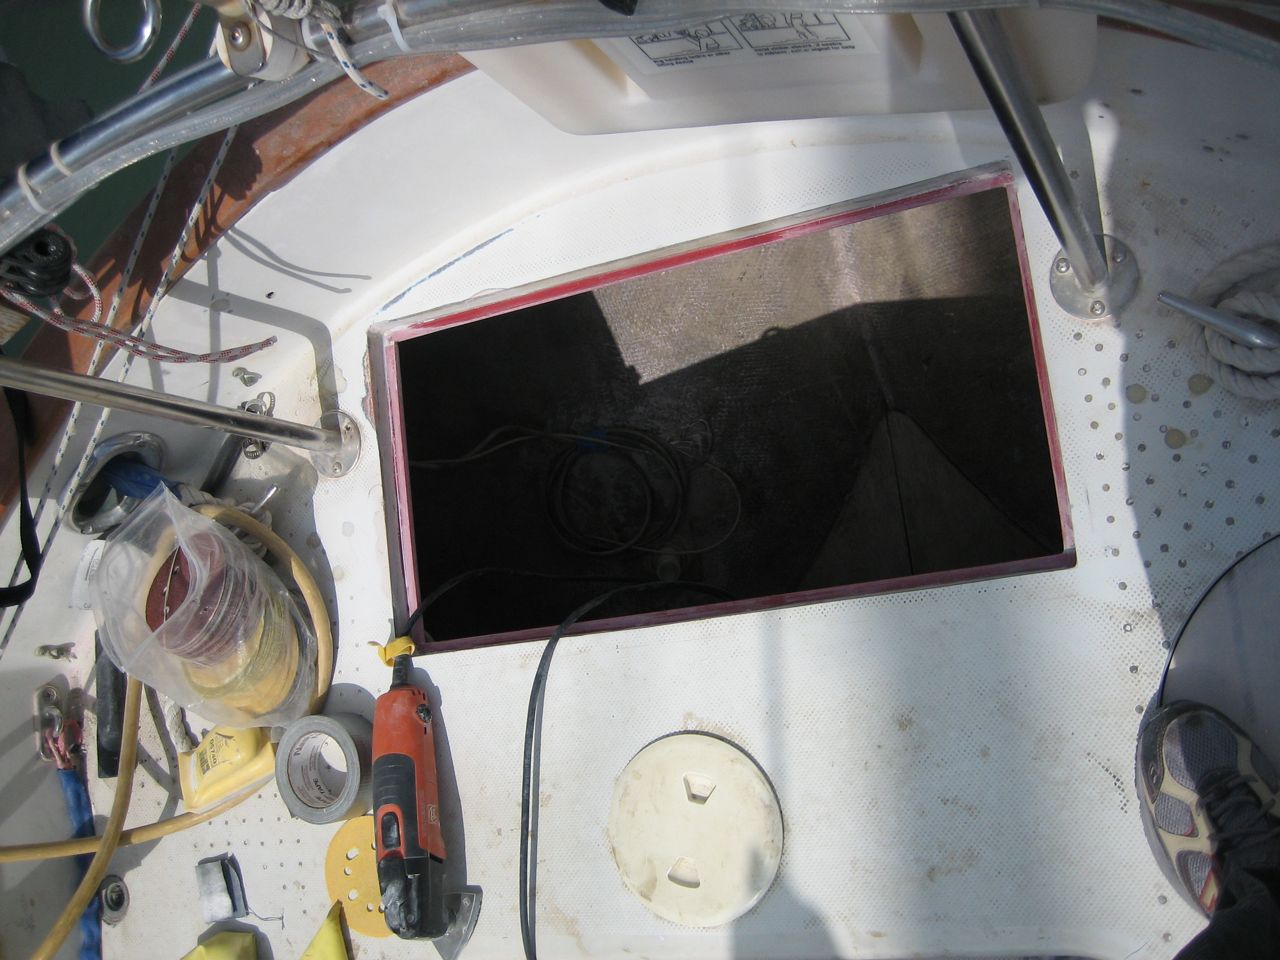
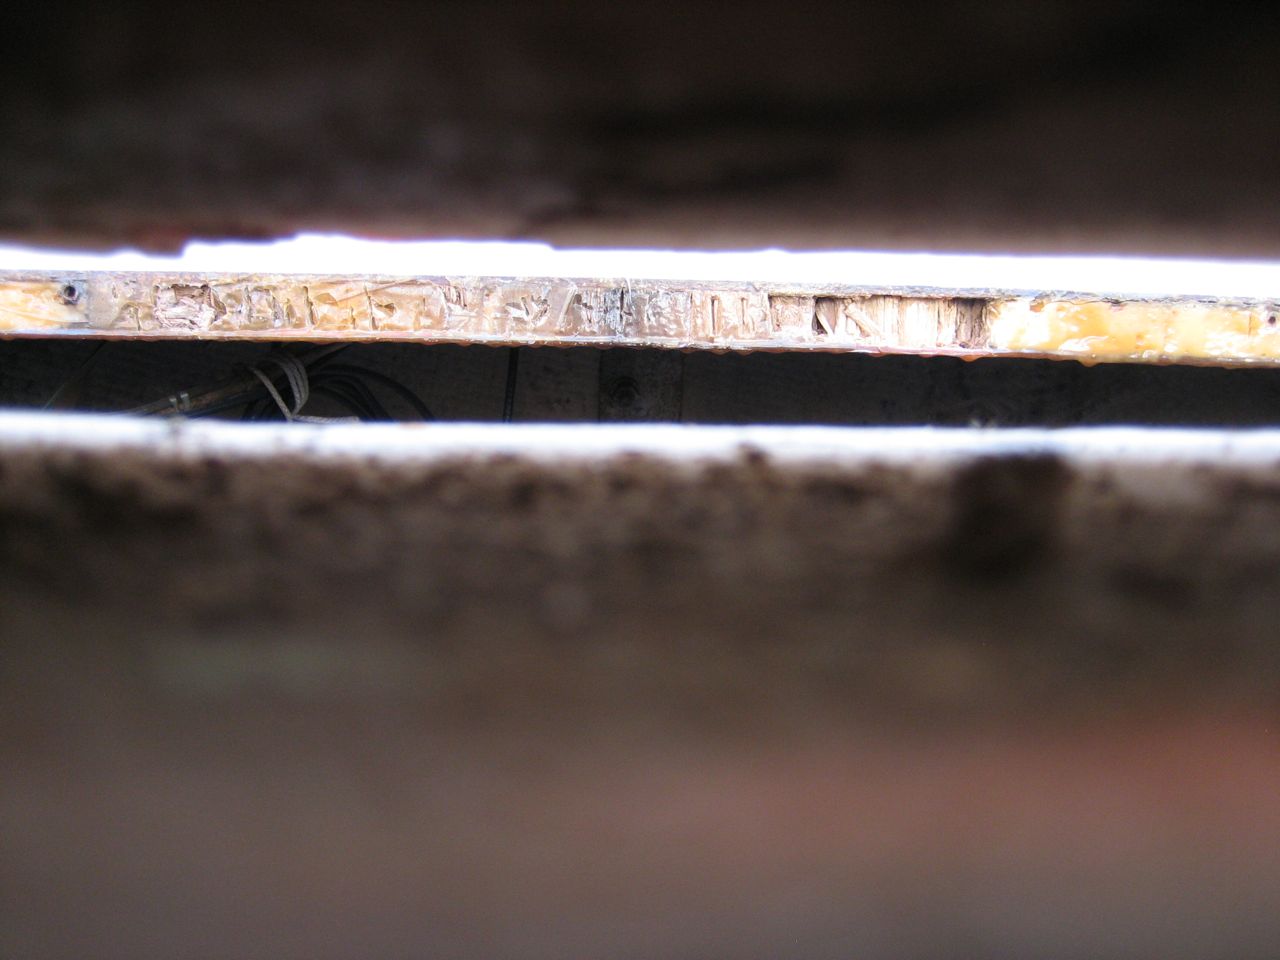
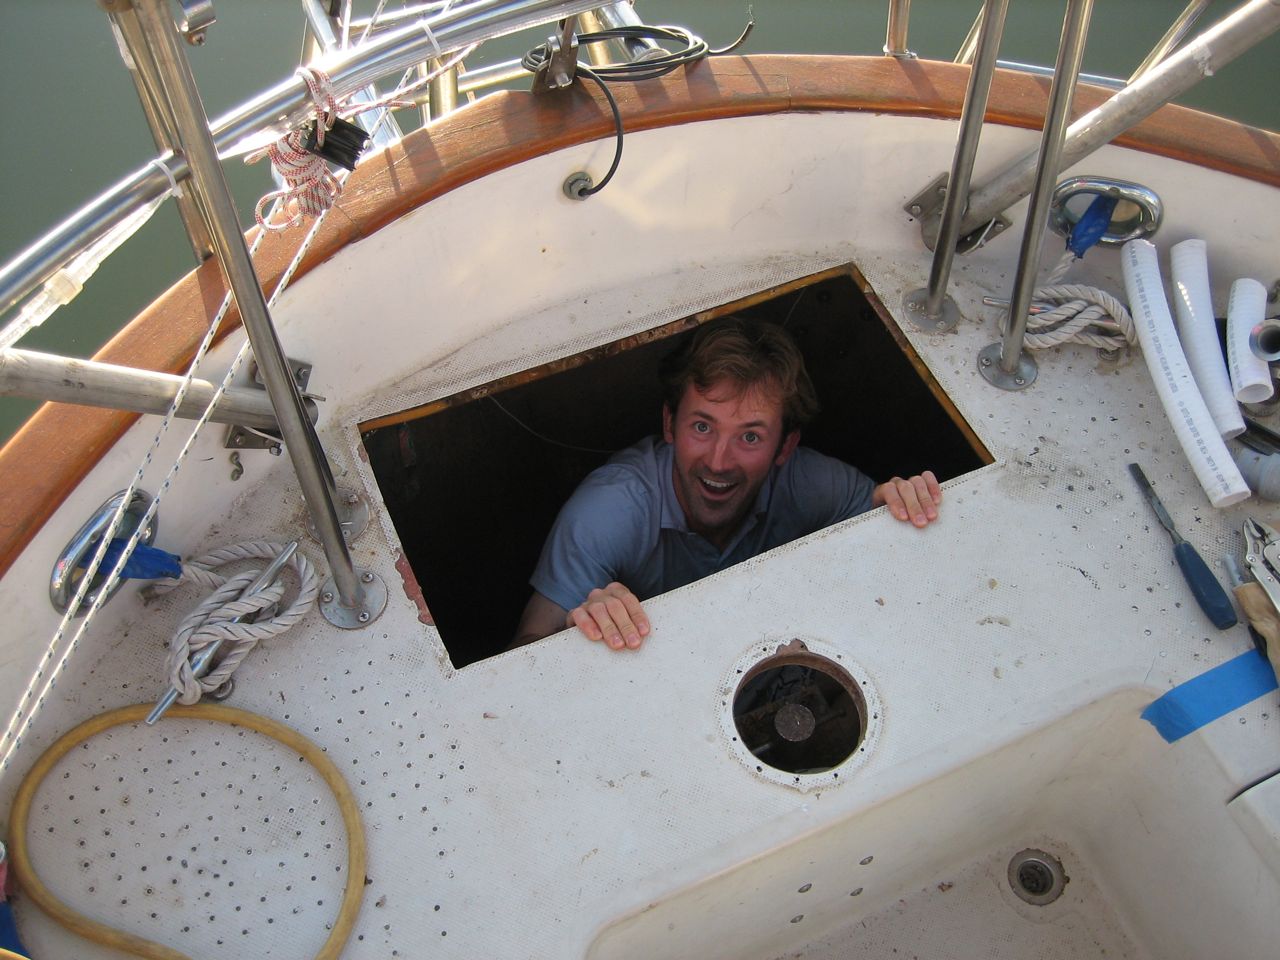
Additionally, the deck just forward of the propane locker, especially around the rudder access hatch, was extensively delaminated (core was perceptibly soggy, damp, and black). Jonny elected to dig out the core from the hatch and rudder post hole (i.e. without removing the top or bottom layer of fiberglass), and ended up removing the core to a distance of close to a foot in the space forward of the new lazarette hatch (there are some pictures of it). Then he carefully measured and cut a few pieces of plywood that he buttered with epoxy and then shoved into the gap. Afterwards there were some gaps left in the core where the plywood didn’t quite reach that I injected with resin, per the usual method (drill holes for the syringe, inject resin until it splooges out all over, let it cure, sand off the puddles of resin, quikfair the remaining divets, sand again).
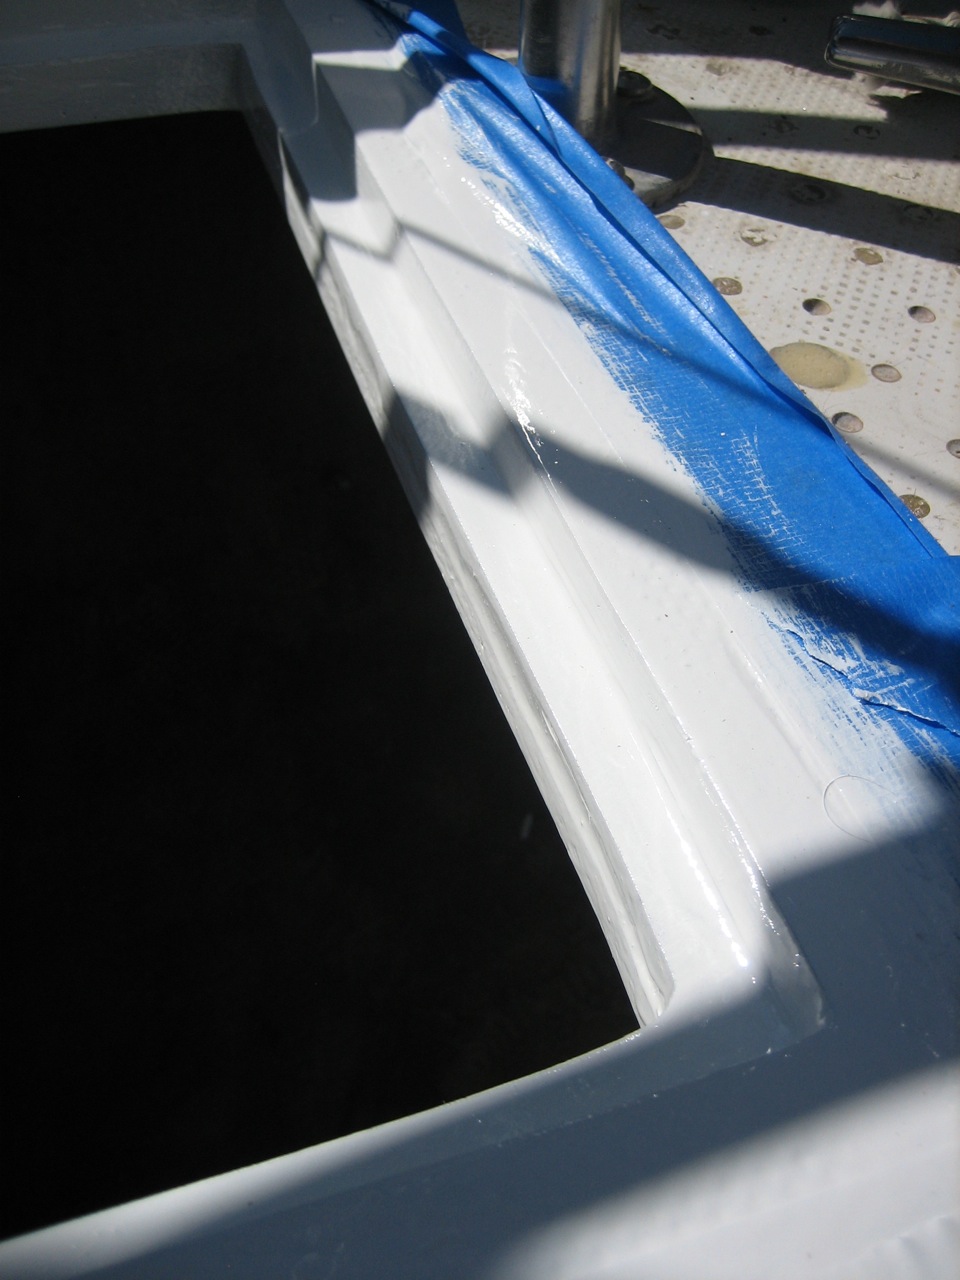
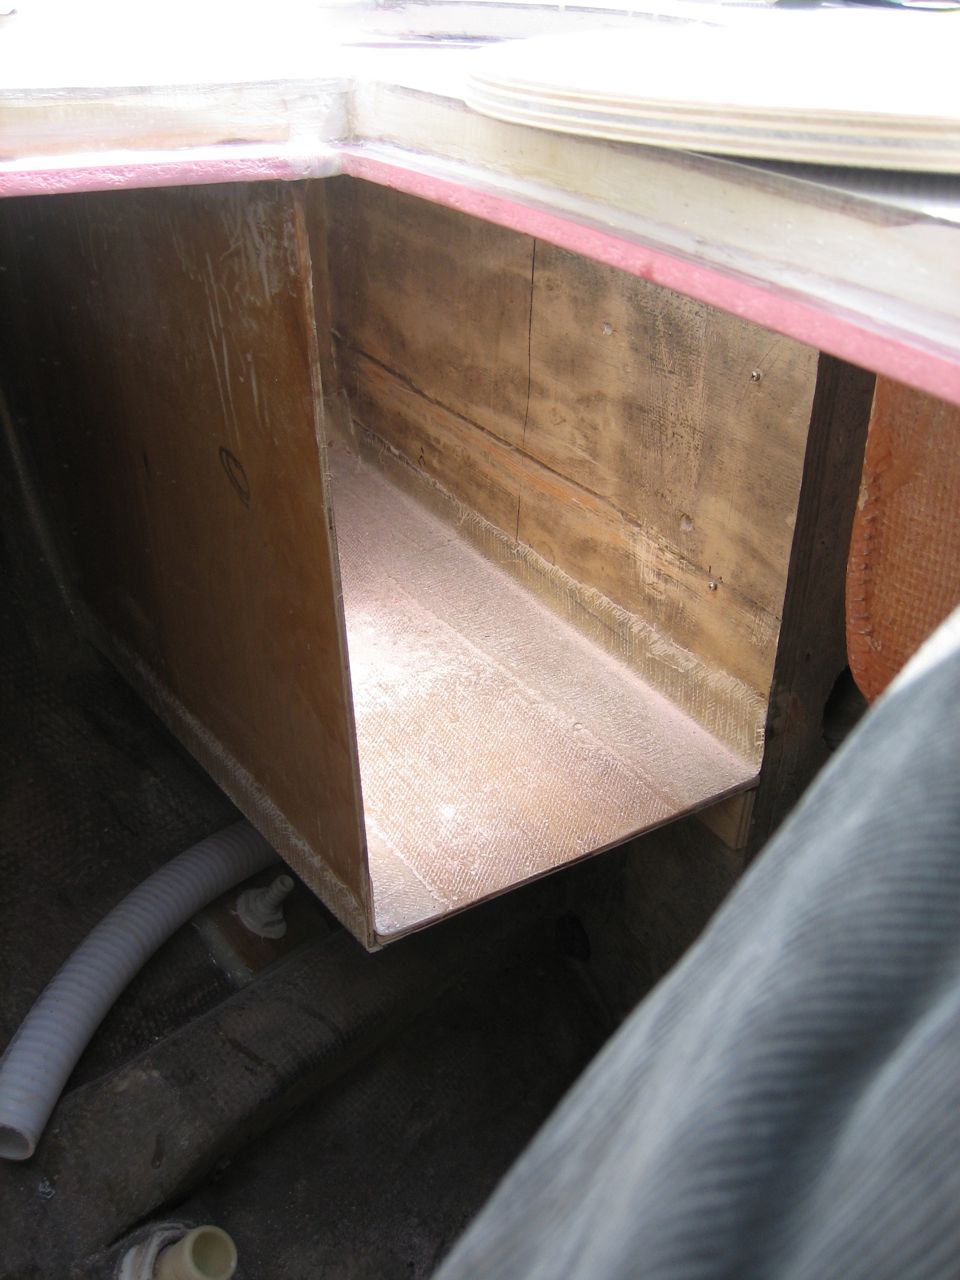
We built the new propane locker and the hatches out of the leftover fiberglass-covered plywood that we had fabricated for the icebox. We used two layers of the plywood for each of the hatches (the plywood was super thin), as well as a couple extra layers of knytex for additional strength.
Jonny painstakingly glassed the box in place using strips of knytex–the box was odd shaped to accomodate the curves of the hull and the deck/coaming/toerail ceiling section.
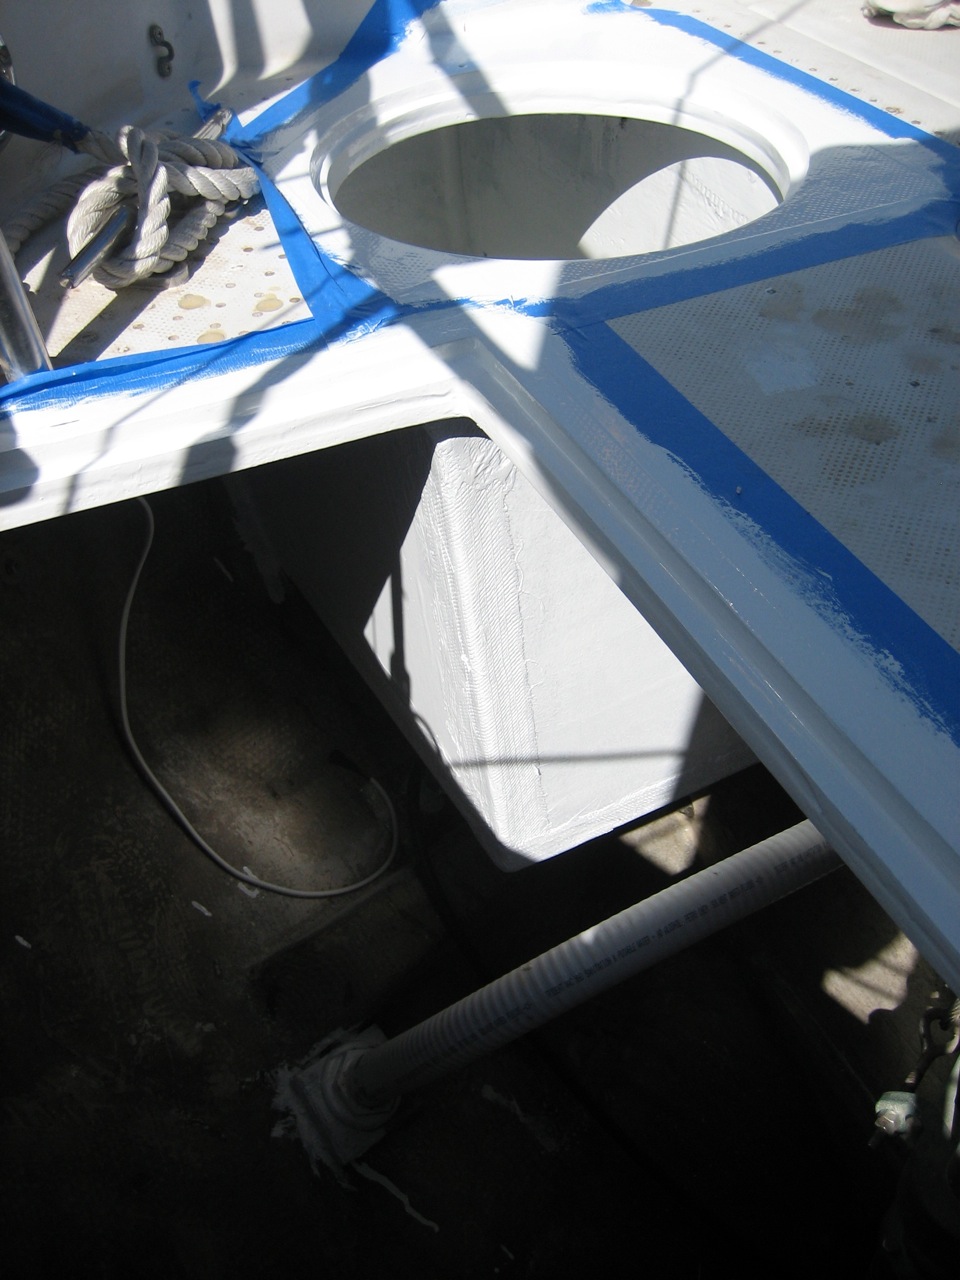
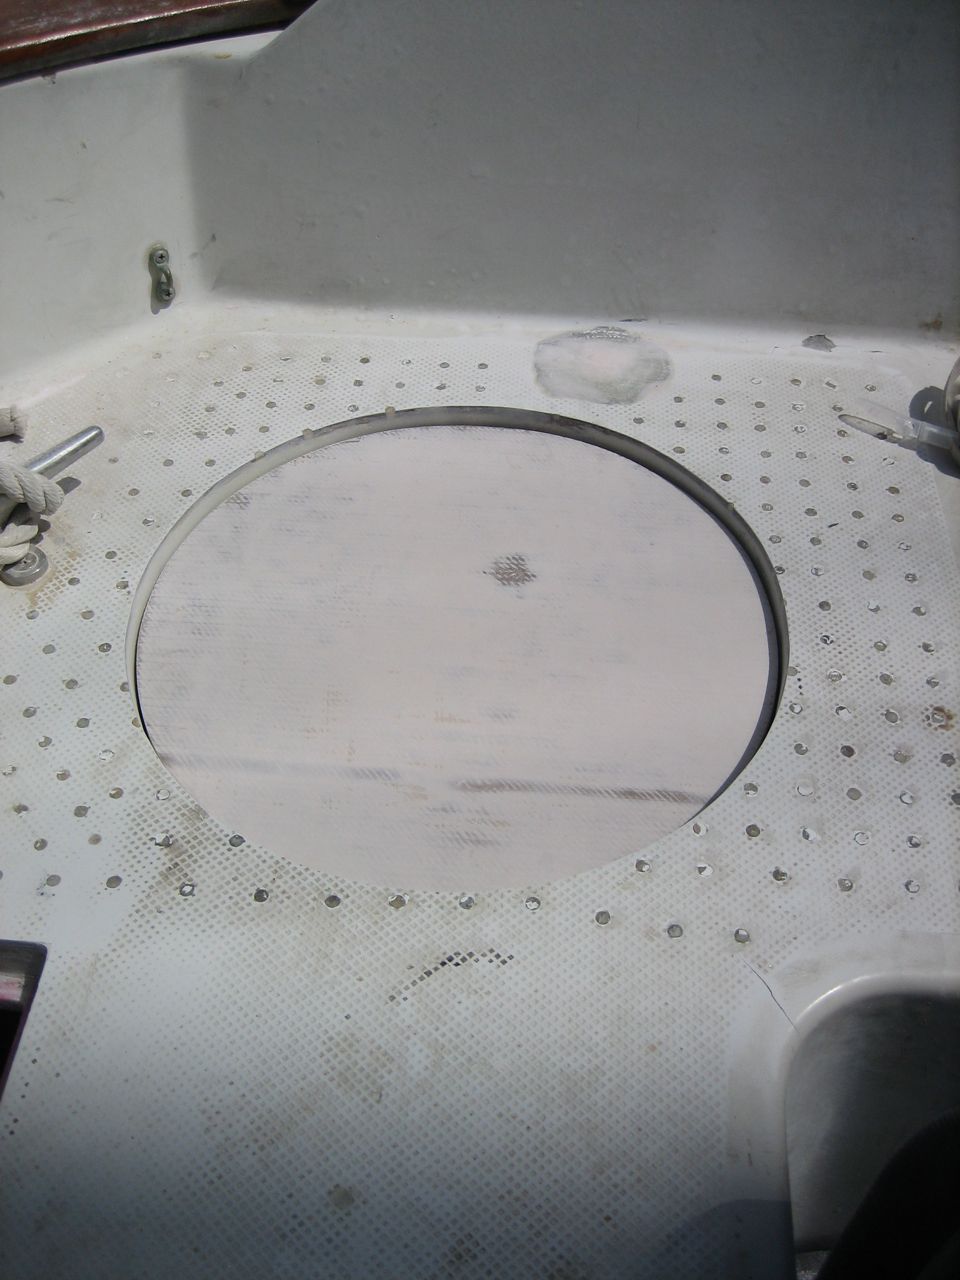
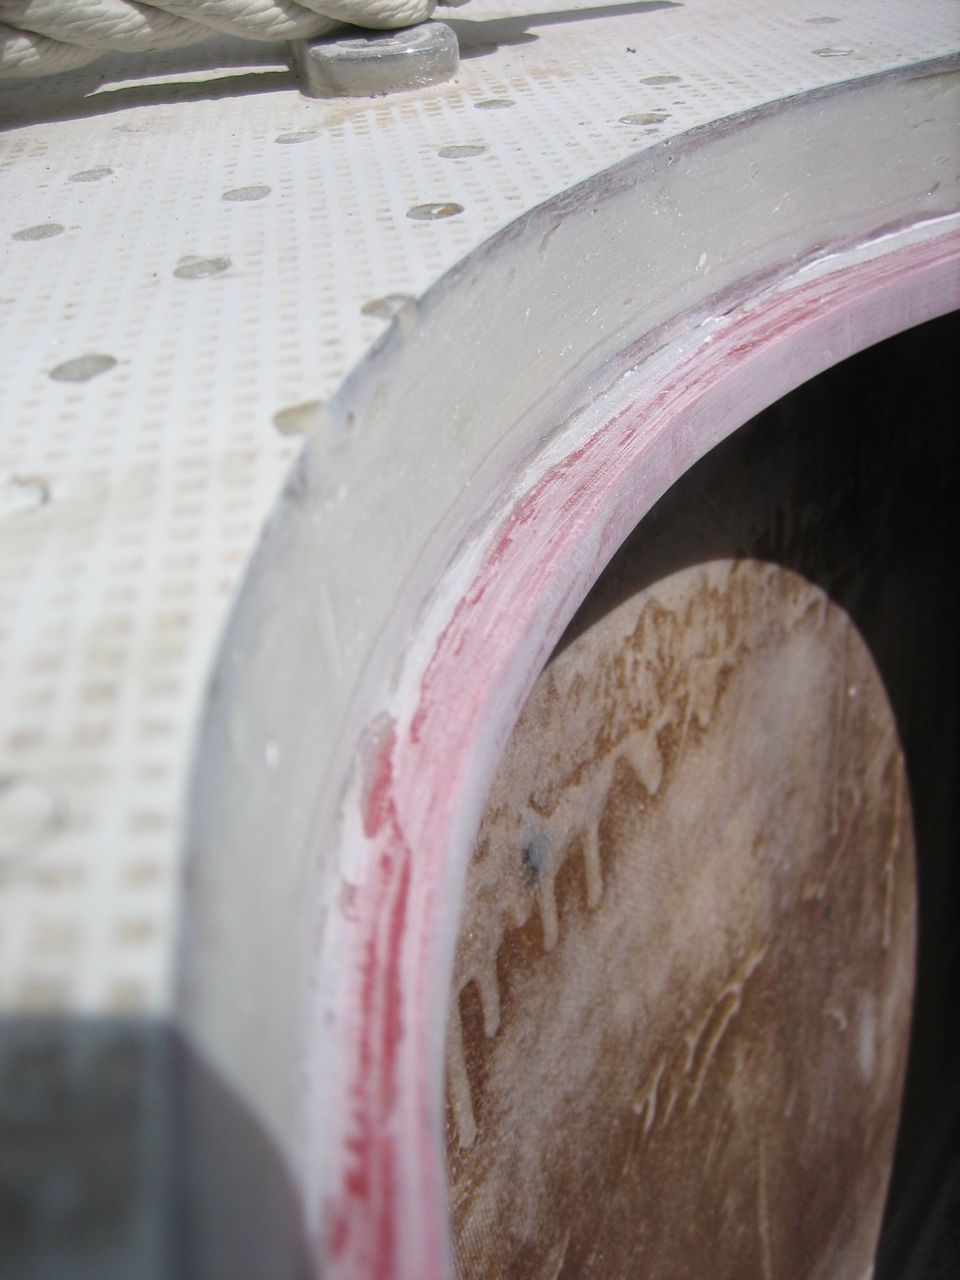
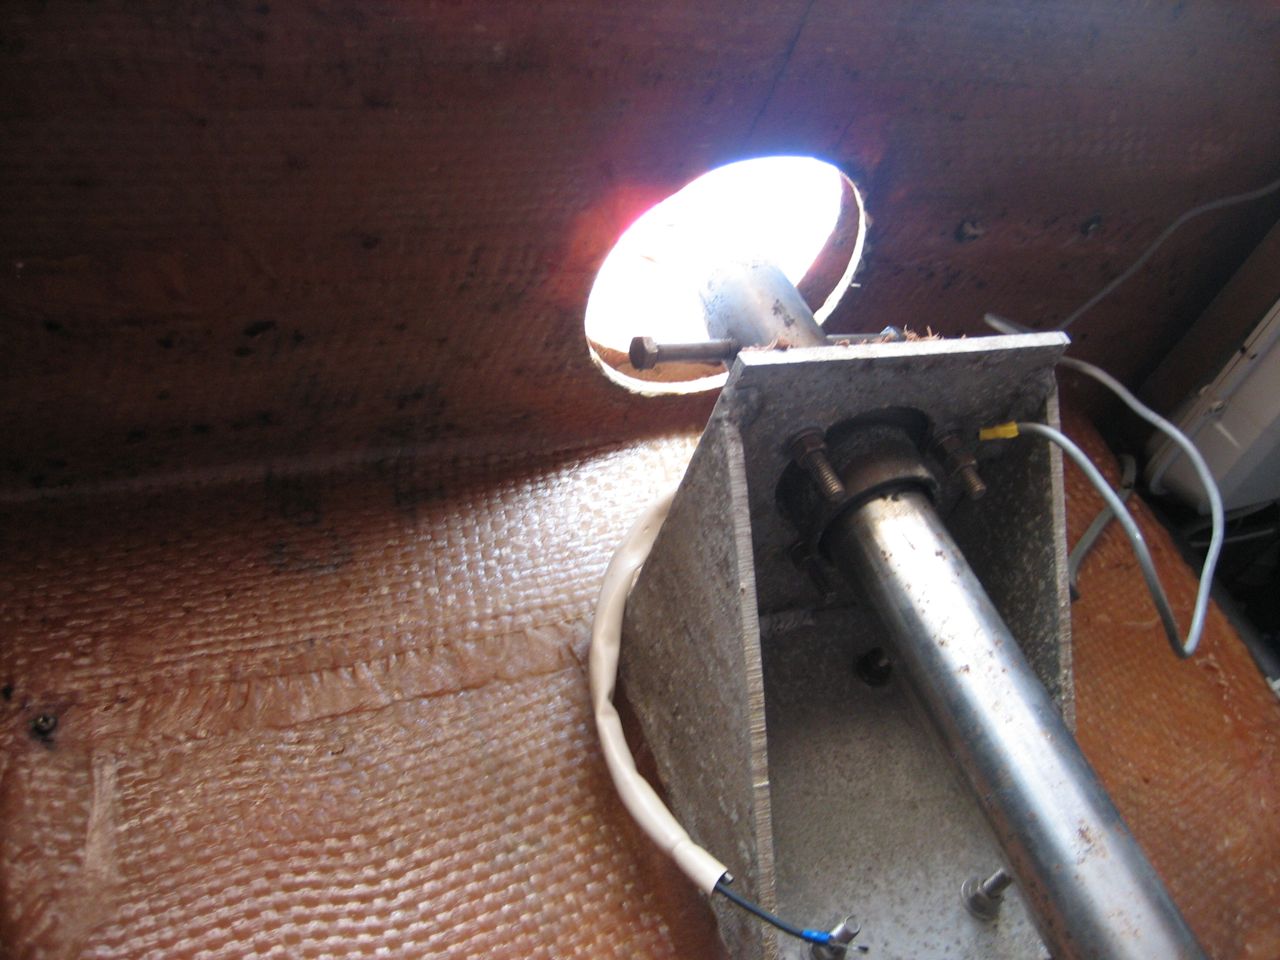
We made the ledges on which the lids will rest out of 3/8″ thick prefab FRP from Mcmaster-carr. The lip is about 1/2″ wide, and the strip that forms the lip extends ~1-1/2″ underneath the deck. The strips are epoxied in place (jonny pre-drilled pilot holes and screwed the strips in place to properly position them while the epoxy cured).
Fairing and sanding the edges of everything was time consuming, as it always is. It consisted of at least two rounds of Quikfairing, preceded by, separated by, and followed by tedious amounts of sanding.
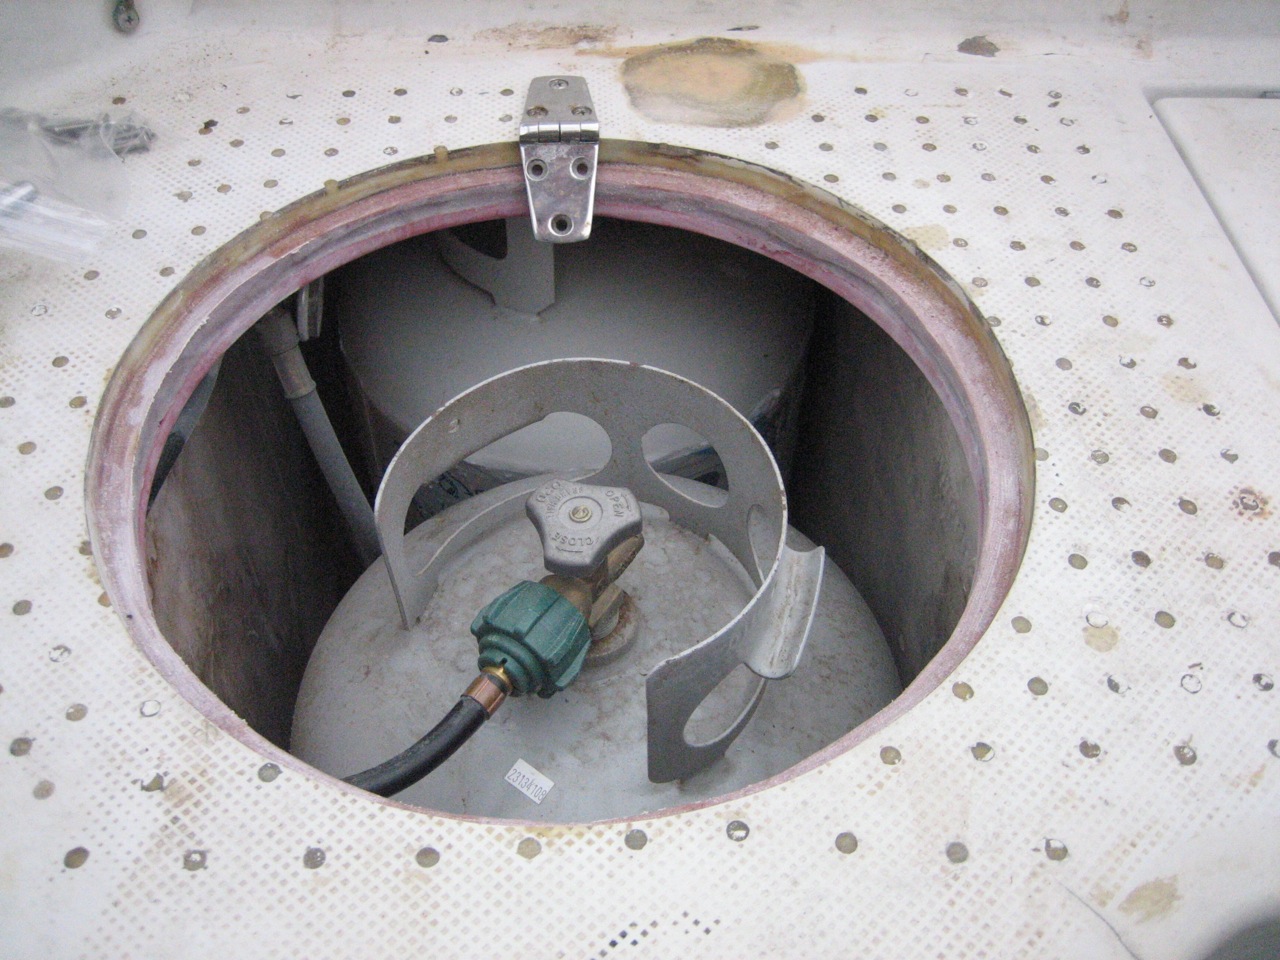
I entirely replumbed the propane lines while we were at it. Per jonny’s insistence we went with a hose to run from the stern to the stove, instead of copper tubing. It was definitely the right choice. It was slightly more expensive, but eliminated extra junctions required at the stove. A hose is required at the stove to accommodate the gimballing, and this way the one 25′ hose runs straight to the back of the stove. I purchased the new style qcc quick connector to be used for attaching to the propane tanks–the previous system required wrenches, and the apparatus that connected to the tank (which included the regulator and the pressure gauge) was awkward and unwieldy. Now a single high pressure line is connected to the active tank, and the regulator, pressure gauge, and other connections are mounted to the propane locker wall. I also added a T-junction and short additional hose with a valve inside the propane locker (in the low pressure side) to be used for a propane grill to be mounted on the rail (which we don’t yet own).
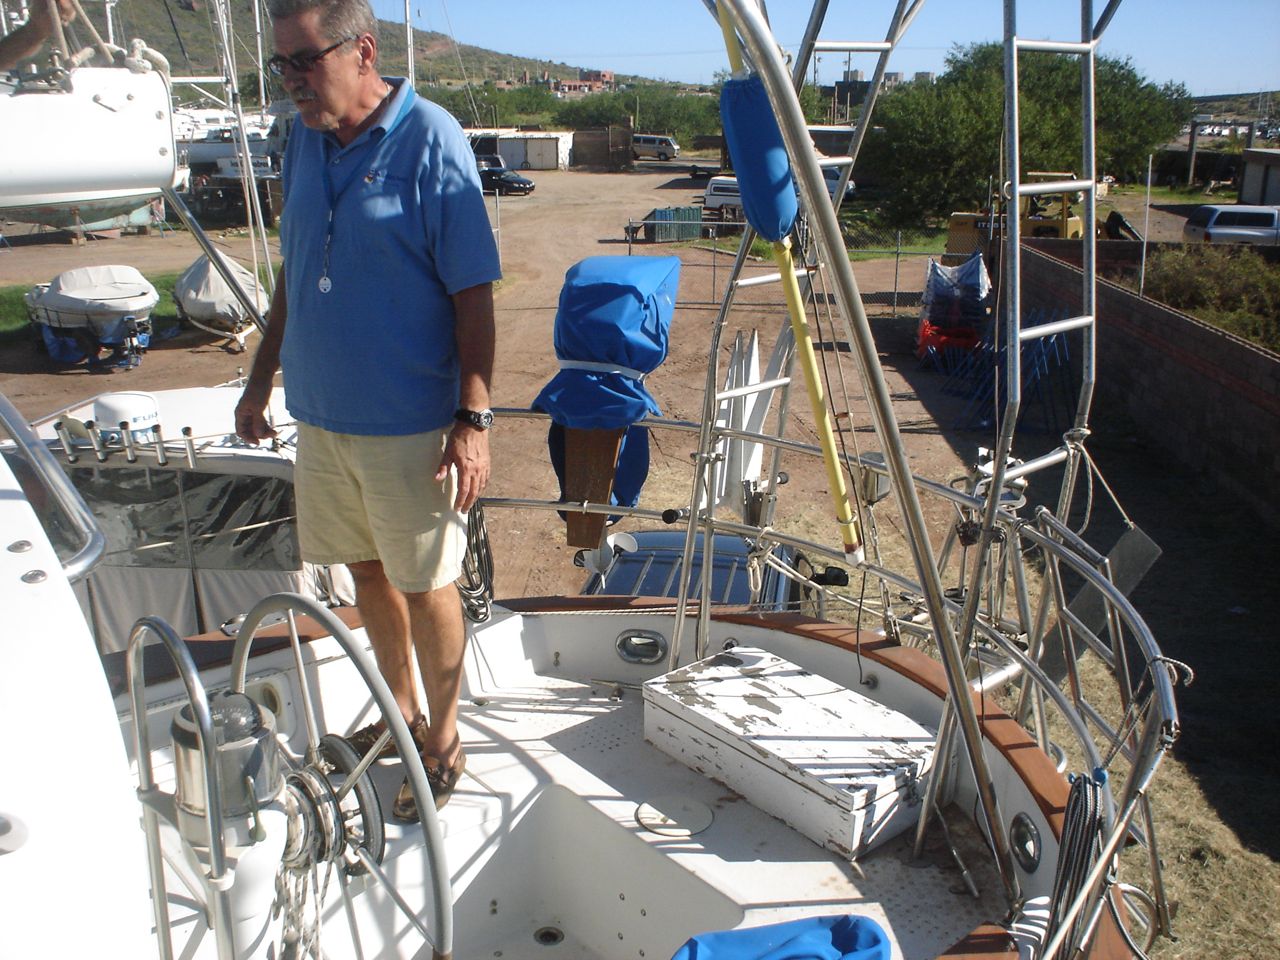
The resulting storage space gained in the stern is astounding. I could lay down and take a nap in the space that we previously had no access to.
Turns out we left too much of a gap for the gasket, and the lids sink too low, so I created a wall of foil tape around the inside edge, and poured a mixture of slightly thickened epoxy into the gap. After it cured I ground/sanded it down to the right depth for the gasket.
I figured out the hinge situation. Then we painted the lids and the lips with two coats of the Primekote epoxy primer. That’s as far as we’ve got so far. Very close.
I’m not finished posting pictures yet, stay tuned for more.